Back in the day, when your smartphone battery died, you'd just buy a replacement, pop the back open, and, with one simple move, replace the dead cell with a new one. No $300 charge for the intervention, no going to repair shops, no waiting for days to get the job done.
Today, phones are made airtight and often glued together, so repairs and replacements of this kind are nearly impossible for the average user. Not anymore! There are laws mandating the right to repair, and even Apple is selling (or renting) repair kits and parts.
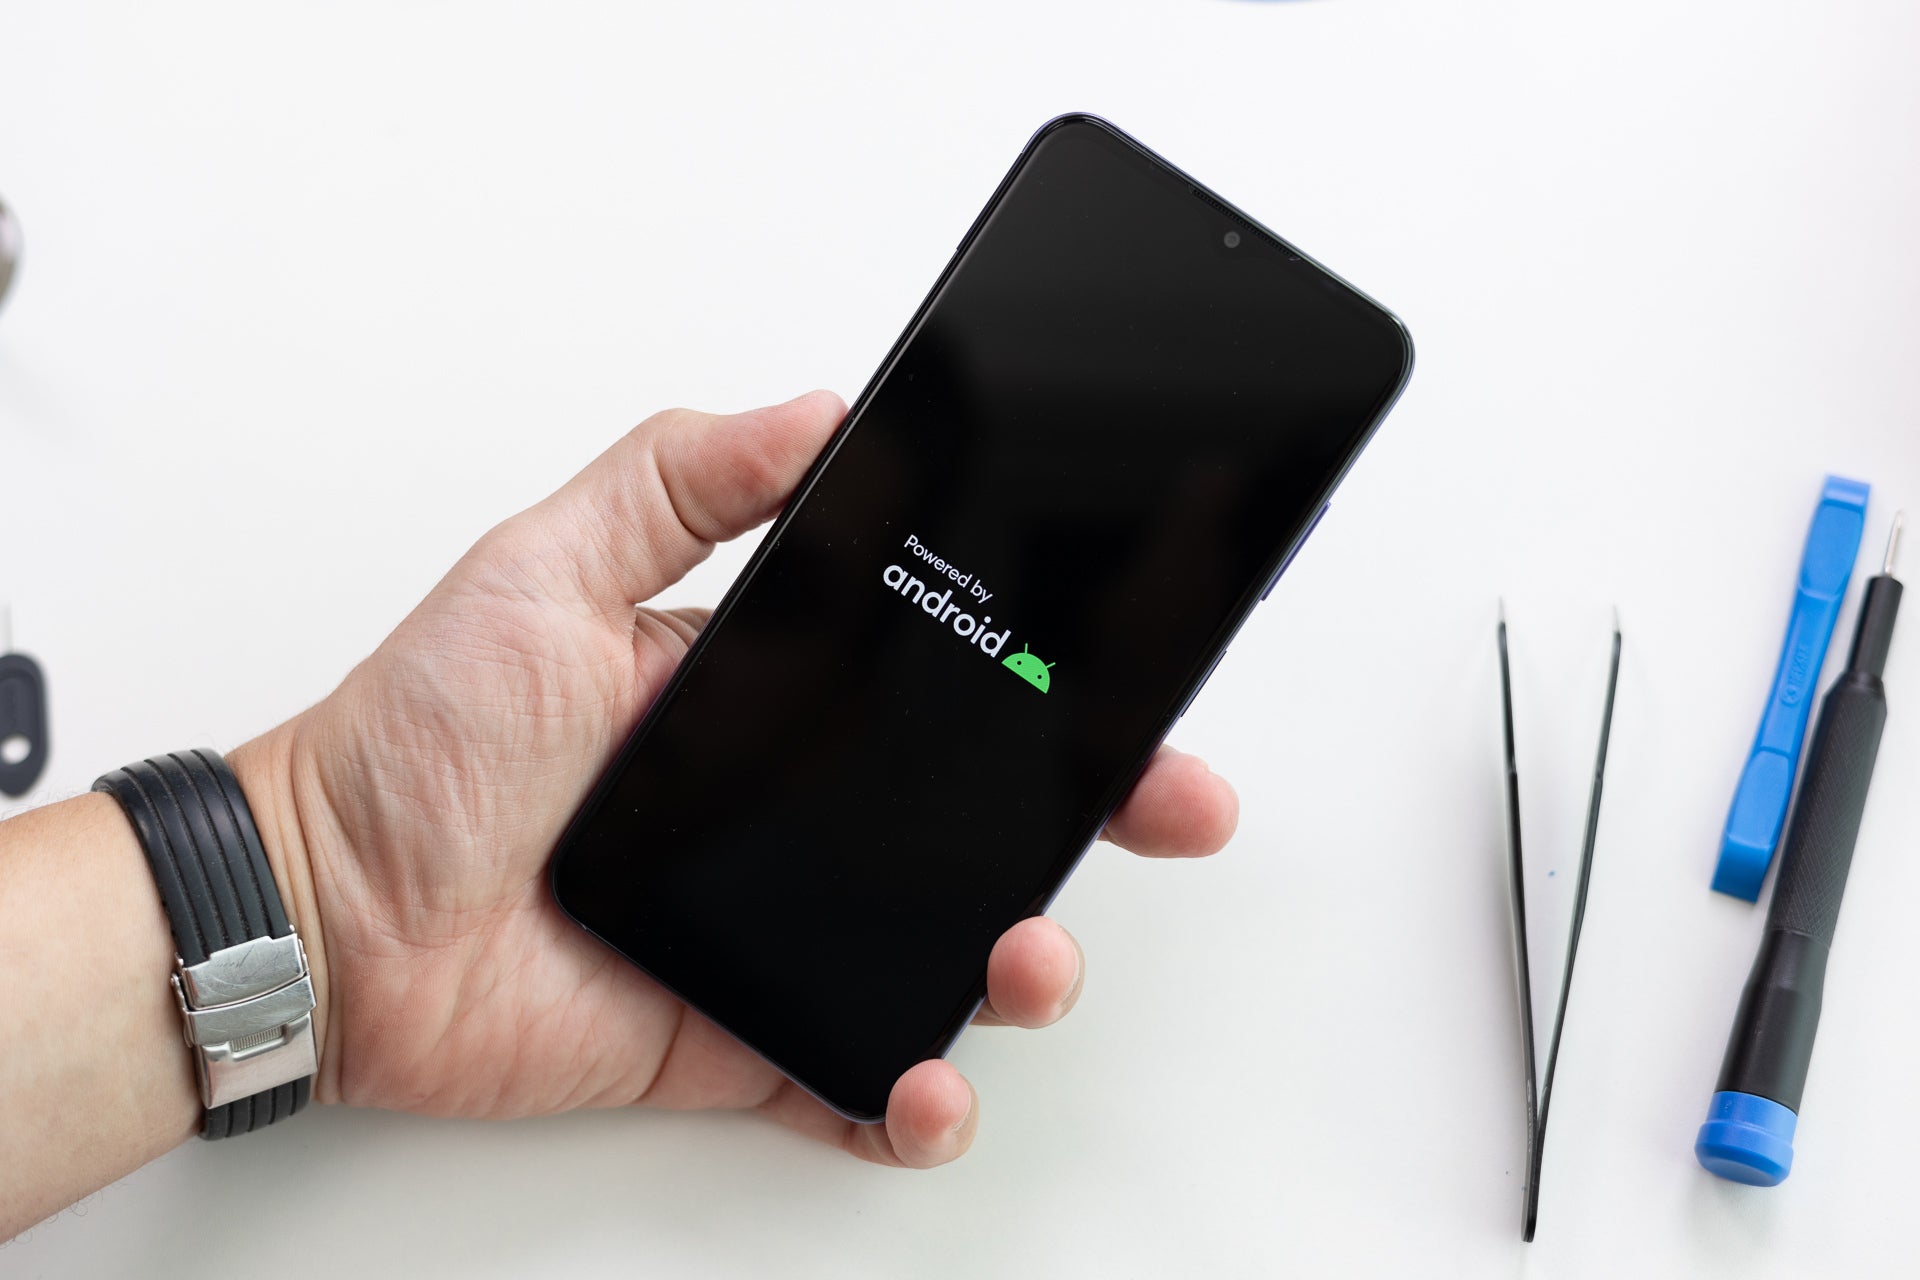
But how easy is it to change a battery? I decided to try and find out. My test subject was a Nokia G42 5G, a phone specifically designed to be self-serviced. HMD Global even has a collaboration with iFixit to make it easy for normal people to change the battery, screen, and USB port of the G42.
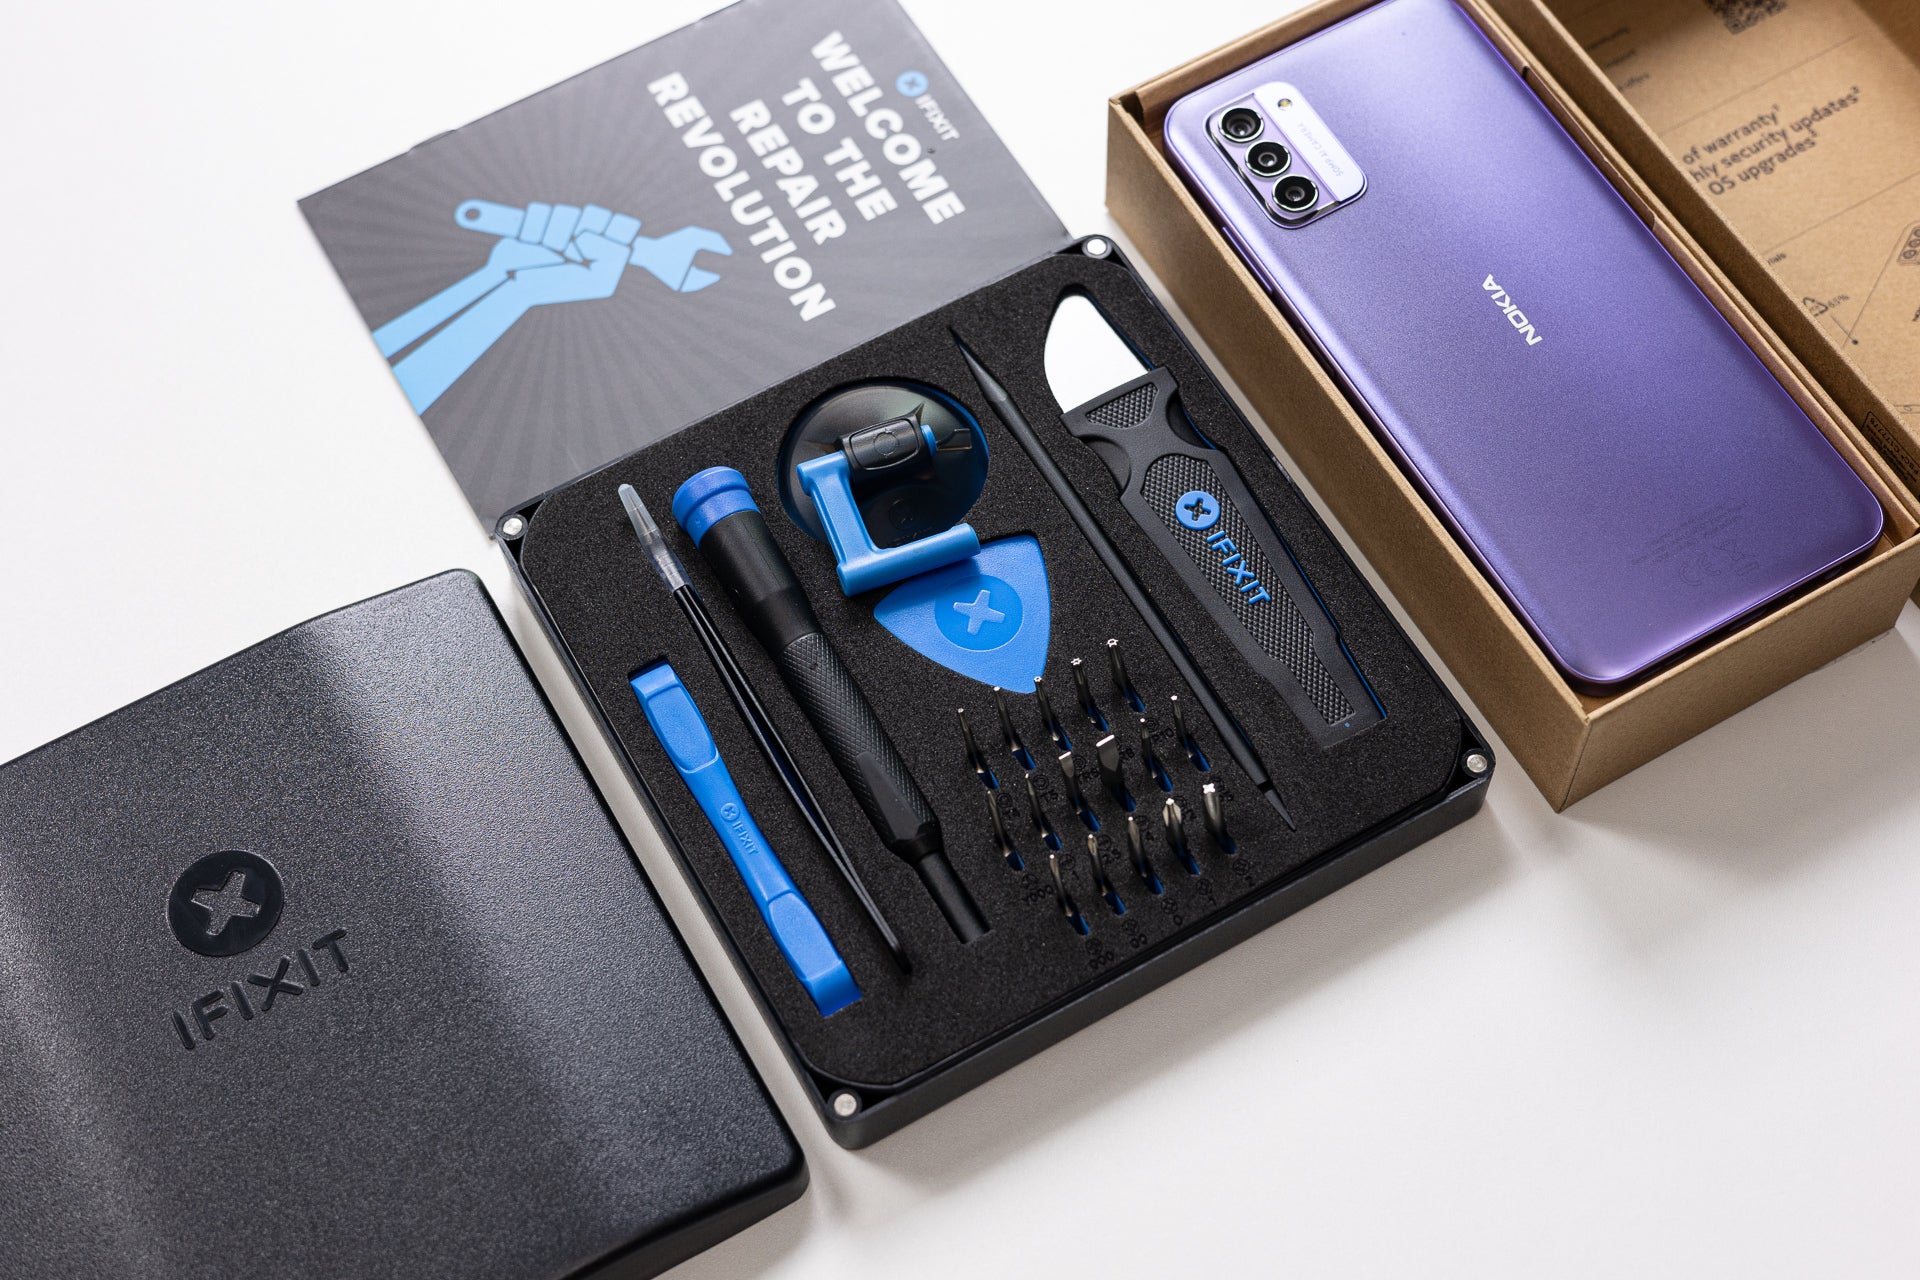
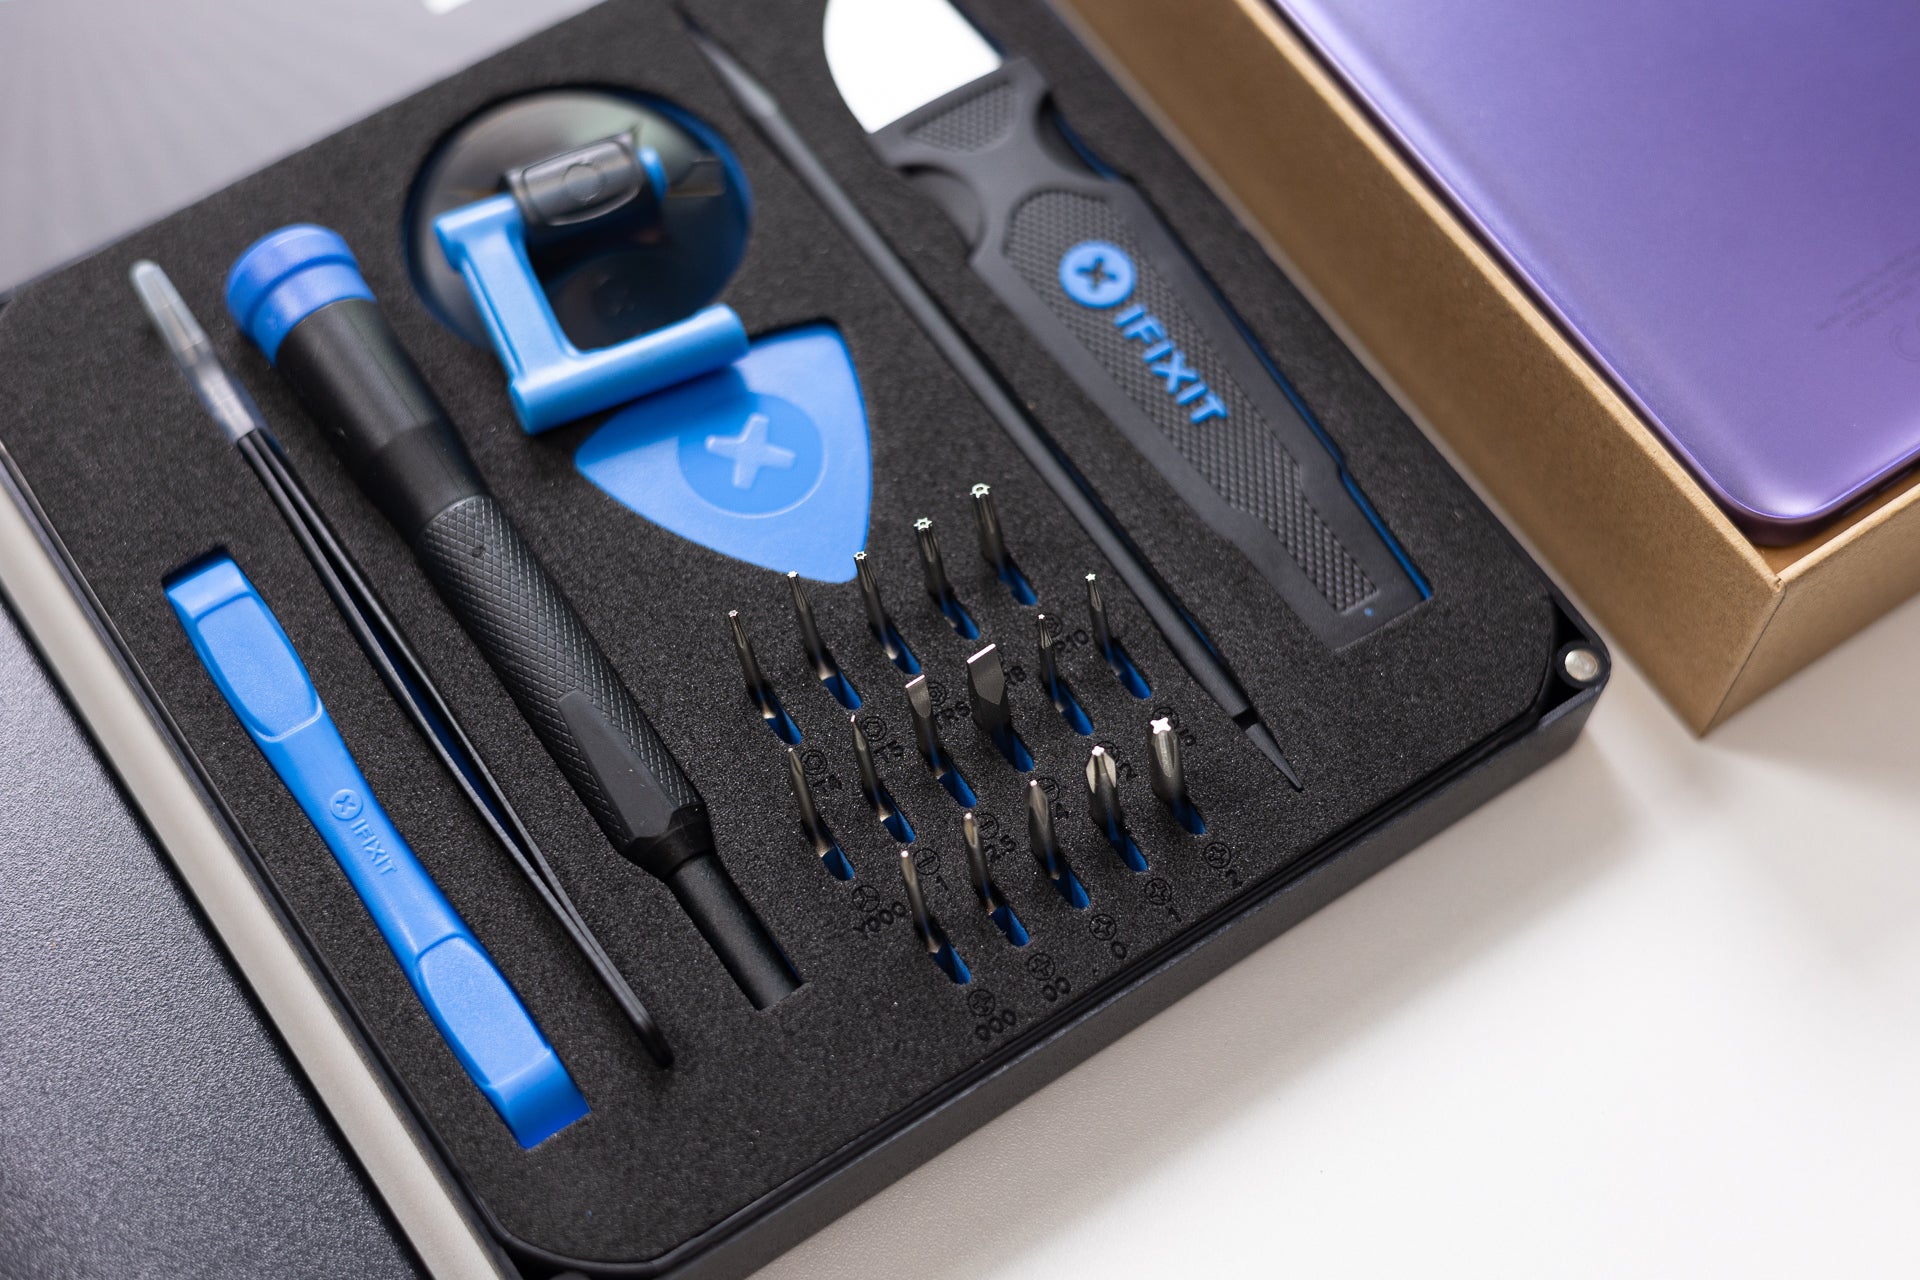
The iFixit repair toolkit is niiiiiice!
So, armed with no knowledge and no previous experience disassembling smartphones and the provided iFixit kit, I decided to go for the easiest of tasks: changing the battery.
(By the way, there's a step-by-step guide at iFixit, which I decided to skip and make things more exciting. You should check it out, as it makes things a bit easier)
Recommended For You
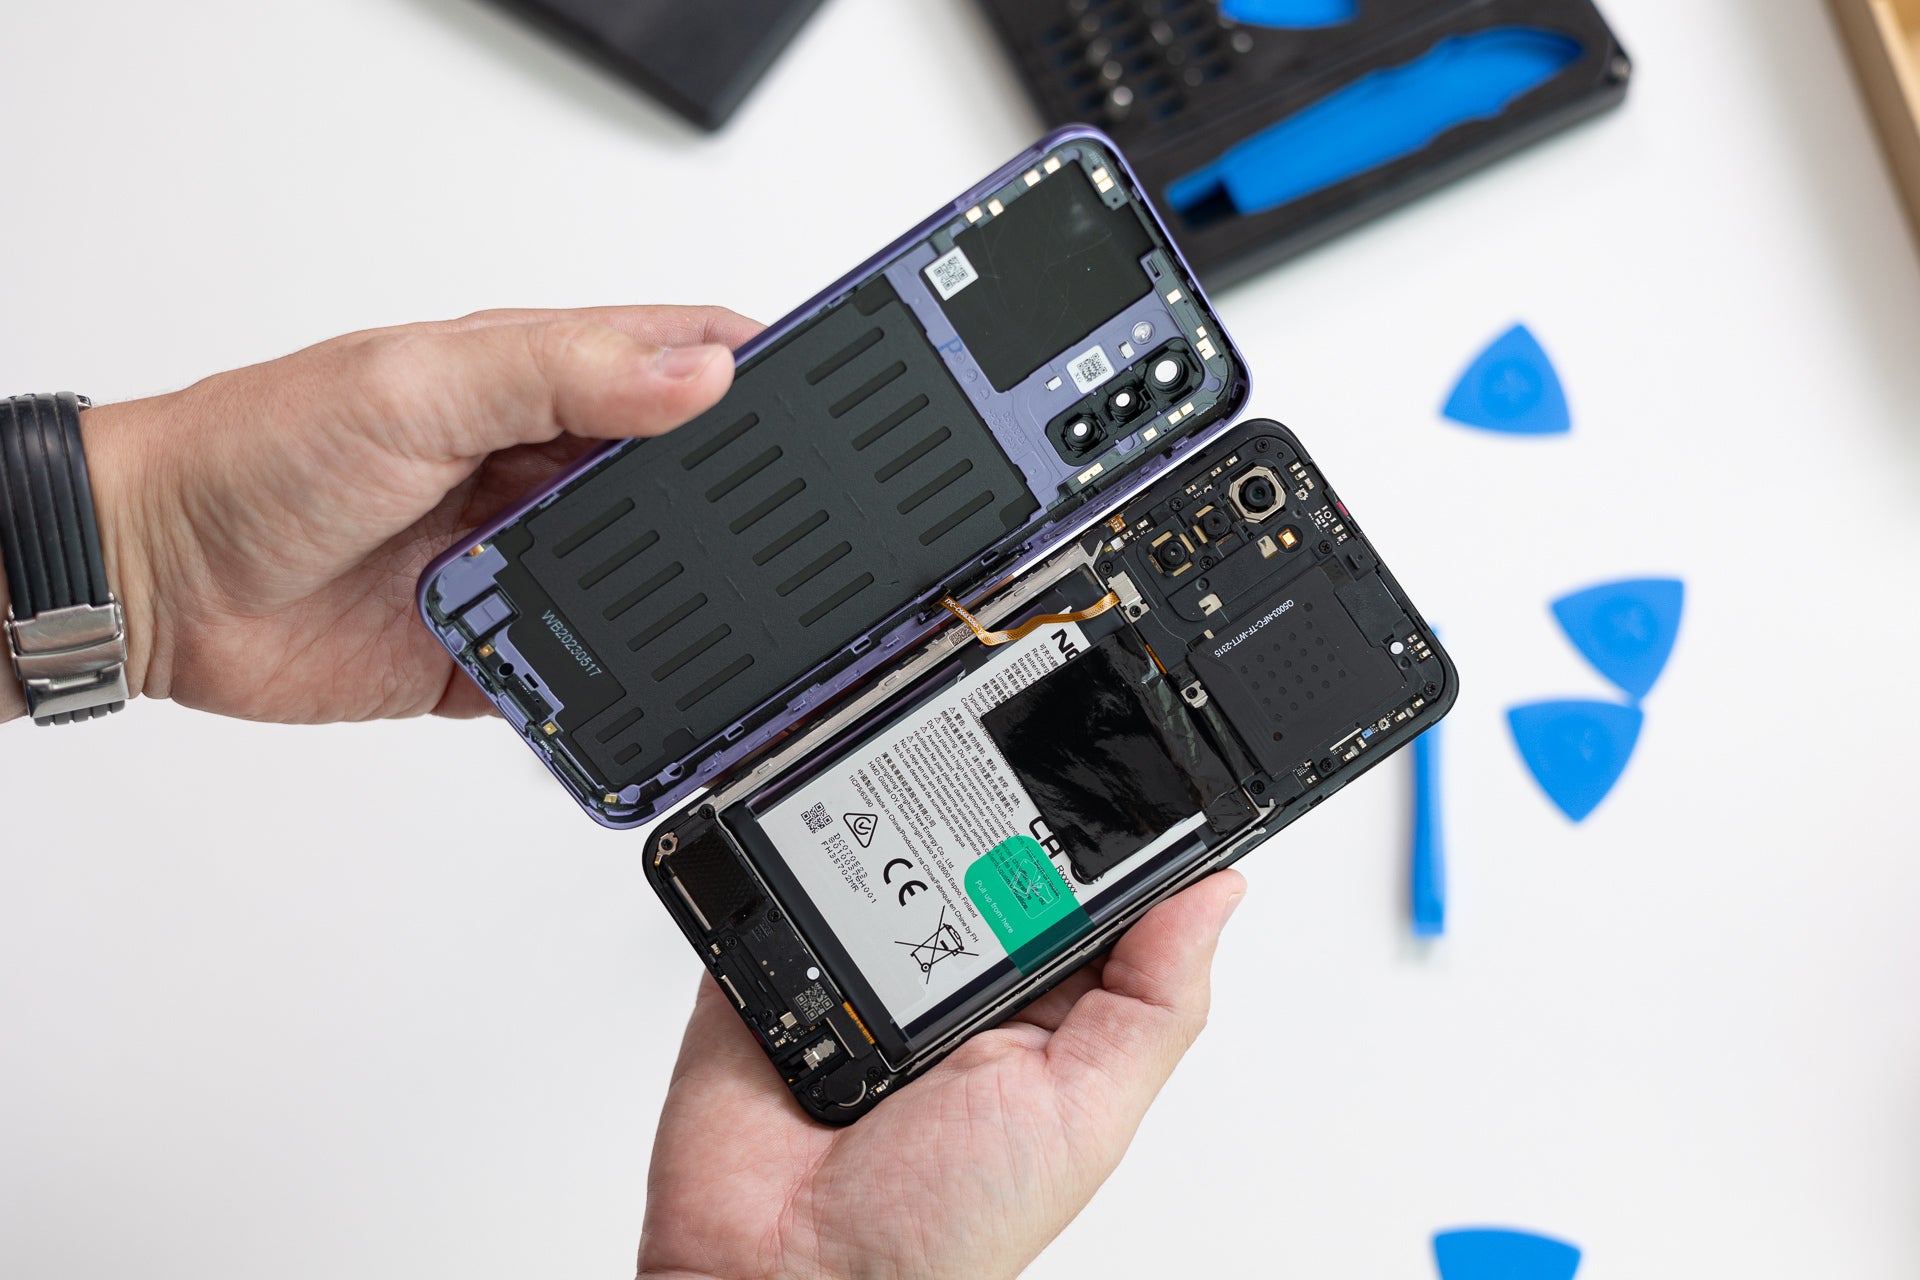
Step 1: Taking the back cover off
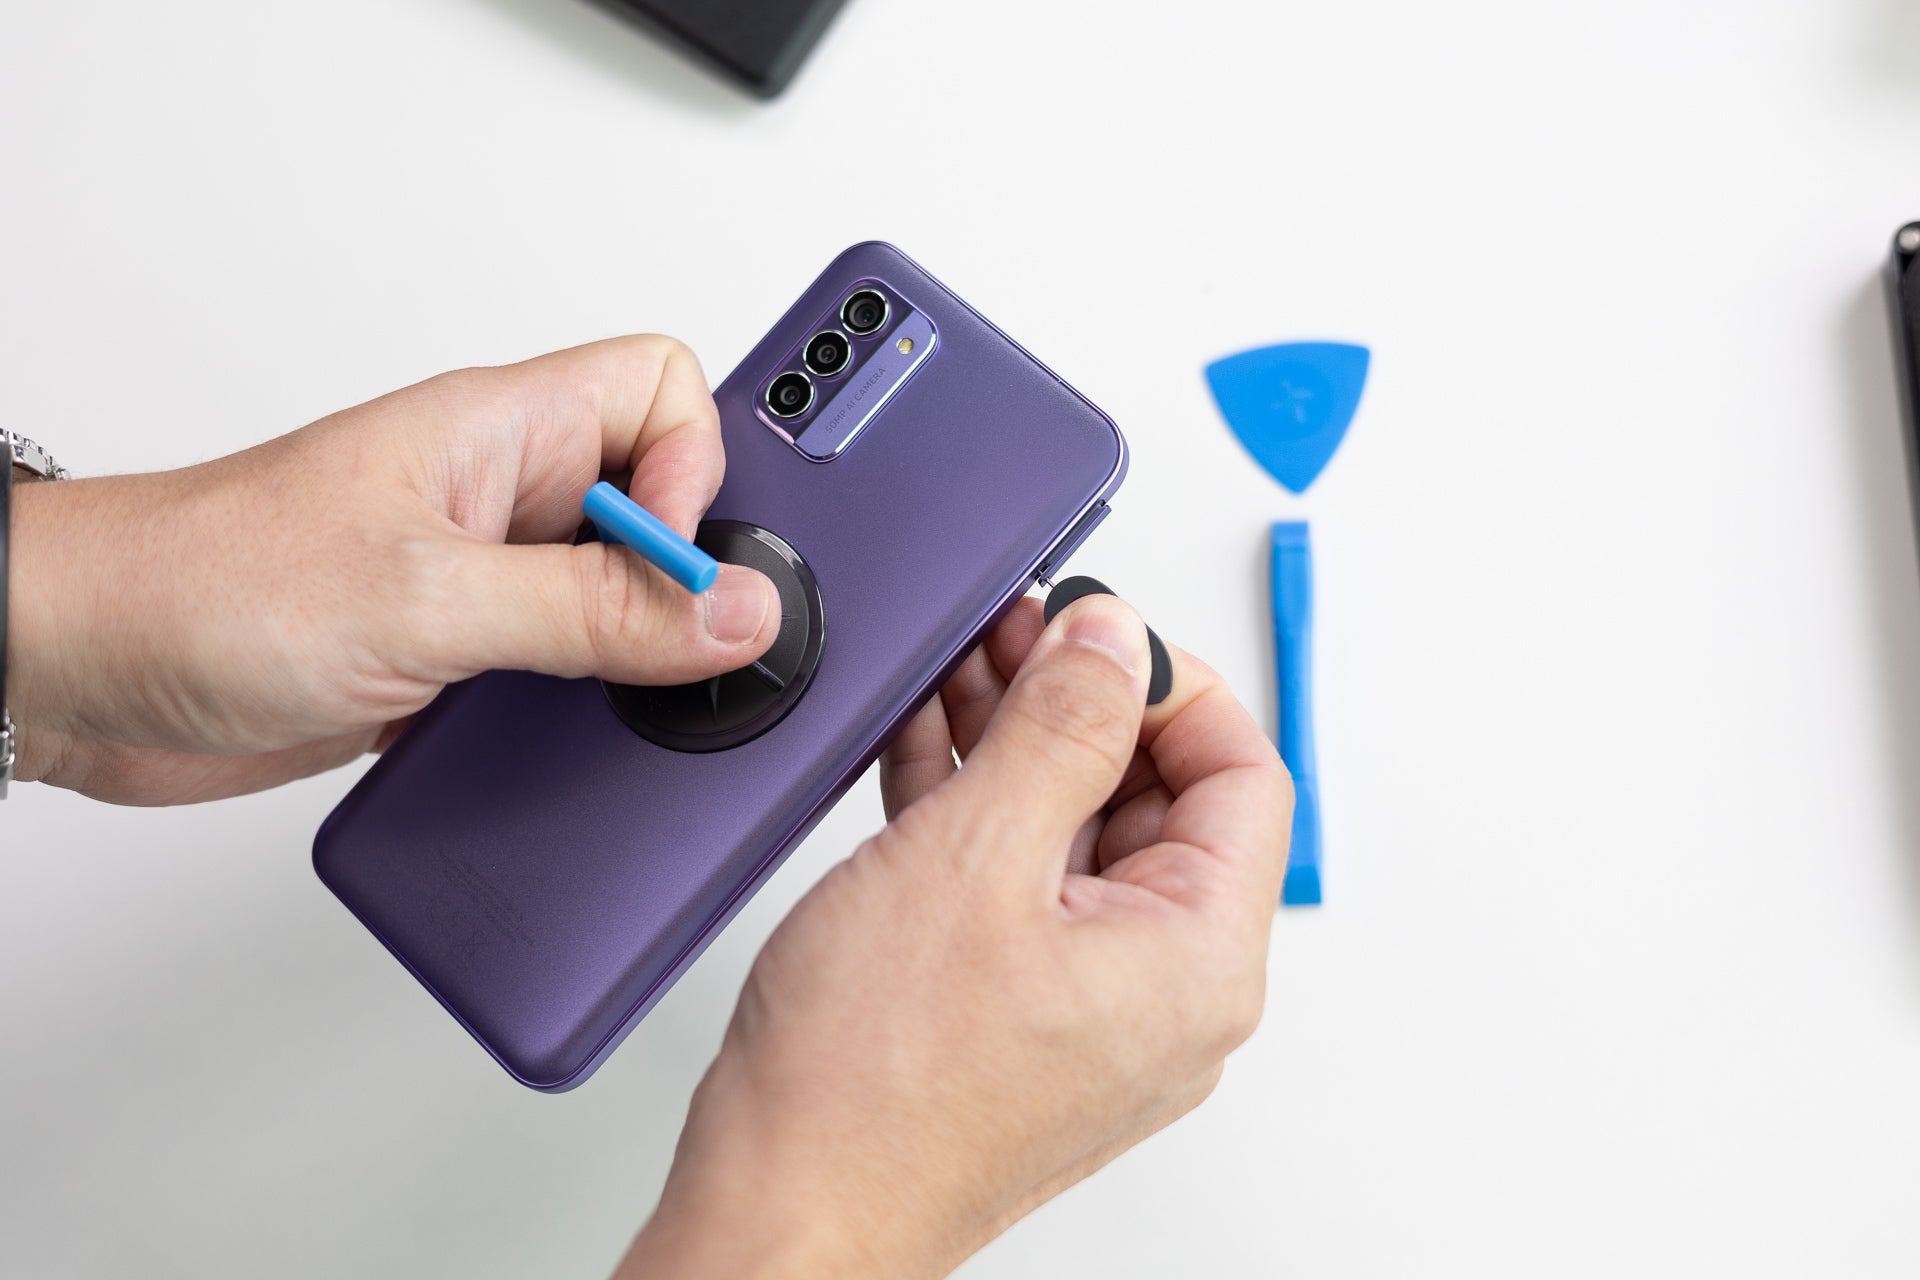
Remove the SIM tray
This one's trickier than you'd think. First, you need to remove the SIM tray with the SIM ejector tool. Underneath, there's a tiny slot where you stick the triangle guitar pick-like tool in order to separate the back from the phone. You go around the back, and the plastic clips pop with a disconcerting sound.
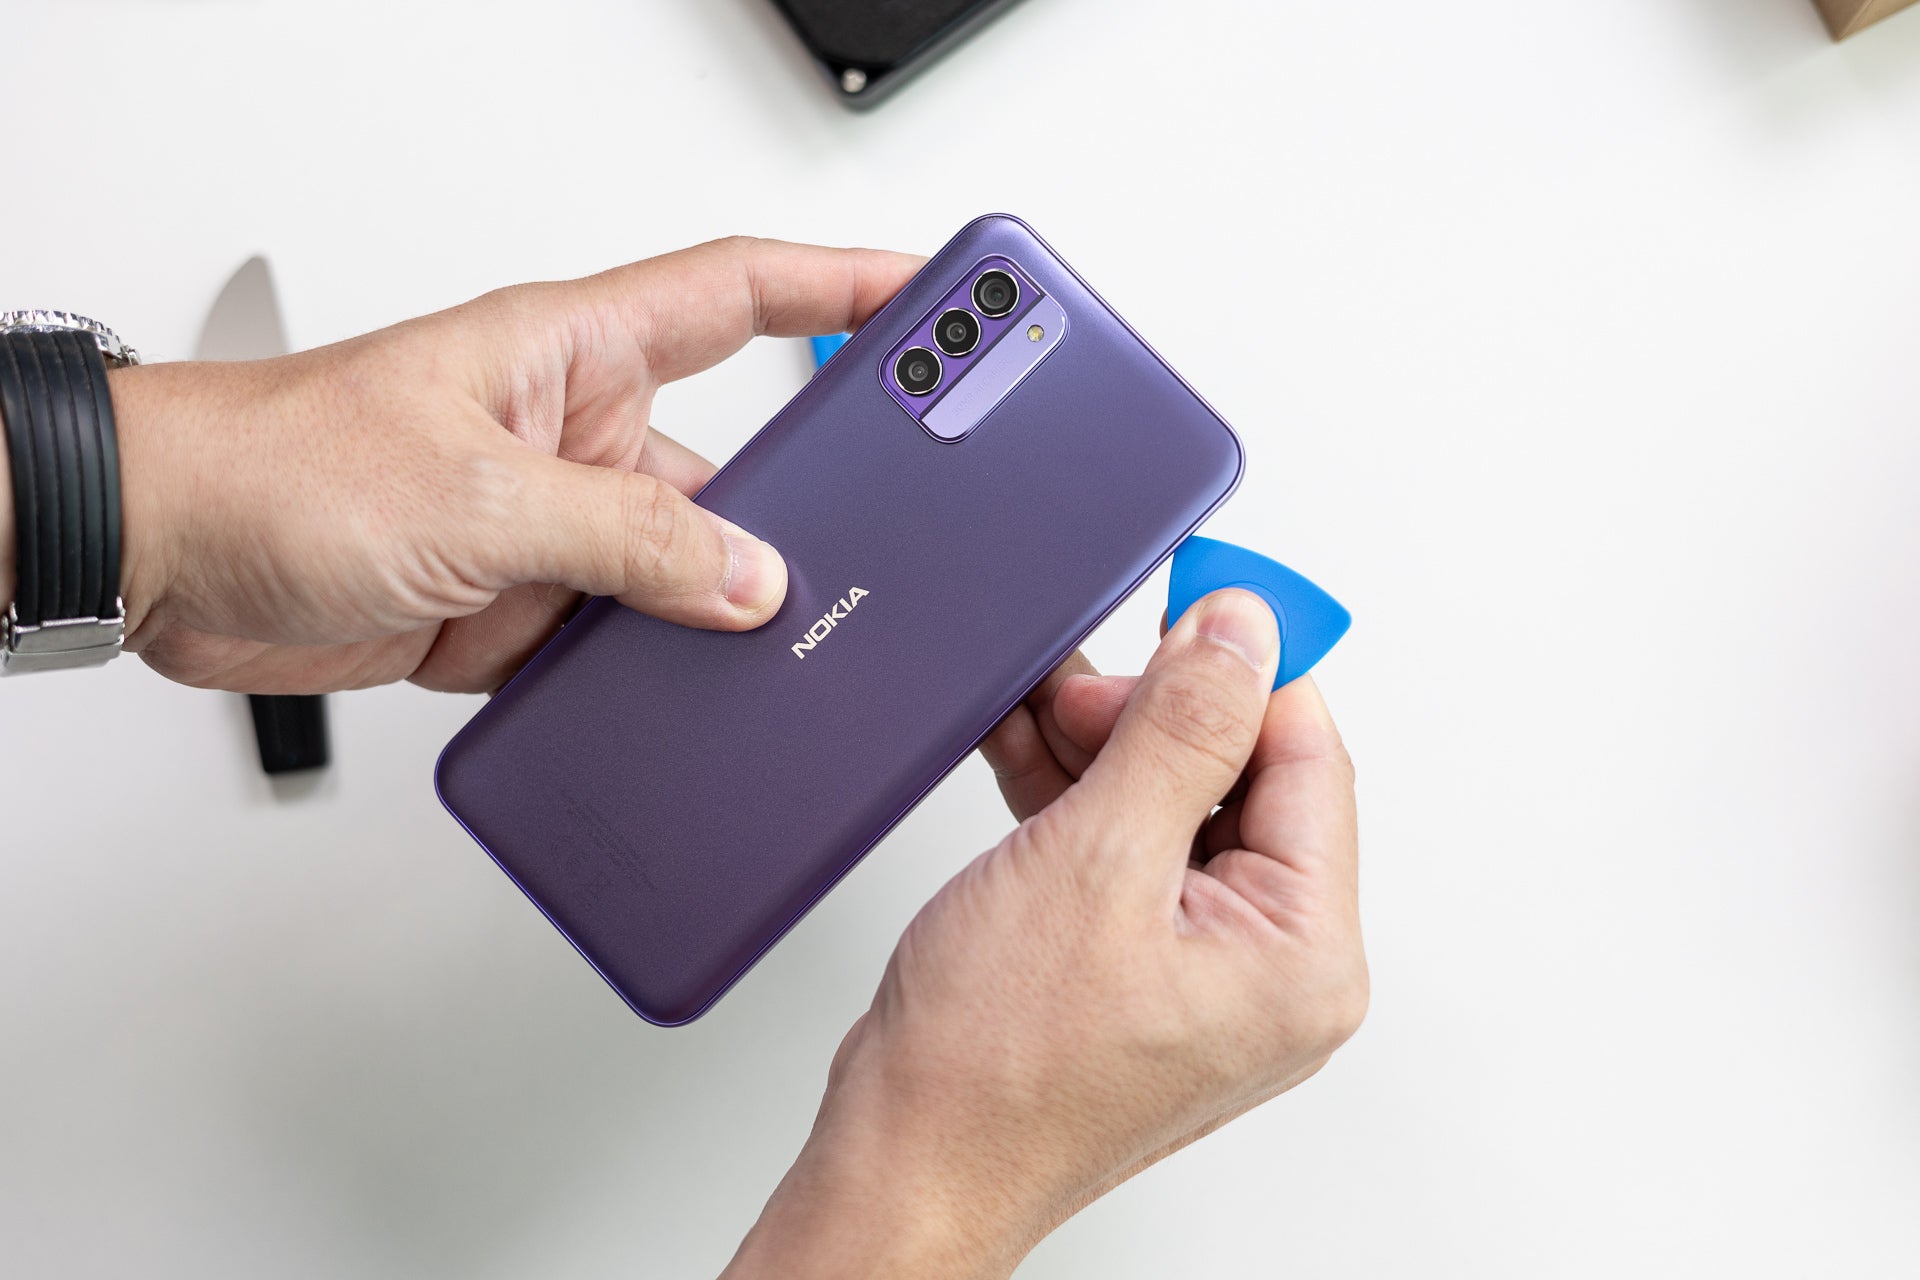
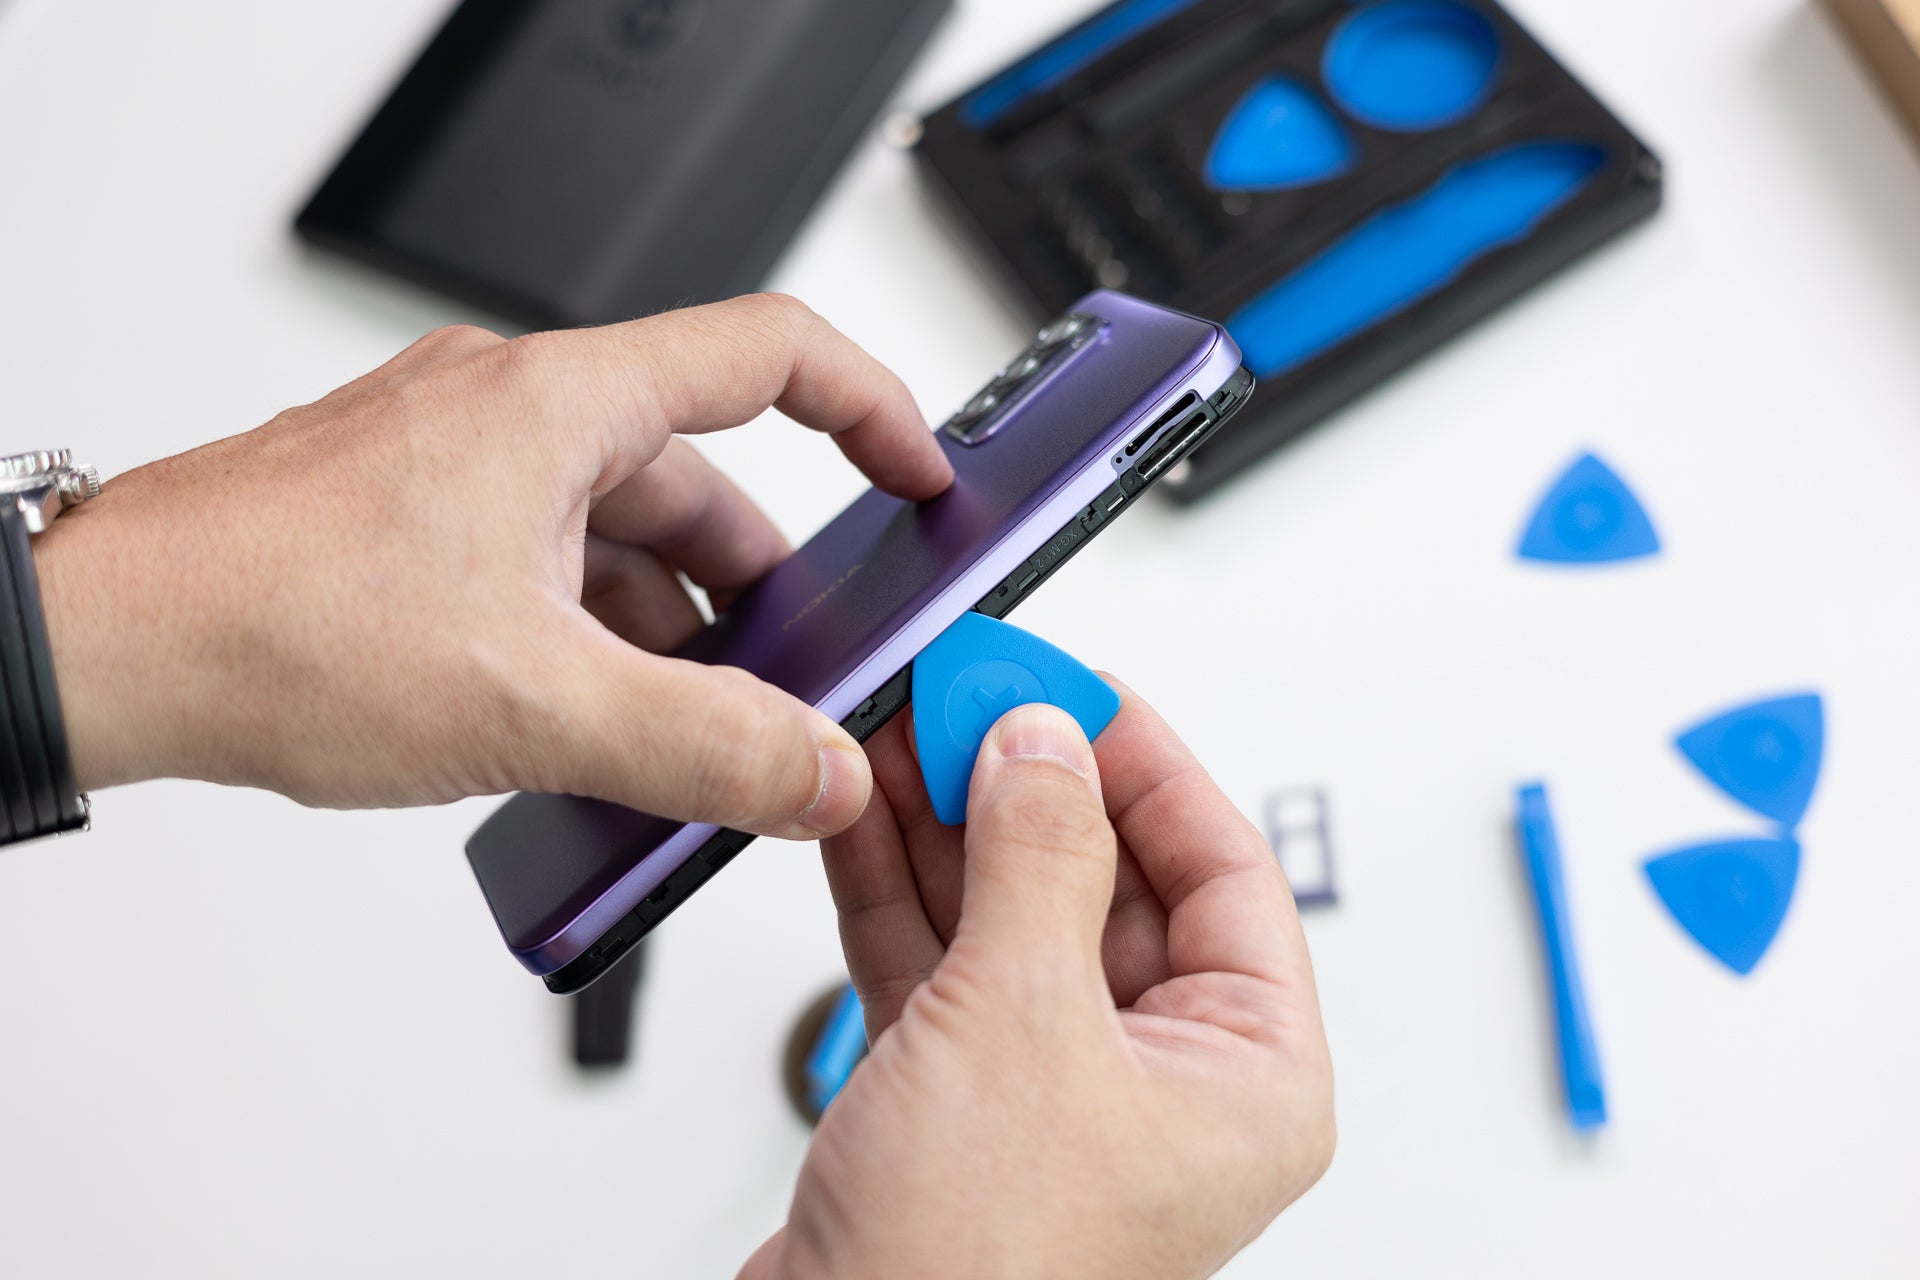
There's a little slot to nudge the pick in and start separating the back
You should go around with the pick and make sure all the clips are detached
In the end, the back was off, but it suffered minor damage in the process—some scuffs and dents from the prying tool. The back of the Nokia G42 is plastic, and a soft one at that. When removing the back, you should pay attention to the flex cable connecting the power and volume buttons to the phone.
Don't forget the flex cable connecting the fingerprint scanner to the phone
Step 2: Taking off some plastic covers that you actually don't have to
Removing the bottom plastic cover is not necessary
Looking at the opened device, I decided I should remove the bottom cover, shielding the USB port and some flex cable connections. It looked like these cables needed to pop out before I could pull the battery out.
Well, it turned out that you could leave the bottom plastic cover on; the flex cables run below the battery, and you don't have to disconnect them.
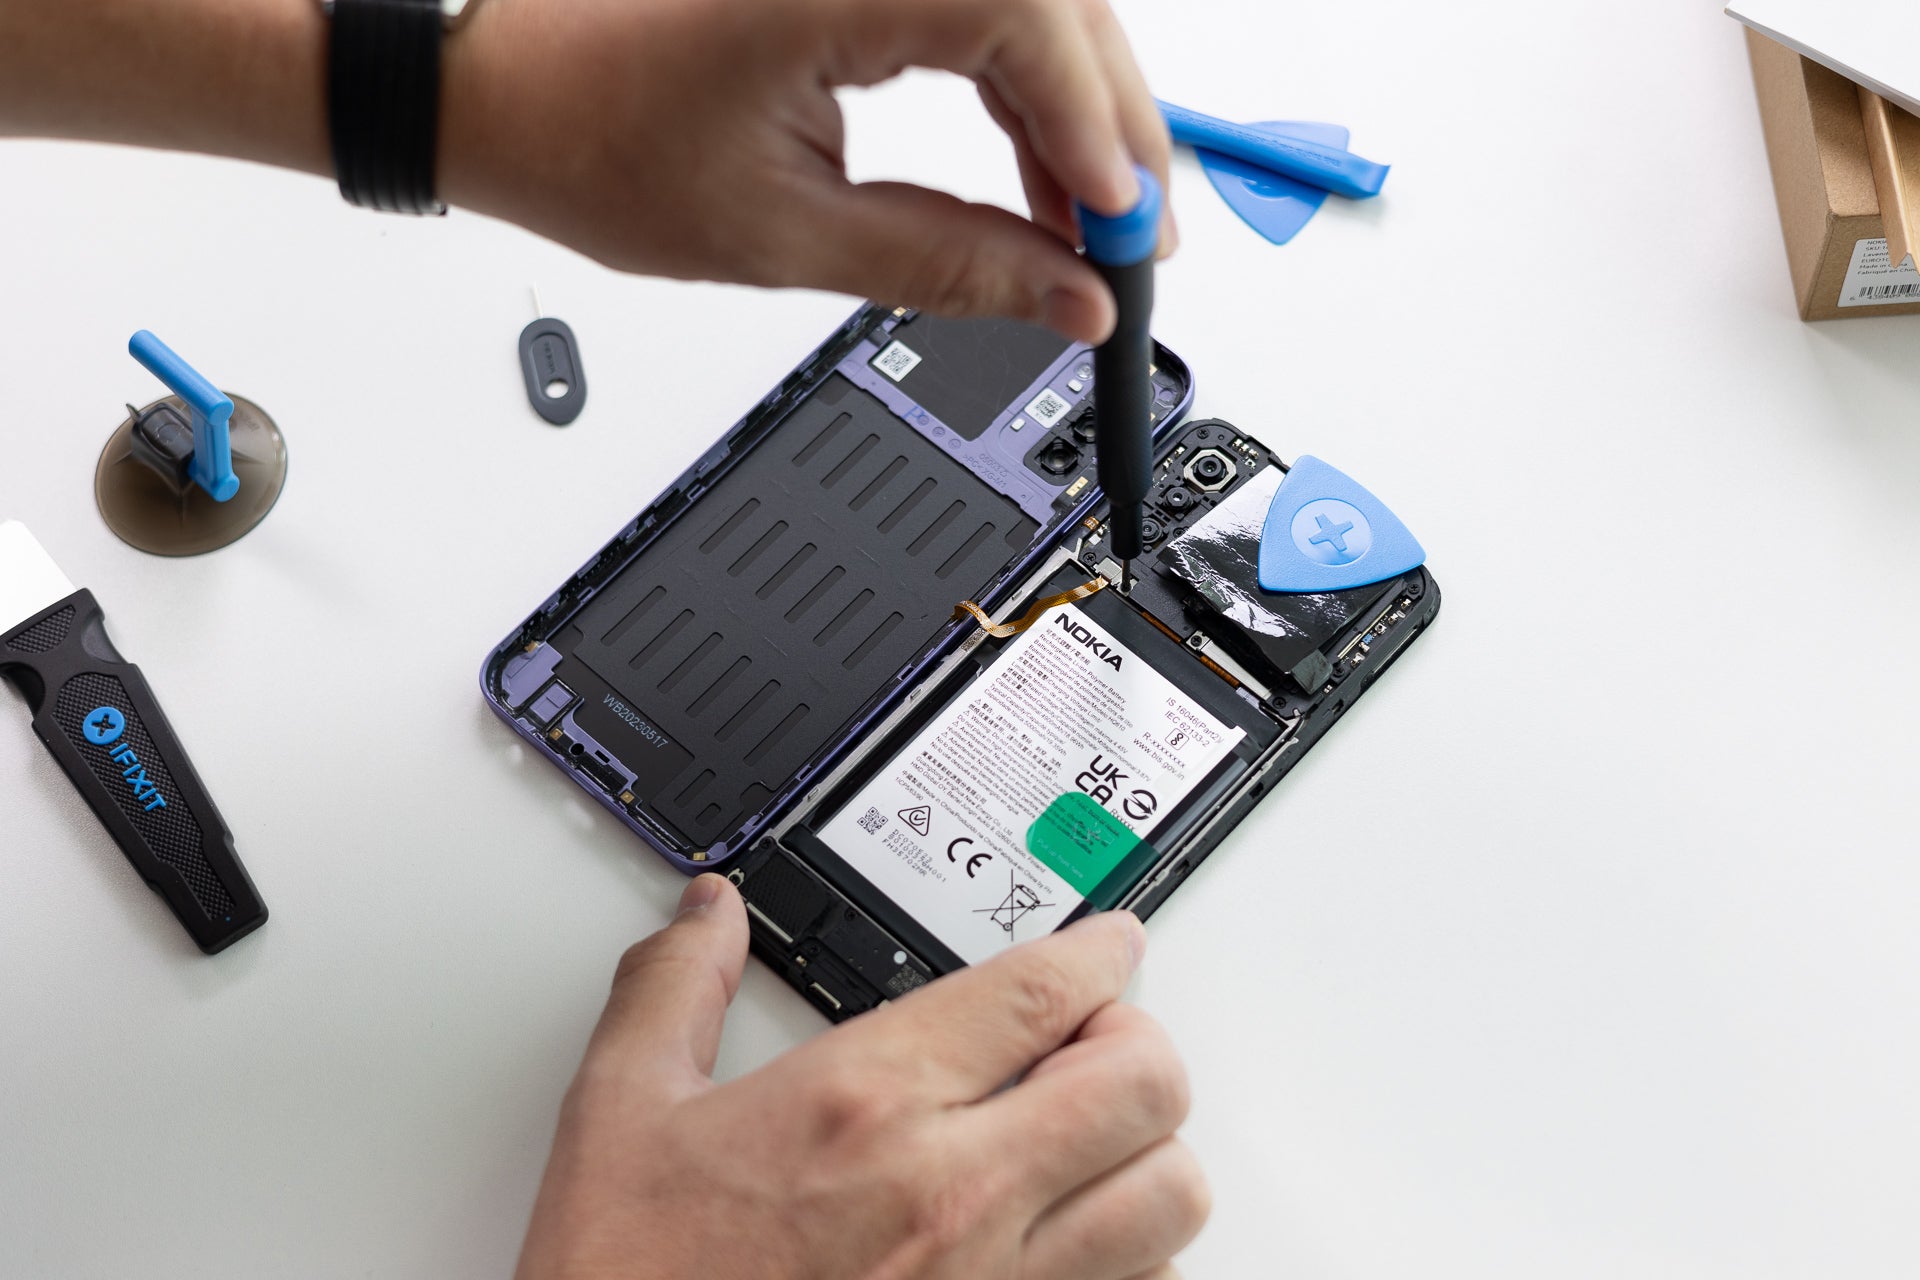
Step 3: Removing the plastic cover that matters
You have to remove the battery cable bracket first, probably...
The top plastic that covers the motherboard has to go. The battery cable is underneath, and even though you could technically remove the bracket holding that cable and try to lift the battery, the iFixit guide recommends removing the whole motherboard cover.
Looking at the mess of screws and tools, I can't help but feel like an engineer
I used the provided Philips screwdriver to undo the screws and lift the whole thing off, battery cable bracket included.
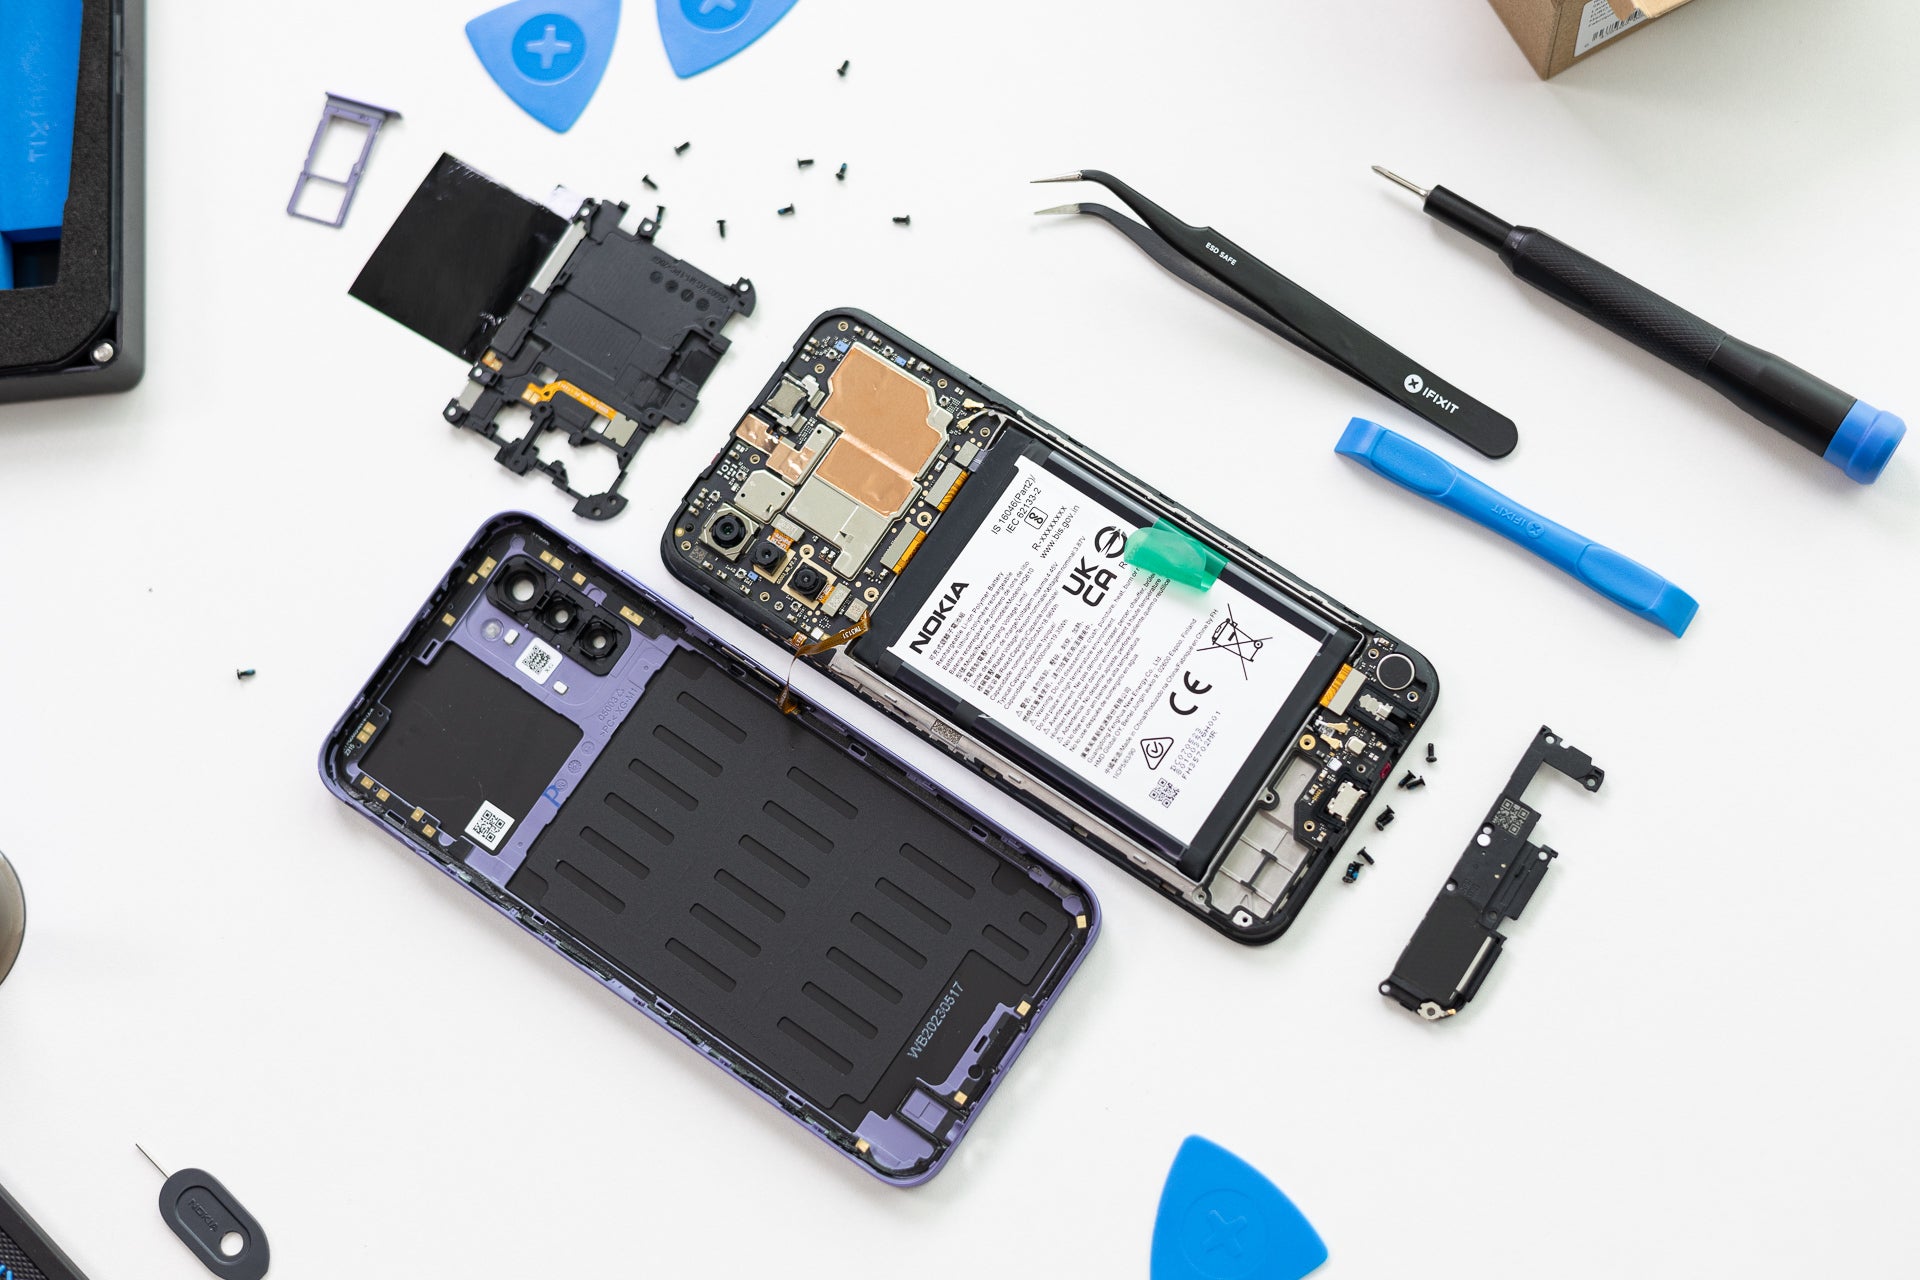
Step 4: Disconnecting the battery cable
This is done with a tool called a spudger; you stick it under the connector and gently lift it with a wiggling motion. Plain and simple, I just started to worry about putting these little connectors back into their pockets.
The battery looked ready to go at this point, so I braced myself for the hardest part, as it required a fair amount of force.
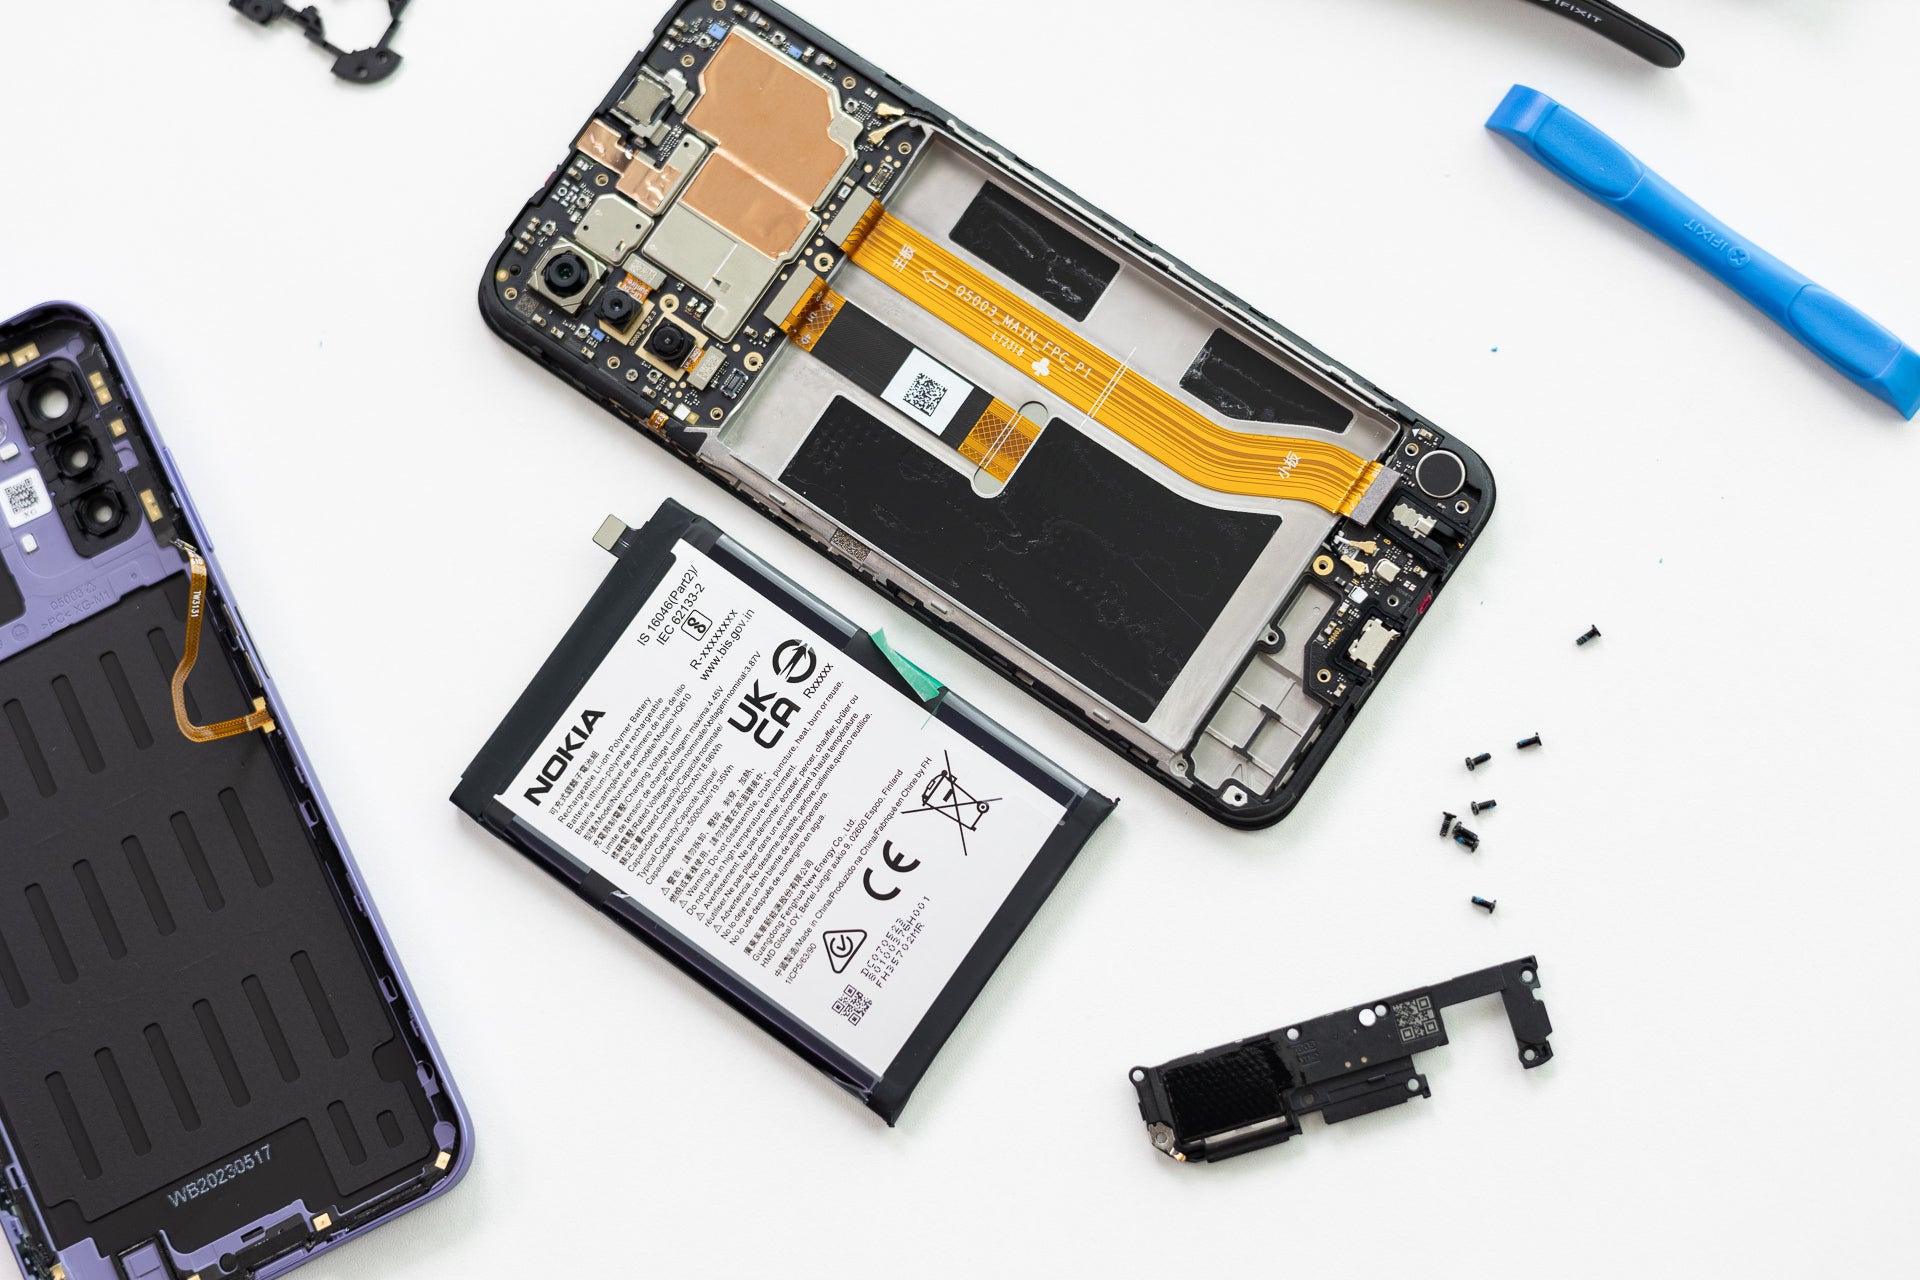
Step 5: Pulling out the battery
Despite the broken tag, the batter popped out
This wasn't easy. There's a green plastic pull tab that you pull to separate the battery from the adhesive underneath. After some careful pulling and wiggling with no effect whatsoever, I applied a little more force and snapped the plastic band in half.
Fortunately, there was enough of the thing left to hold onto, and with the help of the funnily named spudger, I was able to pry the battery out. It went out with horrible tearing noises that got me worried about the display and flex cables underneath, but everything was safe and sound.
Step 6: Swapping the battery and putting everything back together
The mission was a success, nothing broke or got damaged
The Nokia that I used in this experiment was brand new, so I just put the battery back in and repeated all the steps in reverse order. I also realized that once you've done this one or two times, it gets much easier. By the time I had the phone assembled again, there were no missing screws or leftover parts, which is a good sign.
I powered up the phone, and it booted with no traces of my surgical intervention. Success. Mission accomplished! Now it's time for some final thoughts.
Final thoughts
This neat toolkit was completely unnecessary for battery replacements a couple of years ago
So, can you change the battery on your phone in 2023? Absolutely! If the phone is designed to be user repairable, if you have the right tools, and if you can follow instructions closely (or, in my case, loosely).
The real question here is, why do we need to train ourselves in smartphone repair to be able to do something that used to require five seconds, no tools, and no special training whatsoever? I was able to swap the battery in my old LG G3 in mere seconds, and this phone was much thinner than the Nokia G42, and while not technically water resistant, it survived more than a couple of water encounters.
To be fair to HMD Global, making the phone repairable is a step in the right direction. I'm not sure if anyone would actually try to change a broken screen, but it's better to have that option nonetheless.
Six-month unlimited plan is now 57% off
$90
$210
$120 off (57%)
Mint Mobile is now allowing you to get whichever plan you like for either three, six, or 12 months for just $15/mo. If you go for the six-month unlimited service, for instance, you'll now have to pay just $90 upfront instead of $210.
Mariyan, a tech enthusiast with a background in Nuclear Physics and Journalism, brings a unique perspective to PhoneArena. His childhood curiosity for gadgets evolved into a professional passion for technology, leading him to the role of Editor-in-Chief at PCWorld Bulgaria before joining PhoneArena. Mariyan's interests range from mainstream Android and iPhone debates to fringe technologies like graphene batteries and nanotechnology. Off-duty, he enjoys playing his electric guitar, practicing Japanese, and revisiting his love for video games and Haruki Murakami's works.
A discussion is a place, where people can voice their opinion, no matter if it
is positive, neutral or negative. However, when posting, one must stay true to the topic, and not just share some
random thoughts, which are not directly related to the matter.
Things that are NOT allowed:
Off-topic talk - you must stick to the subject of discussion
Offensive, hate speech - if you want to say something, say it politely
Spam/Advertisements - these posts are deleted
Multiple accounts - one person can have only one account
Impersonations and offensive nicknames - these accounts get banned
To help keep our community safe and free from spam, we apply temporary limits to newly created accounts:
New accounts created within the last 24 hours may experience restrictions on how frequently they can
post or comment.
These limits are in place as a precaution and will automatically lift.
Moderation is done by humans. We try to be as objective as possible and moderate with zero bias. If you think a
post should be moderated - please, report it.
Have a question about the rules or why you have been moderated/limited/banned? Please,
contact us.


![Verizon denies SpaceX is buying it [UPDATED]](https://m-cdn.phonearena.com/images/article/182254-wide-two_350/Verizon-denies-SpaceX-is-buying-it-UPDATED.webp)
![T-Mobile continues to experience major network issues across the nation [UPDATED]](https://m-cdn.phonearena.com/images/article/182238-wide-two_350/T-Mobile-continues-to-experience-major-network-issues-across-the-nation-UPDATED.webp)


Things that are NOT allowed:
To help keep our community safe and free from spam, we apply temporary limits to newly created accounts: