In the first part of this story, we thought iPhone users how to:
Take straight photos every time, all the time
Take more appealing selfies with an iPhone camera setting based on an actual mind trick
Be less distracted when taking photos with the most simple iPhone camera trick
Get a more dramatic picture every single time you press the shutter (no editing needed)
Well, it’s part of the second instalment of this useful “tips and tricks” series. And just like the first set of tips and tricks, the following features take literally seconds to set up (or learn), and once you start using them, you’ll never look back!
Here are some of the truly magical iPhone camera tricks you’ll learn about down below:
How to edit hundreds of photos and videos in seconds - that’s not a joke, I promise
How to make the light in your iPhone photos and videos look more realistic every time, all the time
How to take a Portrait mode photo without the need to take a “Portrait mode” photo
How to take a stunning Portrait mode photo with almost zero light
How to use Action mode to get super smooth videos when recording through the window of a moving car
How to use the iPhone’s photo editor to draw the straightest, most perfect arrow to show your friend exactly where they should be looking in a screenshot
Like the first time, these aren’t just some “tips and tricks” I’ve picked so I can put together this article. I use every single one of them on my iPhone 13 mini and the iPhone 15 Pro Max I have for testing.
Recommended For You
And while some of you might be familiar with some of the tricks and features listed here, I know you’ll learn at least one new iPhone camera trick, and if that’s the case, then you win $100… Aaand… I just checked, and the last bit is 100% not true.
On to the iPhone camera tricks…
Taking photos with iPhone will never be the same again: 10 secret iPhone camera features you need to try ASAP
Did you know you can “copy-paste” your photo/video edits on iPhone?
Honestly, I don’t recall the exact moment I learned this iPhone camera trick, but I promise you two things: For one, the moment I found out I can do that, editing photos/videos on iPhone became an entirely different process for me. And two, I genuinely believe this might be one of the most underrated iPhone features in history!
For those who already know it, of course, I’m talking about the ability to copy-paste photo/video edits for faster, consistent editing.
Go to your Photos app, edit a single photo/video to your liking > From the Editor, press the three dots in the top right corner > Copy edits > hit the Paste edits button > Keep pasting your edits on to different photos/videos. Or you know - just take a look at the video tutorial I’ve recorded...
Your iPhone camera (almost) always takes photos and videos that are too bright but the fix can be very simple
A mild example of overexposing. Left - original iPhone photo. Right - Brightness set to -30, Brilliance set to -20, Saturation set to -5.
A more apparent example of overexposing when taking a photo under artificial lighting. Default iPhone picture (left) vs a more realistic edit/rendition (right).
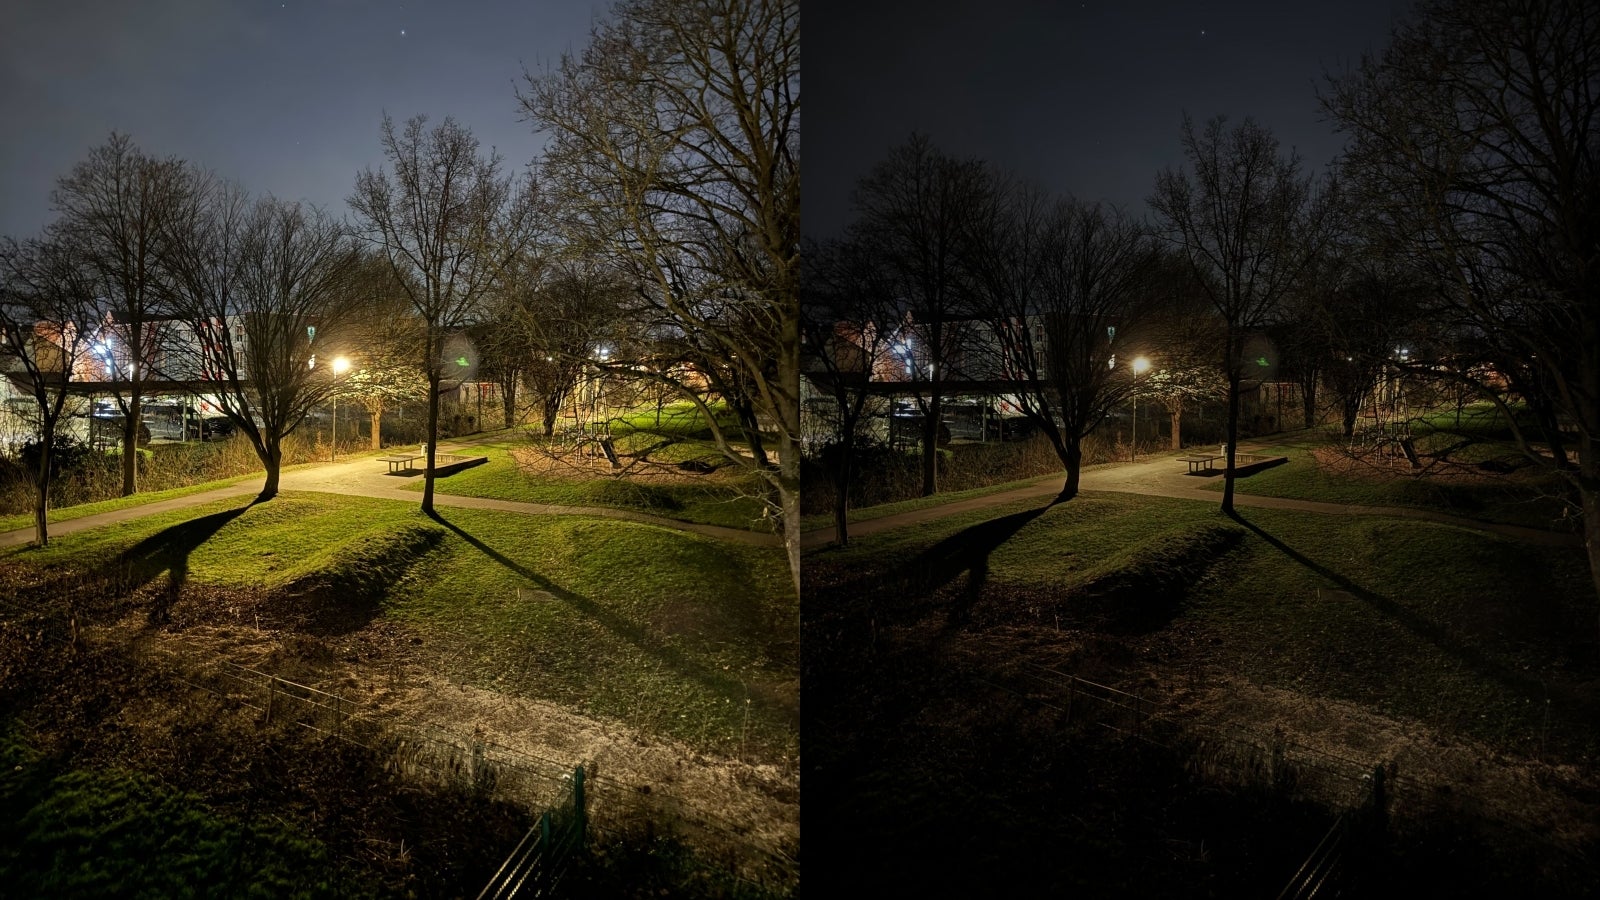
A classic example of iPhone brightening up Night mode photos too much (left). On the right, edited as follows - Exposure, Brilliance, and Brightness set to -50, Saturation set to -25, Vignette set to +15.
This one’s a more practical tip I have for you, but I truly believe it can make your photos and videos better, and more realistic, and there’s two ways to go about it - by changing your iPhone camera settings, or by editing your photos/videos after the fact. Either way, I’m talking about lowering the exposure/brightness of your photos and videos.
Like many other phone cameras, the iPhone camera also loves overexposing, or simply making photos and videos way too bright for no apparent reason, and they often end up looking washed out.
Your first option is to turn down the exposure of your photos and/or videos - this can be done individually. When you open your iPhone camera, you’ll see a tiny histogram-looking button in the top left corner. This lets you set your default exposure - I suggest going with at least -0,3, although -0,7, or even -1,0 can be needed when taking photos/videos when it’s too bright outside/indoors.
That being said, the exposure setting can be inconsistent, which is ironic (since it’s a permanent setting), and that’s because your lightning conditions always change. In that case, your second option is to simply edit your photos/videos after the fact, which might be the best way to go about it after all. Simply hit the Edit button in your camera app, and start setting Exposure and/or Brightness down until the photo/video looks more realistic.
You’d be surprised to see to what extent the iPhone camera can brighten things sometimes. I often edit my photos (and especially my videos) by dragging the Brightness down by 50% - although around 30% is often more accurate to the scene.
And don’t even get me started on Night mode photos, which pretty much always come out far, far brighter than they should be.
Pro tip: You often need to drag down the Brilliance and Saturation too - if you want the most accurate photo.
Take stunning Portrait mode photos with iPhone 15 without the need to use “Portrait mode” - even at night!
This is how an iPhone 15 Pro Max 5x night-time portrait comes out without Night mode, or the flash. Image by Danny Winget on YouTube.
As of now, this one only applies to iPhone 15 users, who might/might not know they no longer need to switch to Portrait mode to take a Portrait mode photo. With iPhone 15 series, every photo of a human/pet you take is automatically saved as a Portrait mode photo too, and you can use the toggle that appears in the top left corner of the photo to switch between the portrait and standard version of the picture.
But what some people might’ve missed is that the same applies to photos of virtually anything else - not just people/pets. Simply tap on the thing you’re taking a photo of, and if the subject is within the acceptable distance, you get the same automatic Portrait mode shot without going into “Portrait mode”.
You’re missing out on some great Portrait mode photos at night, because you aren’t using your iPhone’s flash
The iPhone 15 Pro Max couldn’t focus on the subject in this 5x portrait attempt (left) vs the nice 2x portrait I took with the flash on.
iPhone 15 Pro Max 2x Night mode photo (left) vs 2x flash photo (right). Turning on the flash lets you use Portrait mode to blur out your messy bathroom while getting a far Sharp-er picture.
But to take it a step farther and give you a real Portrait mode “pro tip”, I’ll tell you how you can take the best portraits you can possibly take with your iPhone - even when it’s dark outside.
As it stands, Apple only lets you take Portrait mode + Night mode photos with your 1x camera, but using the above-mentioned method, you can simply take a standard picture with any of your zoom cameras (2x, 3x, 5x) by turning OFF Night mode, and turning on your flash! You can also go straight into Portrait mode so you don’t need to tap on your subject.
Sure, the flash can be a bit too harsh sometimes (like in the picture of the stuffed deer) but that’s mostly because you’re too close to your subject - usually shooting with the 1x camera, or using the 2x zoom without enough room to step back (again, like in the photo of the stuffed deer).
But I’d argue the flash still has a place in smartphone photography if you know how and when to use it. In fact, the iPhone's powerful flash (in tandem with the LiDAR sensor) can produce some nice 2-3x zoom Portrait mode photos without giving you the familiar “flash look” you’d get if you were shooting up somebody’s nose. Not to mention, these zoom portraits would literally be impossible to take using Night mode, since Apple hasn’t enabled that feature.
The nice flash portraits are possible, because Apple has (apparently) optimized the intensity of the flash (light) depending on which camera you’re using and the distance from your subject (thanks to LiDAR), meaning Night mode isn’t always going to be your best bet for night portraits, which (again) you can only take with the your primary (1x) camera.
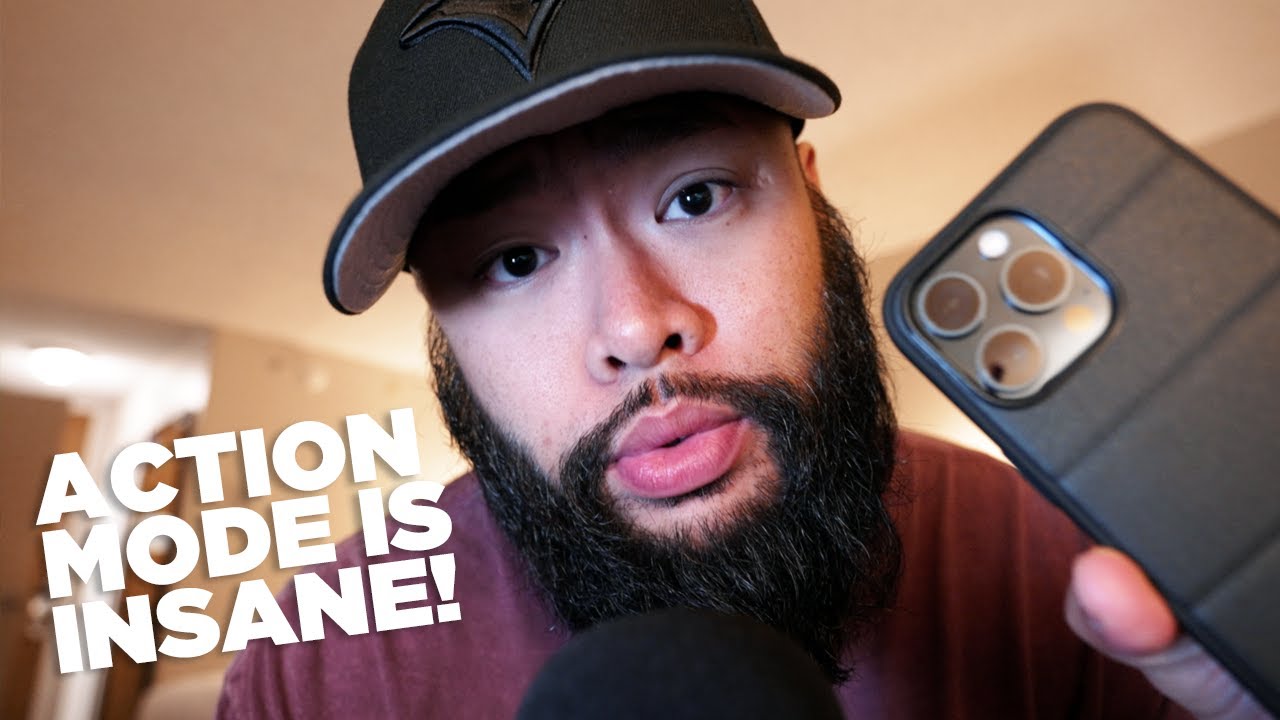
Action mode on iPhone isn’t only for videos that involve “action”, running, and jumping around
And because this story is getting way too long, I’ll keep the last bits short.
You’re in a moving car/train and want a smooth video? You can use the iPhone’s Action mode not only when walking/running but when recording videos from a moving vehicle.
The example above shows a video taken with the iPhone’s 5x zoom camera while the person is taking a bumpy ride in a golf cart.
The only thing to keep in mind is that Action mode needs enough light to work, and if it’s too dark, iPhone simply tells you it can’t engage Action mode.
Always get perfectly straight lines when drawing over an iPhone photo/screenshot
And to finish it off, this one isn’t necessarily an iPhone “camera” trick but I know it’ll be super useful to everyone!
When editing an iPhone photo in order to draw an arrow/shape that highlights something in the photo/screenshot, drawing a straight line/shape can be nearly impossible. Unless you know this trick.
As shown in the screen rec I took, when drawing a line/shape over a picture, simply hold your finger down without letting go, and the lines/shapes magically become… straight. The more you know!
Get Visible as low as $20/mo for 1 year. Limited time offer with code: FRESHSTART
$20
/mo
$25
$5 off (20%)
Offer Ends 6.1.2026 at 11.59pm ET. New members get $5/mo off the $25/mg Visible plan, $35/mo Visible+ plan, or $45/mo Visible+ Pro plan for the first 12 months. Promo code FRESHSTART required at checkout.
Martin, a former tech journalist at PhoneArena, brings a unique blend of humor and insight to his work. His fascination with smartphones began with a Galaxy Young and evolved through a series of trades and upgrades, making him a self-proclaimed smartphone nerd. Martin's content often combines current analysis of market trends with historical references and future predictions. Whether it's a deep dive into technical issues or a first-person commentary on industry events, Martin's articles are designed to inform and engage. His critical perspective is driven by genuine curiosity and a desire to keep readers informed, not by any corporate sponsorship.
Recommended For You
COMMENTS (9)
COMMENTS (9)
All comments need to comply with our
Community Guidelines
PhoneArena Community Rules
A discussion is a place, where people can voice their opinion, no matter if it
is positive, neutral or negative. However, when posting, one must stay true to the topic, and not just share some
random thoughts, which are not directly related to the matter.
Things that are NOT allowed:
Off-topic talk - you must stick to the subject of discussion
Offensive, hate speech - if you want to say something, say it politely
Spam/Advertisements - these posts are deleted
Multiple accounts - one person can have only one account
Impersonations and offensive nicknames - these accounts get banned
To help keep our community safe and free from spam, we apply temporary limits to newly created accounts:
New accounts created within the last 24 hours may experience restrictions on how frequently they can
post or comment.
These limits are in place as a precaution and will automatically lift.
Moderation is done by humans. We try to be as objective as possible and moderate with zero bias. If you think a
post should be moderated - please, report it.
Have a question about the rules or why you have been moderated/limited/banned? Please,
contact us.


Things that are NOT allowed:
To help keep our community safe and free from spam, we apply temporary limits to newly created accounts: