How to do a Reverse Image Search on iPhone and Android

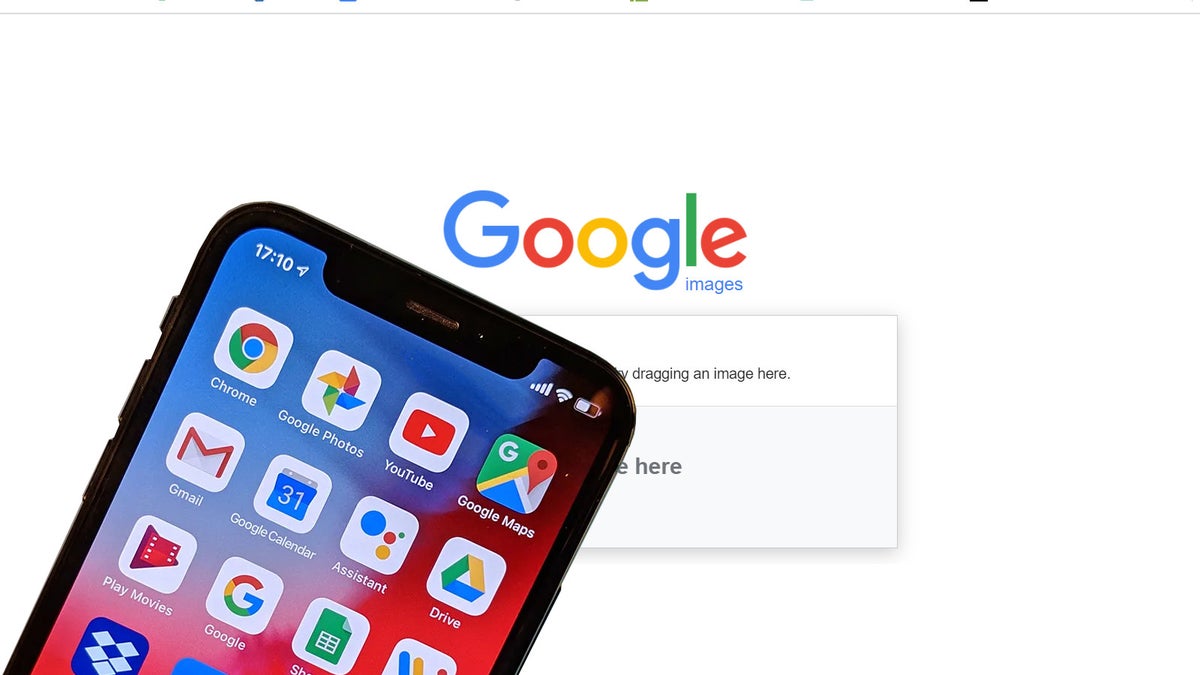
If you've ever wondered how on Earth you can perform a reverse image search on your smartphone, you've come to the right place. Of course, it's very easy to do so on a computer: You simply drag the image, whether from your system or from the web, into the Google Images search bar—and voilà!
However, on a smartphone—whether iOS or Android—it can be a fair bit more confusing, if you don't know exactly where the function is. There are many instances when that knowledge may come in handy for you to do some on-the-spot detective work.
1. First, you need to open the Google or Chrome app—either will work.
This will bring up a selection of results selected by Google Lens you can scroll through. If you want the more traditional Image Search experience, you can scroll all the way down the results and click on the prompt: Didn't find what you were looking for? Retry with Google Images.
3. Look up the image you want to "reverse search," and tap on it.
4. Tap Virtually Search This Image at the top right corner.
1. Open the Google app (not Chrome).
- iPhone 13 leaks, release date, price, and specs
Maybe your friend posted a suspicious vacation photo that looks too good to be true, and you want to check if it was stolen—or you just can't remember the name of the landmark in that photo you took in Europe last year, and you want to look it up.
Whatever the reason, it isn't as daunting as you may think. While there are ways to perform this action through nearly every big third-party browser, this tutorial will be focused on Google reverse image searching in particular.
You need the Google Chrome app
For starters, you should have that installed on your device, no matter whether it's iOS or Android. You should make sure it's updated (which you can see how to do by going here for Android phones, and here for iOS devices).
How to do a Reverse Image Search on Android
A) Reverse Image Search from web images (Android)
2. Search for and find the picture you want to "reverse image search." (You'd likely be already here if you need this tutorial.)
3. Tap and hold down on the picture until a prompt appears with several actions to choose from.
4. Choose Search with Google Lens.
This will bring up a selection of results selected by Google Lens you can scroll through. If you want the more traditional Image Search experience, you can scroll all the way down the results and click on the prompt: Didn't find what you were looking for? Retry with Google Images.
B) Reverse Image Search from your saved image library (Android)
1. Open the Google (not Chrome) app.
2. Go to the bottom and tap Discover, the first category in the row.
3. Tap the Google Lens symbol in the Search bar (it's a camera symbol next to the mic symbol!)
4. This will take you to the Google Lens camera, where you can either search with a new photo or upload an existing one. If you upload an existing one, you have the option to crop the image to the part you want to focus your search on.
How to do a Reverse Image Search on iPhone
A) Reverse Image Search from web images (iPhone)
Note: These steps are the same for the Apple's iPads as well!
1. Open the Google app, Chrome app, or Safari.
2. Search for images.google.com.
3. Look up the image you want to "reverse search," and tap on it.
4. Tap Virtually Search This Image at the top right corner.
B) Reverse Image Search from your saved image library (iPhone)
Note: This will not work for iPads, as they do not have this feature enabled!
1. Open the Google app (not Chrome).
2. Tap on Google Lens (the camera symbol next to the microphone symbol) in the Search bar.
3. To search for a new photo you want to take, face the target object with your camera and tap Search.
4. To search for a photo already in your library, tap Photo Picker Gallery and find your desired image.
5. You can either use the whole image, or narrow it down to a smaller part by pulling in the corners of the selection box.
5. You can either use the whole image, or narrow it down to a smaller part by pulling in the corners of the selection box.
Popular stories


Latest News


Things that are NOT allowed:
To help keep our community safe and free from spam, we apply temporary limits to newly created accounts: