How to schedule messages and social network posts with Schemes for Android
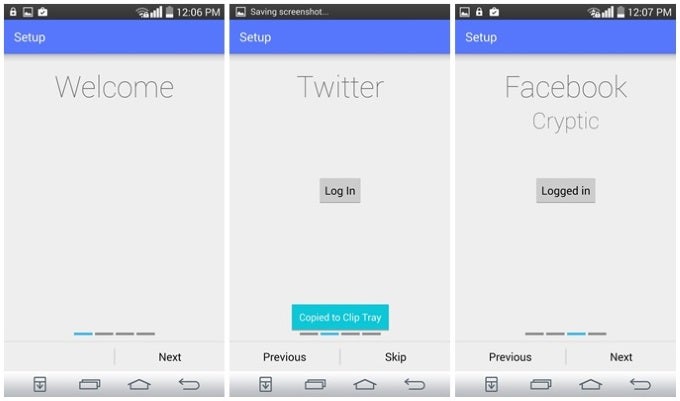
Install Schemes from the Google Play Store (it's free!) on your device and launch it. After the Welcome screen, you will be asked to set up your Twitter, Facebook, and Gmail accounts. This is done exactly the same as in other apps that ask you for the keys to your social domes. When you're done, you will be greeted by the app's interface, which is 100% Android and looks very recent. The button to the left lets you oversee the queue of scheduled messages. The rightmost three buttons is where it really gets interesting.
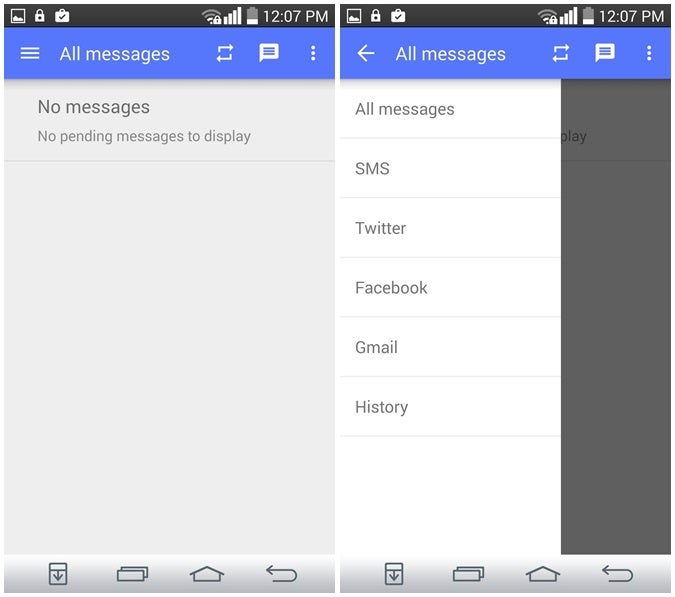
The first lets you access the app's Pro (paid) features, which constitute Repeating schemes, Images as attachments, custom themes, and new features coming with updates. The second one is where you'll start making Schemes. Tap it, and you'll reach a screen that lets you select the social mediums and email recipients you'll be broadcasting to, and it's where you'll be typing your message. When you're done, use the Set time and Set date buttons to schedule the message.
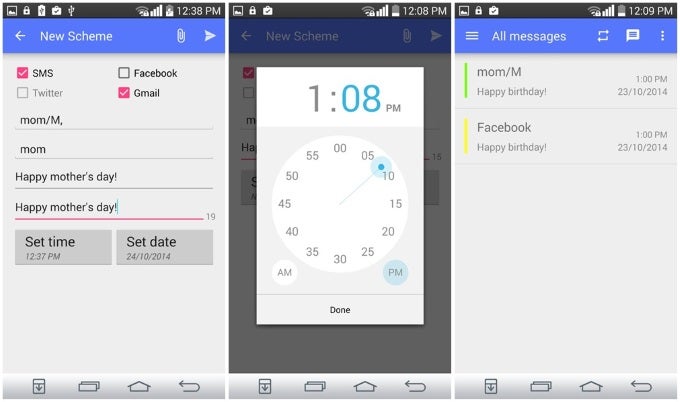
When you're done, tap the Right arrow button, and behold, your Scheme is activated. It will show up in the messages queue, and you'll be able to cancel or edit them before they are sent.
In Schemes' Settings menu, you are able to adjust the app's display of Notifications, or clear the message history. You can also opt to log out from your social accounts for whatever reason there is.
And that's pretty much it! Enjoy sending automated messages with a breeze.
And that's pretty much it! Enjoy sending automated messages with a breeze.
Follow us on Google News




Things that are NOT allowed:
To help keep our community safe and free from spam, we apply temporary limits to newly created accounts: