How to record your screen on Android 4.4 KitKat

We've been testing the new built-in feature ever since we got our hands on an early build of Android 4.4 KitKat, and we're bringing you this guide so that you can realize the full potential of Google's new OS, should you wish to do so.
Let's get to work
Before we start, a few notes. To start off, there's as of yet no app to do this, and the functionality appears to be aimed more at developers than the everyday users. But, no matter – it's simple enough – and you'll do just fine even with minimal technical knowledge. There are just a few things you need to do (download) first.
- The Android SDK package. The Mac version is under the 'Download for Other Platforms' header. I suggest an install in your system partition.
- ADB drivers. If you don't have those installed, you can download the Universal ADB Drivers package, courtesy of CyanogenMod's Koush.
- Both are completely straightforward installs, no sweat.
- Troubleshooting at the bottom of the guide
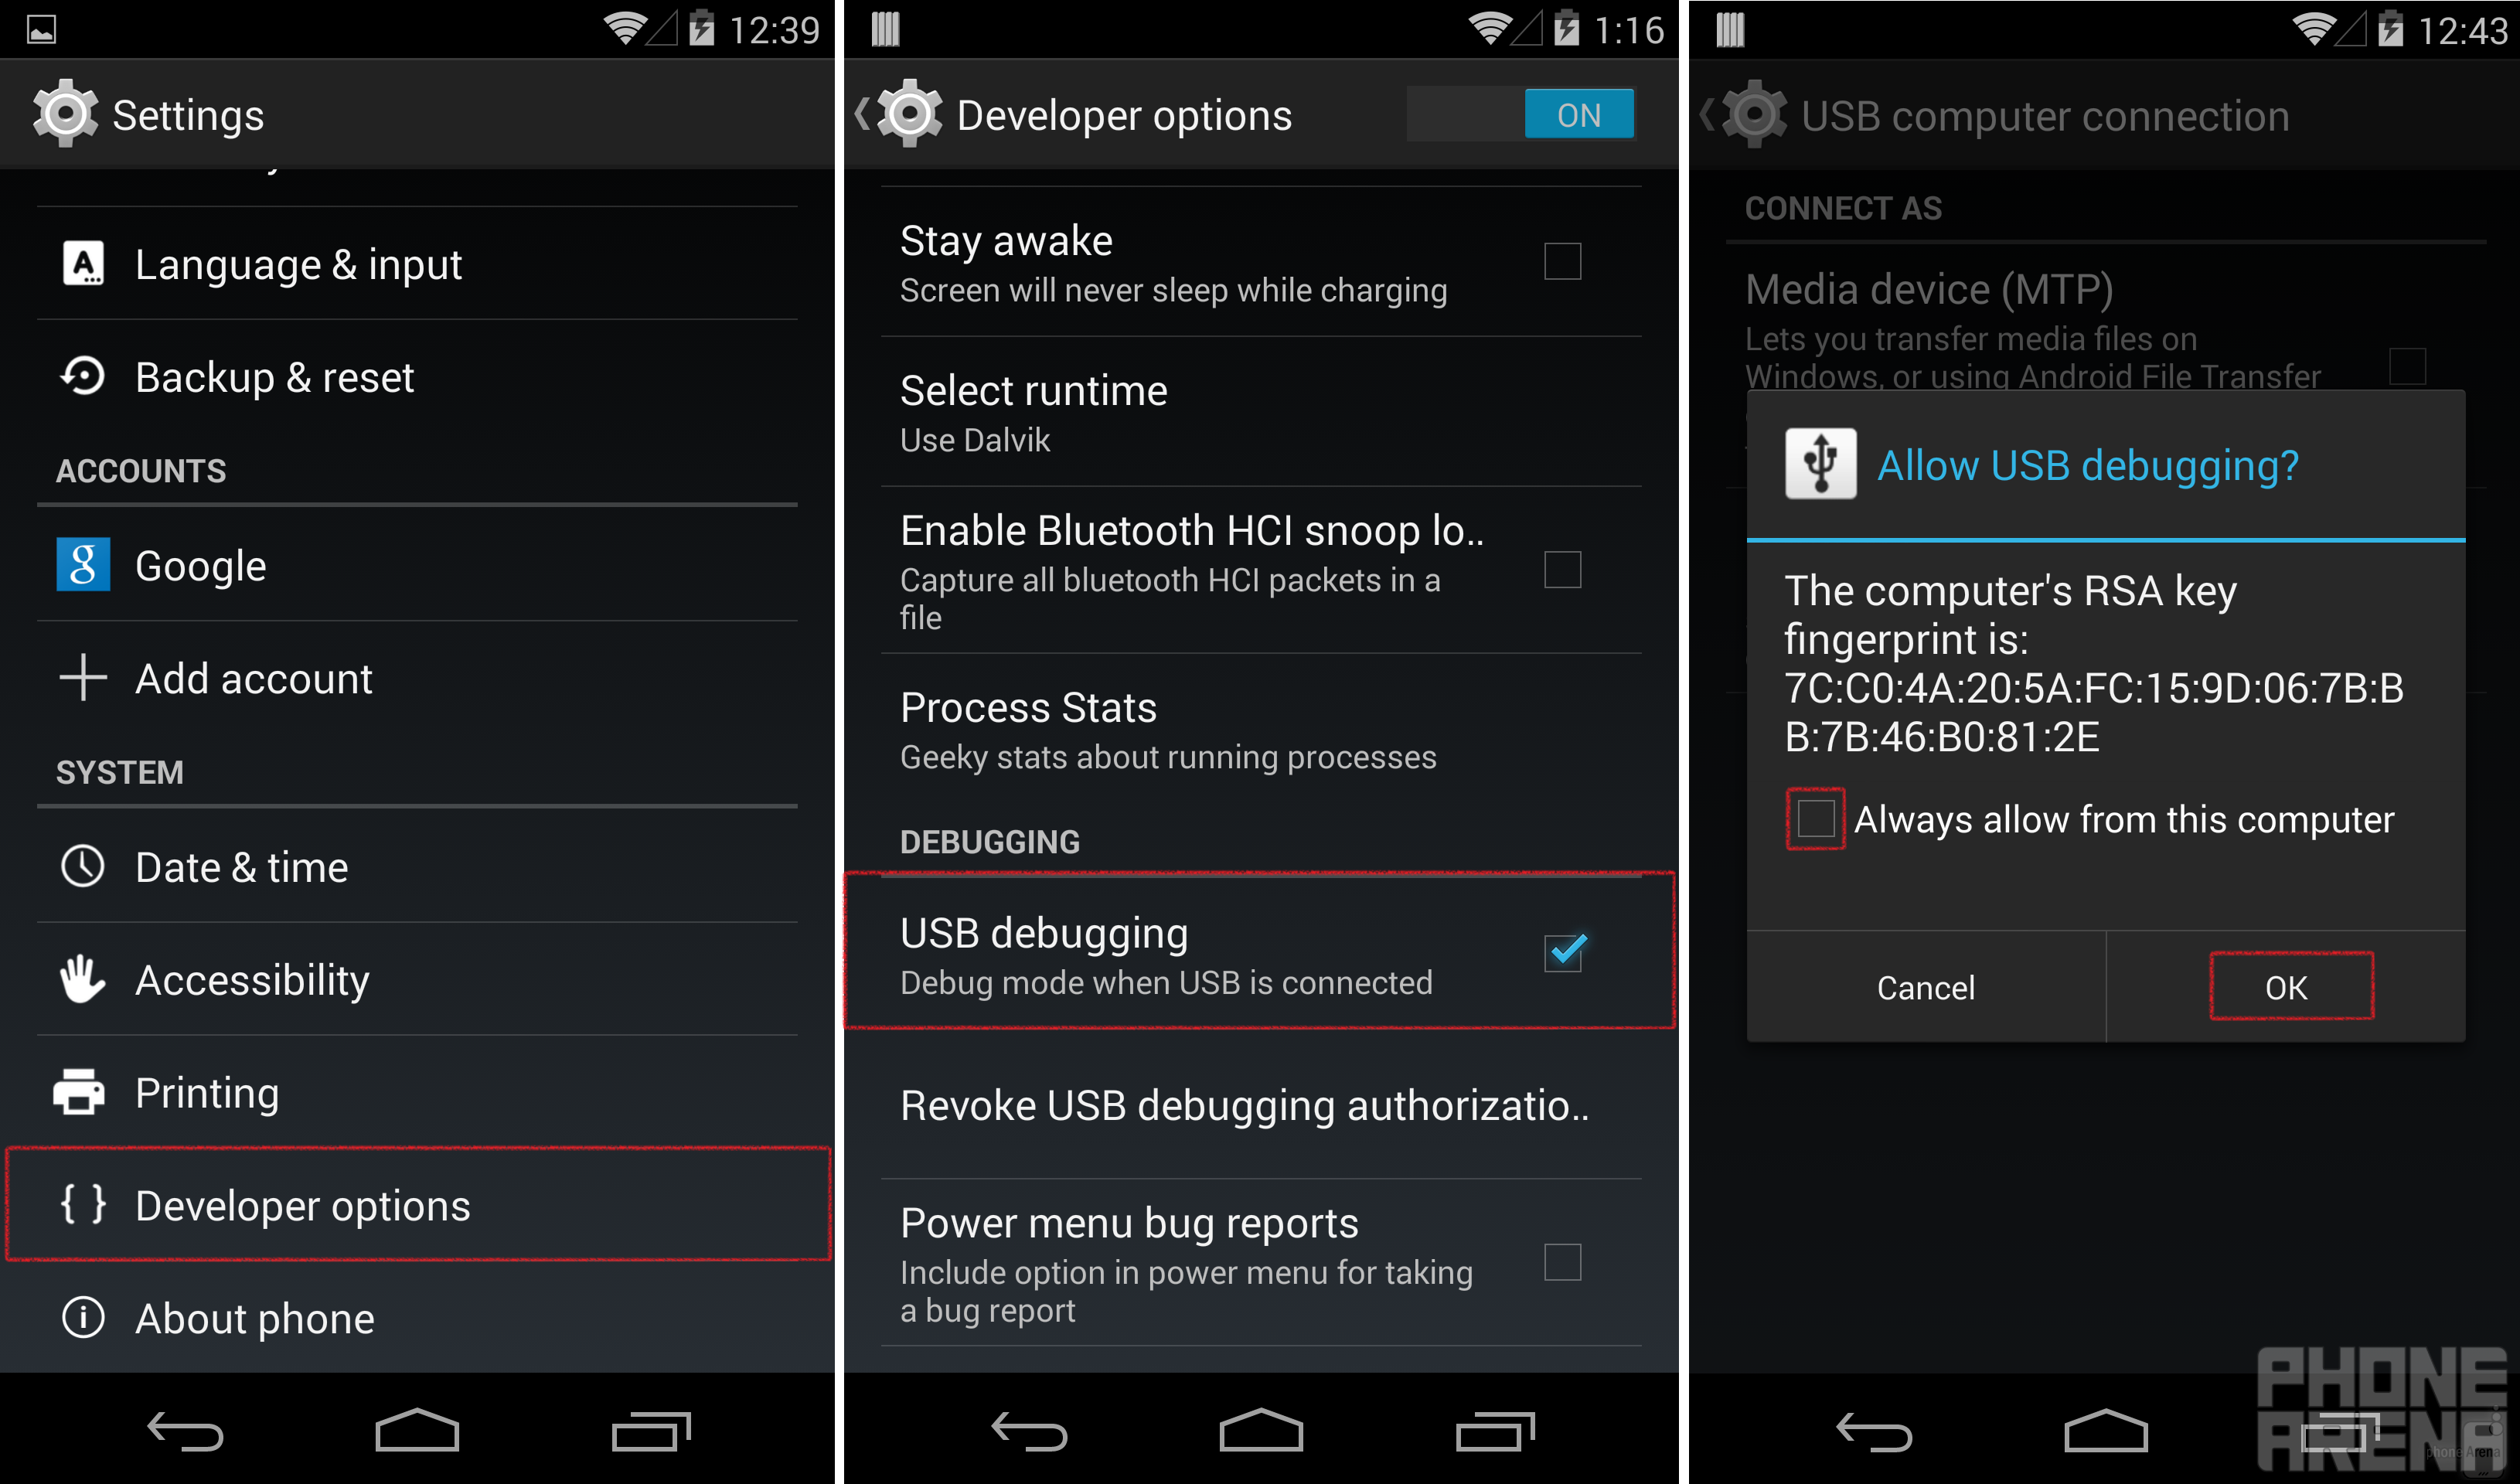
Step 1
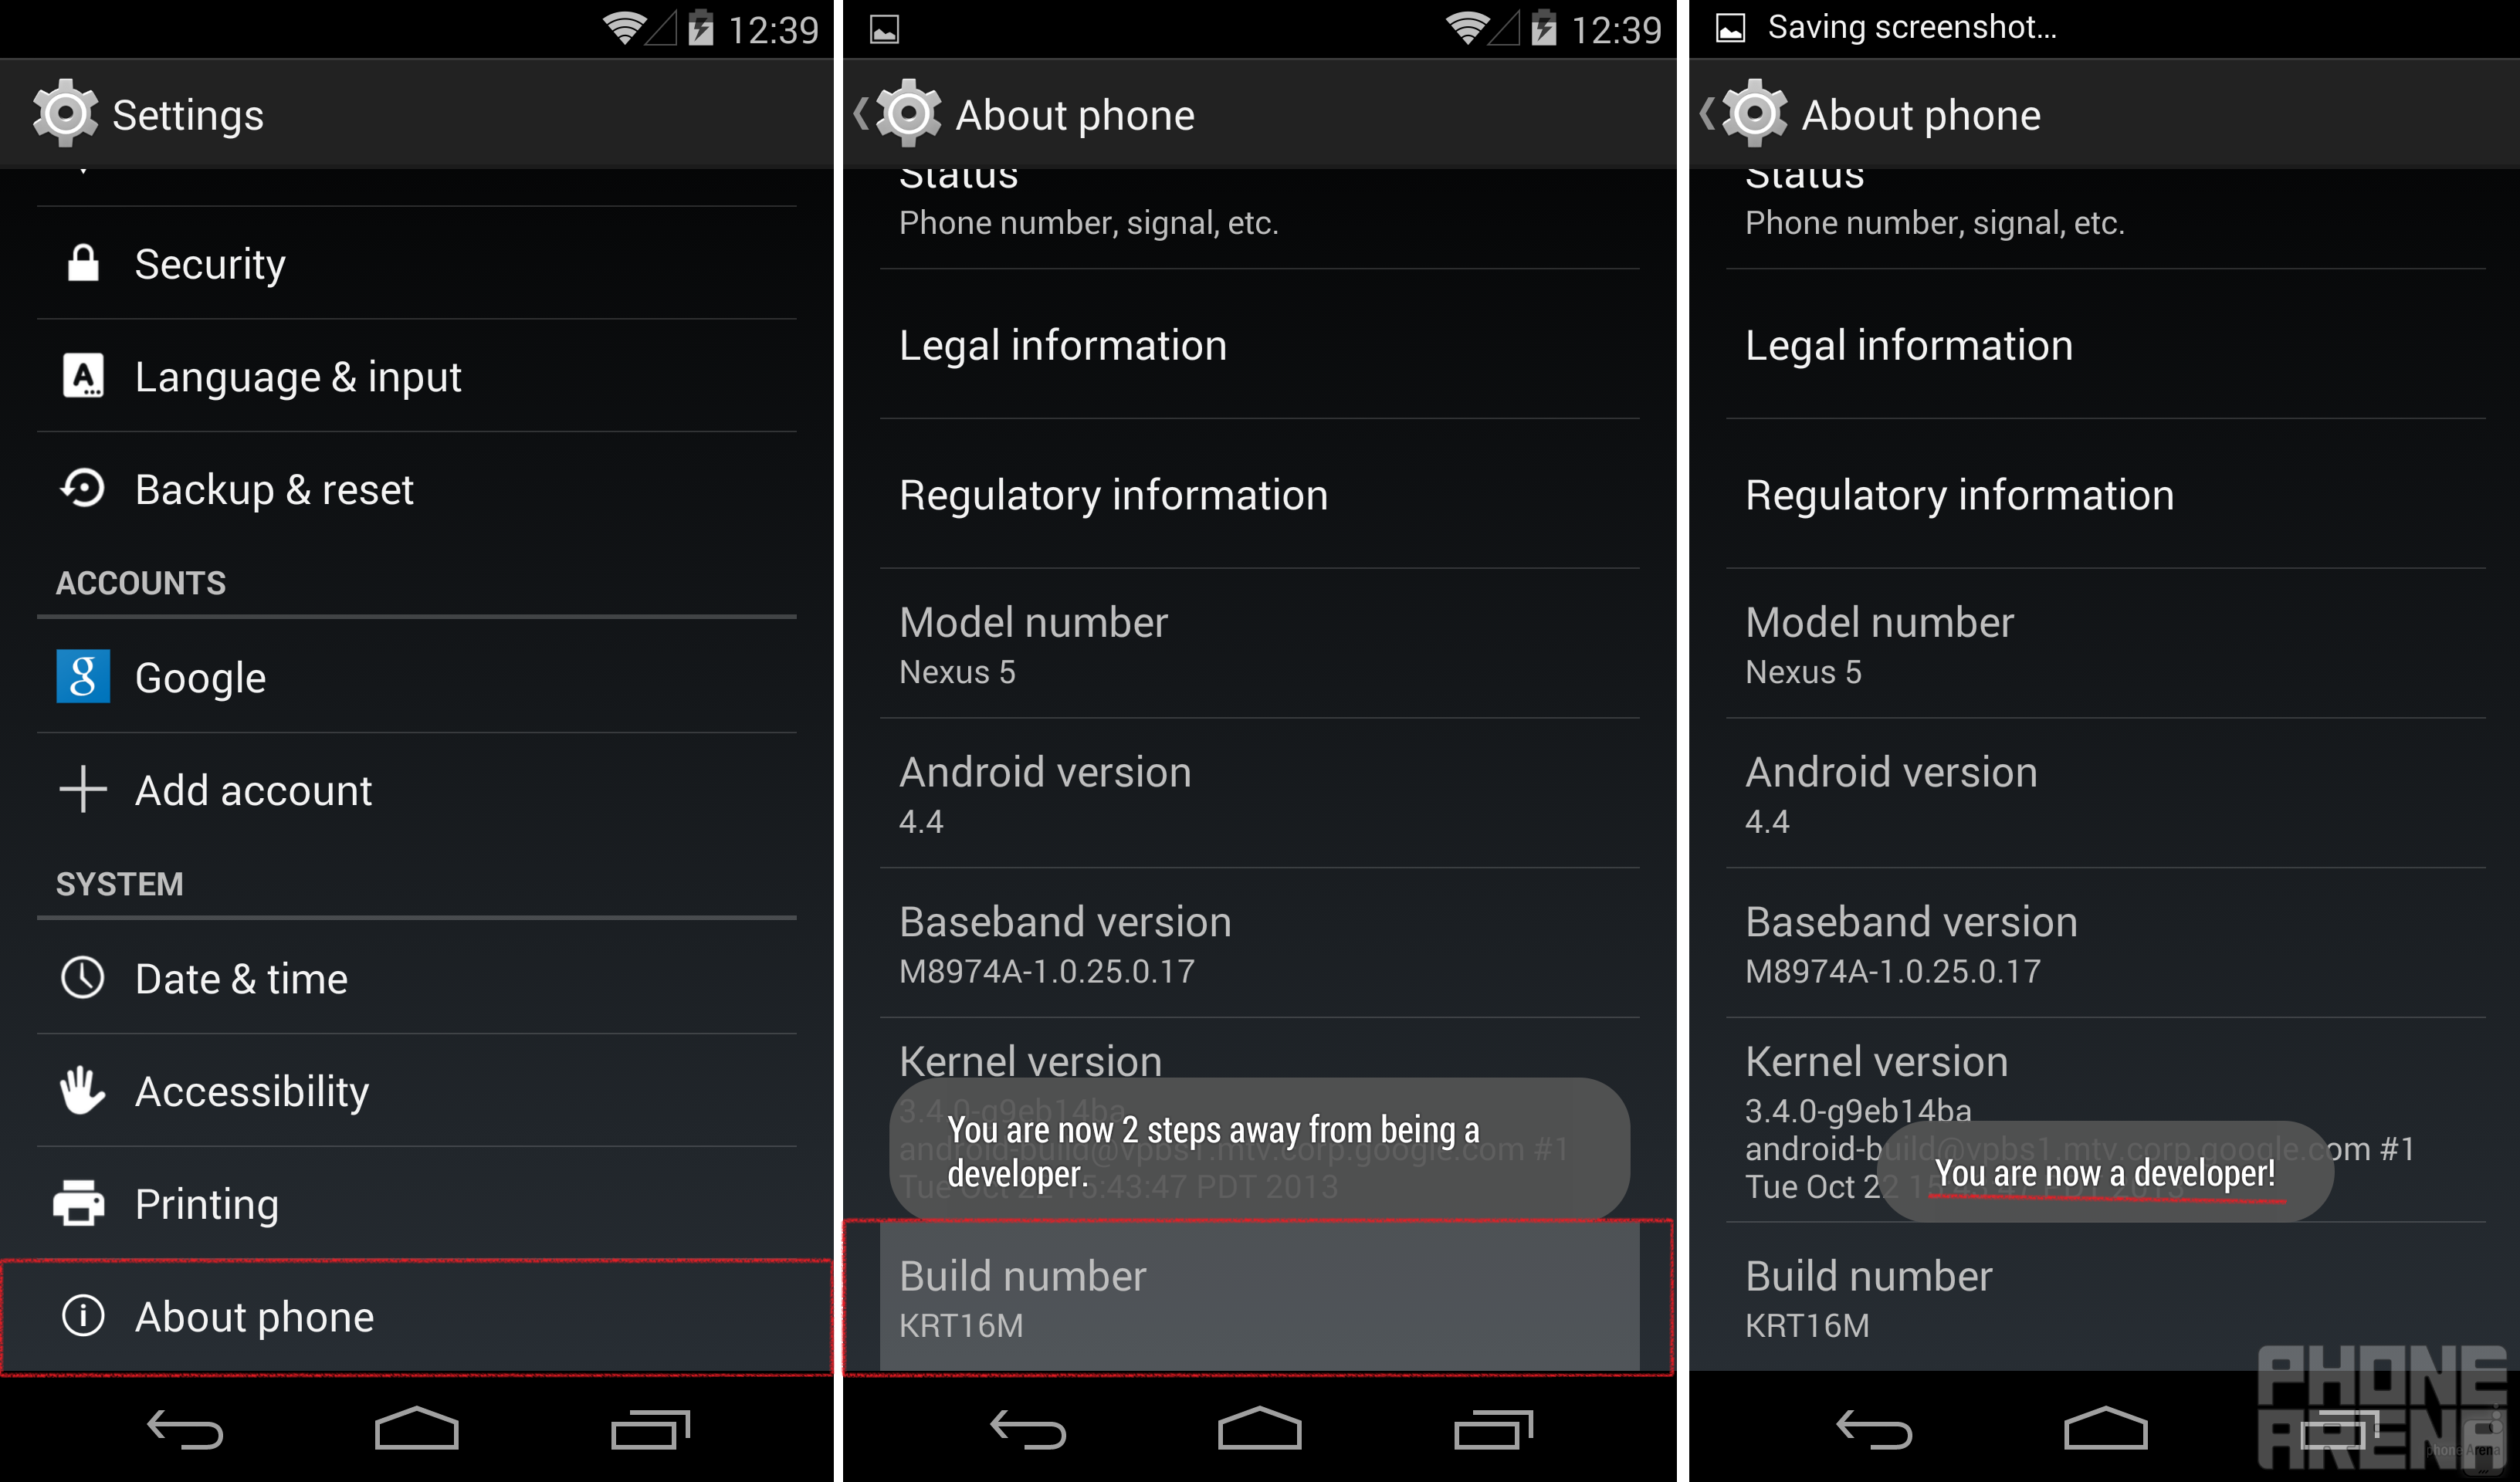
Head back and enter Developer options and tick USB debugging and okay the prompt. Slide down the notification panel and make sure your USB storage is set to Camera, and not Media device (MTP). This will prompt Android to request your consent to authorize your computer's specific fingerprint, tick 'Always allow from this computer' and agree to it, otherwise the tether won't work.
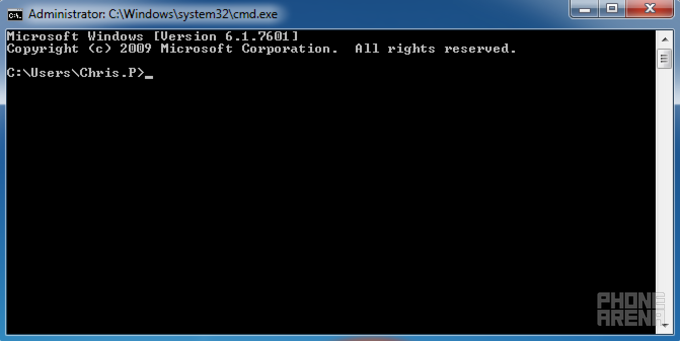
Step 2
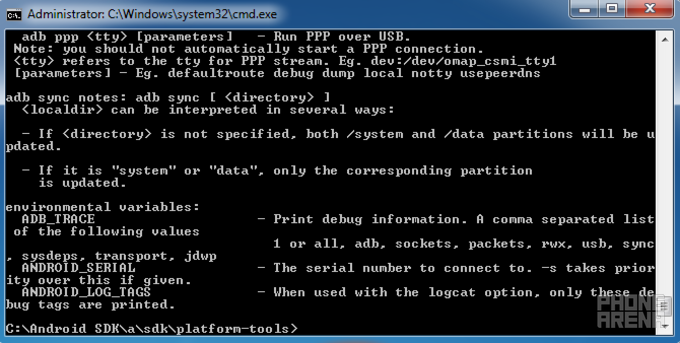
The final part requires you to open the scary looking, but ultimately docile command prompt. By far the easiest way is to simply open it through Windows' Start by typing in 'cmd'. Once open, it'll look like this:
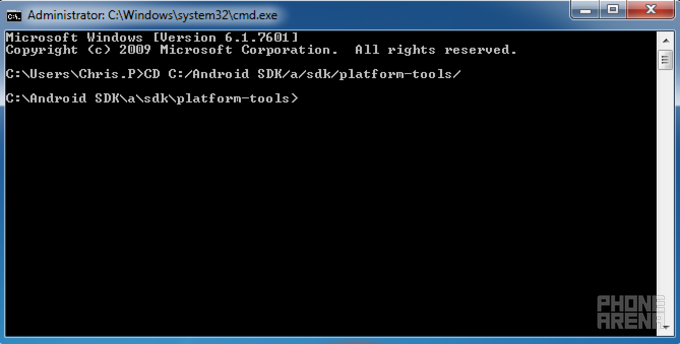
Step 3
All you need to do now is to navigate the command prompt to the tools-platform folder found within the Android SDK folder by using the CD command. By default, the path to it would read something like this C:/Android SDK/adt-bundle-windows-x86_64-20131030/sdk/platform-tools/. It's best that you just copy/paste (have to right click and select paste in cmd, no CTRL+V'ing) the path, though you can do it manually, too (rename the second sub-folder to something similar, like 'a' in my example below). Just type in 'cd' and input the path after that, so it looks like this:
Step 4
In order to verify that your ADB drives have been successfully installed and you've properly navigated to them, just type in 'adb'. If everything went alright, you'll see a bunch of confusing information spam your terminal:
Step 5
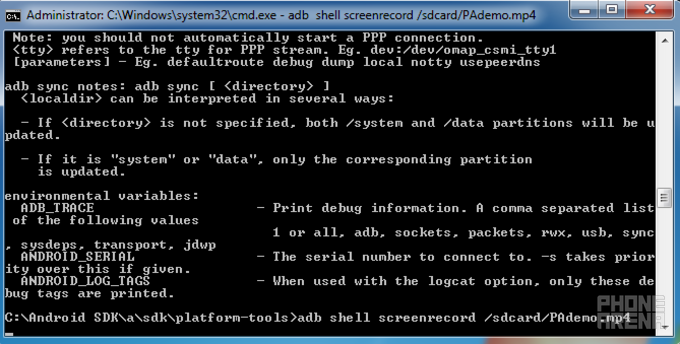
Voilà! You're now (hopefully) ready to capture some action. Just type in the command 'adb shell screenrecord /sdcard/INSERT-FILE-NAME.mp4' and hit enter, and you're live! Command prompt will start looking like this (you'll probably have to wait for it to launch the adb shell deamon first) for the duration of the capture (stop capture with CTRL+C):
Step 6
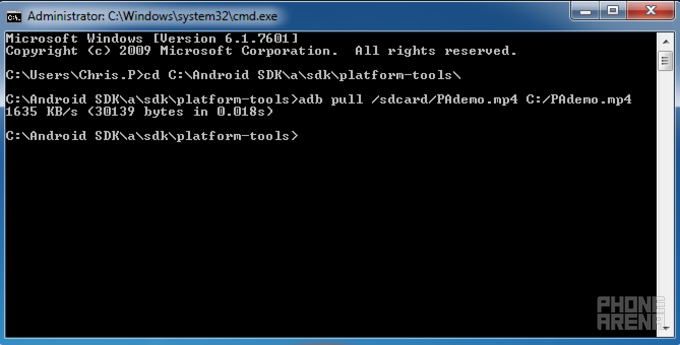
Now that you know how to record your screen on video, you'll probably also want to download the resulting files to your computer. Easy enough, just type in 'adb pull /sdcard/RECORDED-FILE-NAME.mp4 C:/example file name.mp4'. This will pull file X from your sdcard to your C drive and give it a name that you specify. If it works successfully, you'll get a message similar to the one in my example:
Step 7
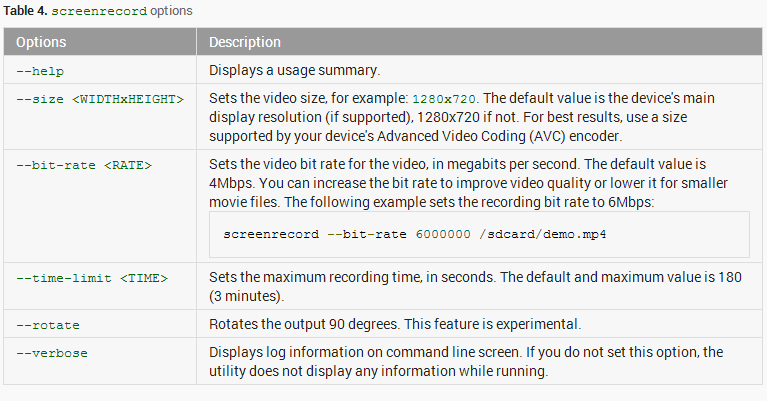
And that's the whole procedure. It really isn't complicated at all, it just seems so. Those of you looking to dig deeper into the functionality, Google has compiled a handy table that shows the extra options available for use with screen record, and provide even more information on their developer site here. As you can see below, you can tweak length of the clip, resolution, bitrate and even orientation:
Step 8
Troubleshooting
Something ain't quite working, or nothing at all? It's impossible to go through all the possible scenarios, but they usually boil down to these:
- ADB drivers not working. This is actually more common than you'd think. It's an especially messy affair if you already had these installed, and it's usually a good idea to just do a full uninstall of any related assets, reboot and then re-install the drivers I provided above. Here's how to do so efficiently:
- Fire up Device Manager (type it in the Start bar, like before), while your device is connected to the computer and has USB debugging on. Find and right-click > uninstall any device's driver that resembles yours (search thoroughly).
- Download USBDeview from here, fire it up and once again uninstall anything that resembles your device or manufacturer. (Don't worry, these will get re-installed as you connect any device on their own in 99% of the time on Windows 7 and above).
- Reboot your computer. Even if it takes 5 minutes to boot back up. Seriously.
- Go through Koush's Universal ADB Driver installation again
- Try and see if that helped
- If ADB works as in Step 5, but you can't seem to connect to your devices, run 'adb devices' and see what comes out. If you don't see your device, go through the procedure above. If you see it, but it says 'unauthorized', then you need to change your USB storage settings to Camera, instead of Media device (MTP). It will give you a prompt to authorize your computer's RSA key fingerprint, as seen in Step 2.
- For other issues, you may try your luck down in the comment box. Either the community or I (in my free time) will try and help you out.
That's it folks, hopefully this helped.

Popular stories


Latest News


Things that are NOT allowed:
To help keep our community safe and free from spam, we apply temporary limits to newly created accounts: