How to edit videos like a pro on your smartphone

Shooting video is one thing, but the time that's need to edit it is totally another, often requiring patience and a sense of storytelling to really produce something that'll be engaging to audiences. Professionals in the field leverage all of their tools and expertise when it comes to video production. Over on the editing side of things, it's normally done on a computer – whether that's a high-powered Windows PC or a Mac, you're going to need something with a lot of horsepower!
What's interesting, though, is that the innovations made to smartphones in the last several years have enabled them to accumulate a wide range of skill sets. From being able to shoot in 4K resolution glory, to full manual controls for video, our smartphones can be just as practical for making videos with a decent level of production value. On the editing side, however, few users would dare to do it directly on their mobile device – choosing instead for the old fashion way on their computer.
Well, if you're apprehensive about the editing process on your smartphone, or if you're just a beginner in general, there's nothing to fear because we have you covered. In this how-to piece, we're going to go into some detail over ways to edit videos like a pro on your smartphone. Even if you have no prior experience doing it, our tips will definitely help you in producing a masterful piece of work! And the crazy part in all of this? You'll be editing on the fly using your smartphone, which significantly streamlines the process over the conventional way.
Choosing the right app for editing
Ah yes! This is the crossroad you might find yourself at the onset, but you'll need to do your research beforehand in order to go forward onto the actual editing process. Naturally, this will largely depend on what smartphone you'll be using for the occasion, so that'll dictate your selections. For the purpose of this piece, we'll be sticking with an Android smartphone – the LG V30, seeing that it's ripe in features that are ideal for video content creators. Yes, we know that it comes included with its own native video editor, but it's quite honestly for beginners who need to do some minors edits on the go.
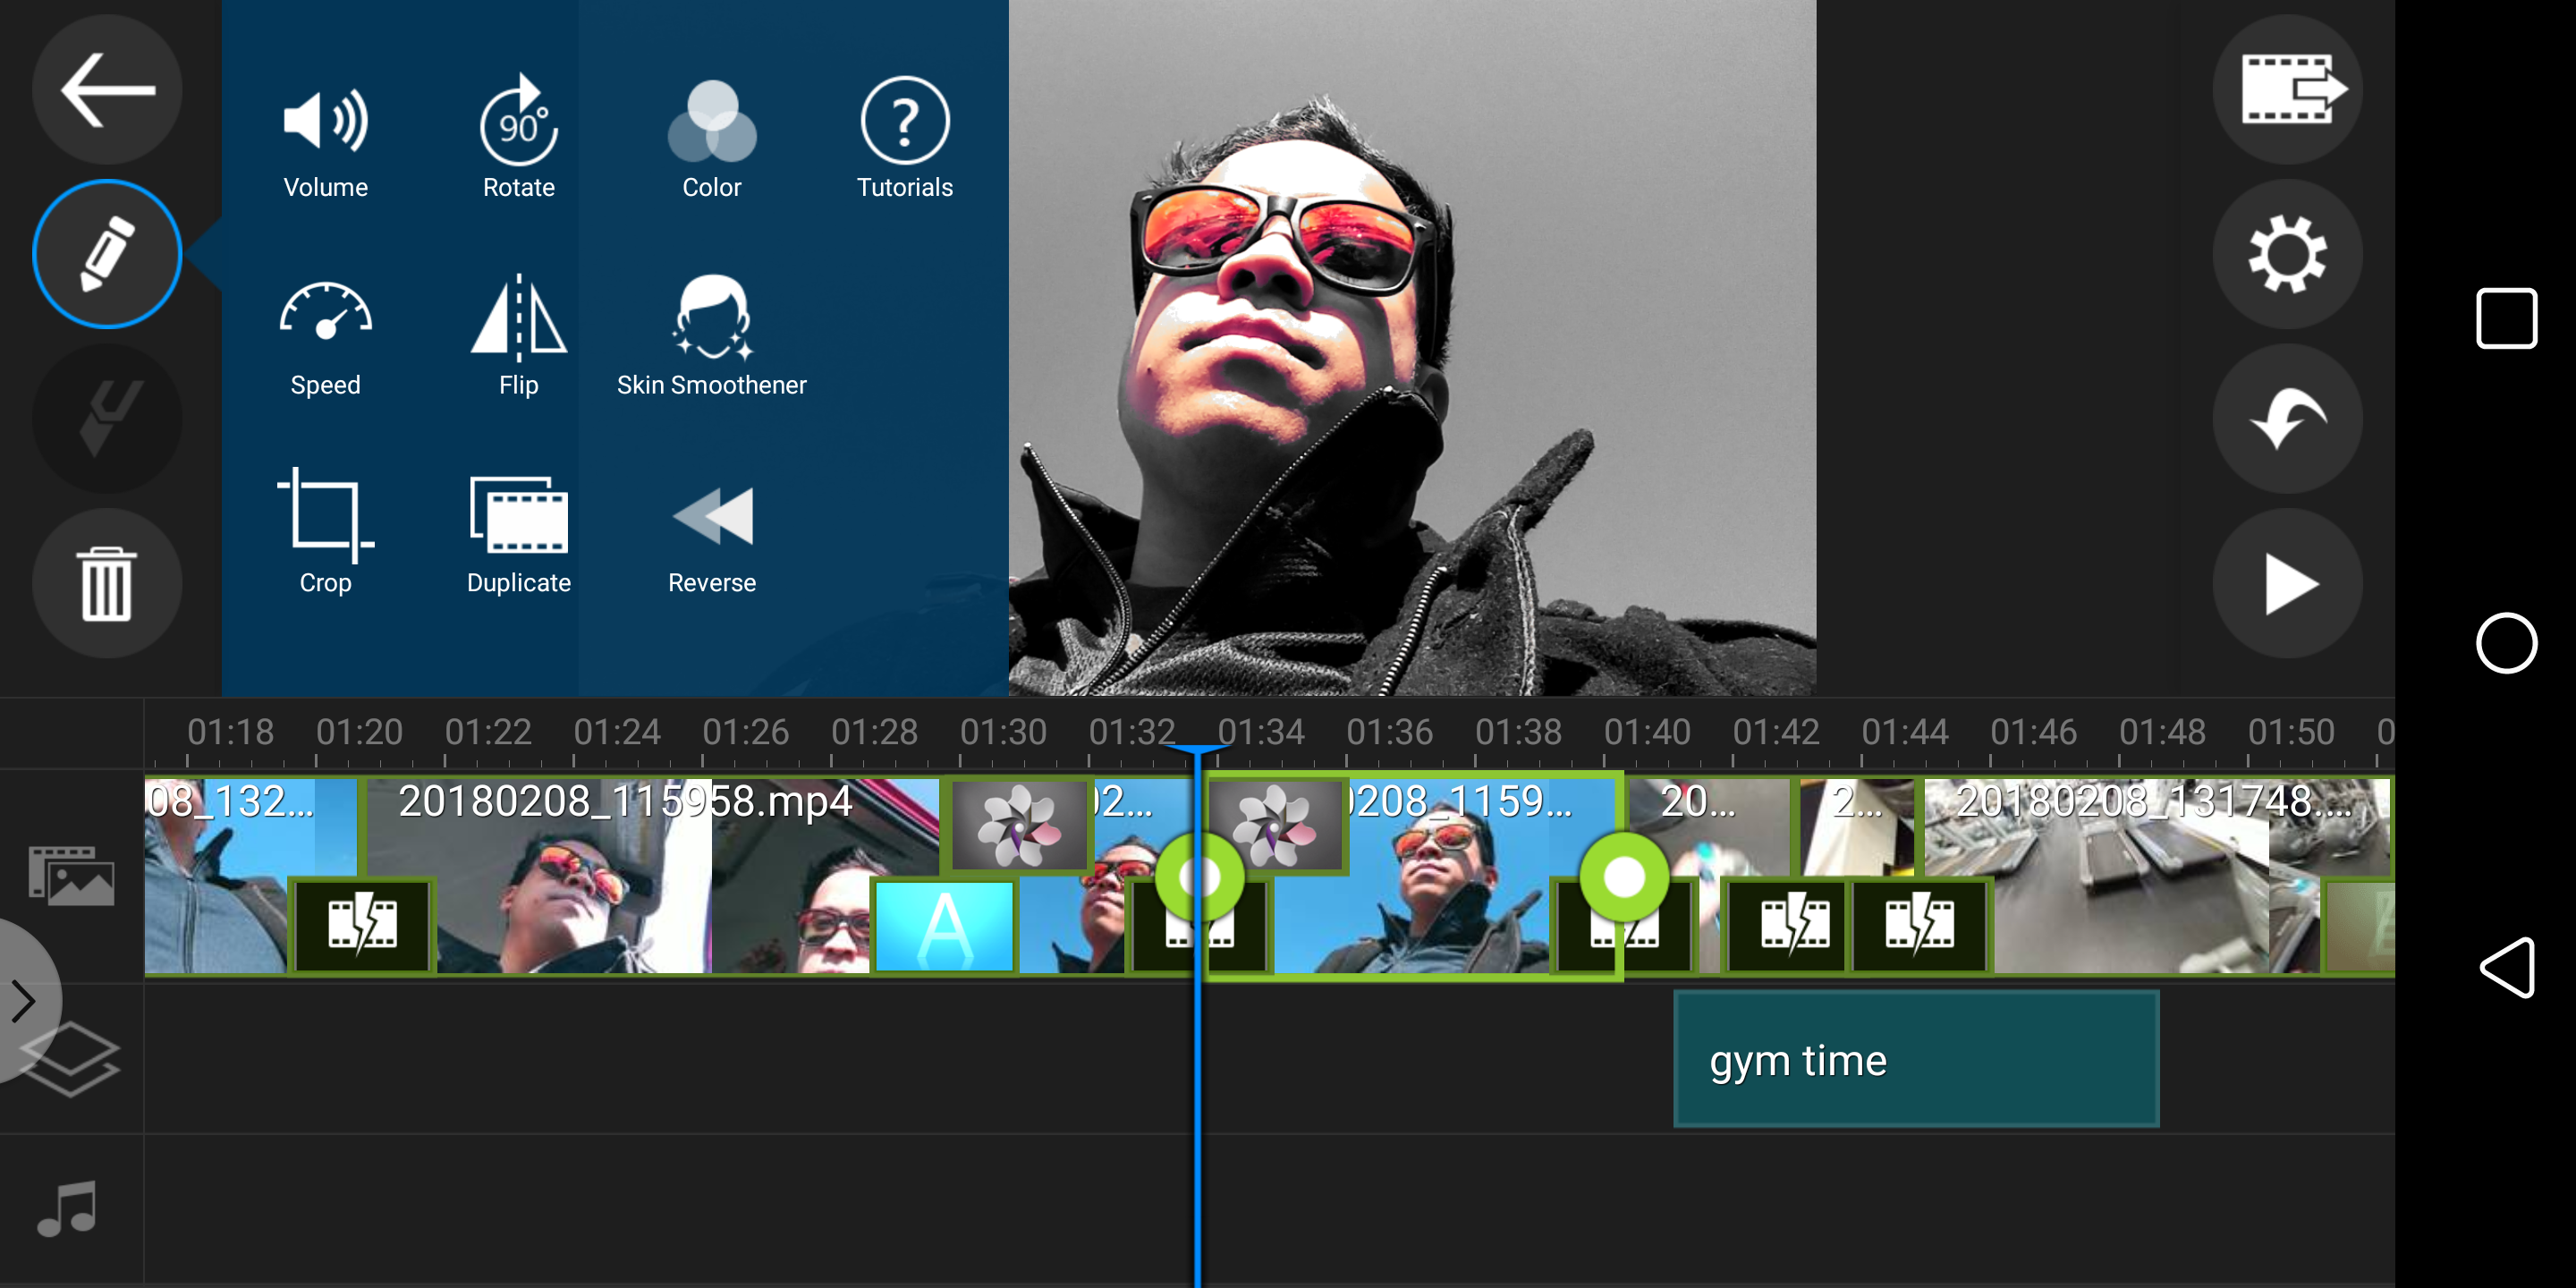
The app we'll be using instead to edit our videos "professionally" will be CyberLink's PowerDirector for Android, a video editing app that has been around for a good while. It's that exact reason we prefer it over others, just because it's rich in features that professionals leverage to make memorable content. We're particularly fond of PowerDirector because it features video exports in 4K resolution, slow-motion footage, layers, PiP overlays, chroma key selector, and much more! While it's free to download, there is a paid version that unlocks some additional features.
To be fair, the tips we're coughing up in this piece are applicable to almost any video editing app. Some might have other features, some might have fewer ones – so you'll want to do some research of your own to figure out what's best for you. Below, you can check out some of our previous articles that highlight some of the best video editing apps for iOS and Android.
Best video editing apps for iOS
Best video editing apps for Android
There are several video editing apps that are free, like CyberLink's PowerDiretor and KineMaster.
4K footage gives you extra flexibility to do things in post
More is better. That's the mindset you'll need to be in when shooting video! Considering that 4K video recording has become so widespread amongst smartphones, it makes plenty of sense to shoot in it over the traditional 1080p resolution. Obviously, the biggest gain with 4K resolution is the amount of data and detail it's able to accumulate. The temptation to stick with 1080p might be strong factoring how it won't place your phone's storage into a bind, but shooting in 4K resolution grants editors some additional, creative ways to edit video professionally.
When it comes to editing video, however, the same principle applies here because you gain substantially more flexibility when dealing with 4K footage. In particular, you can leverage 4K footage by cropping it in the app when producing video in 1080p resolution. Therefore, if there are specific details you want your audience to focus on, you can crop the 4K footage so that the specific area is in your desired composition. Additionally, the ability to crop 4K footage is ideal in removing unwanted or distracting elements that might be in the video.
Even if you opt to export video in 4K resolution using CyberLink's PowerDirector app, it just means that you'll be able to see more detail when playing them back on a 4K capable television set! There's nothing wrong with 1080p videos, seeing that you can still play them back perfectly fine, but 4K just means you'll be seeing a whole lot more detail. Given how smartphones can capture stunning detail in 4K, much like DSLRs and dedicated cameras under certain situations, it's amazing that you can edit and produce them all through your smartphone!
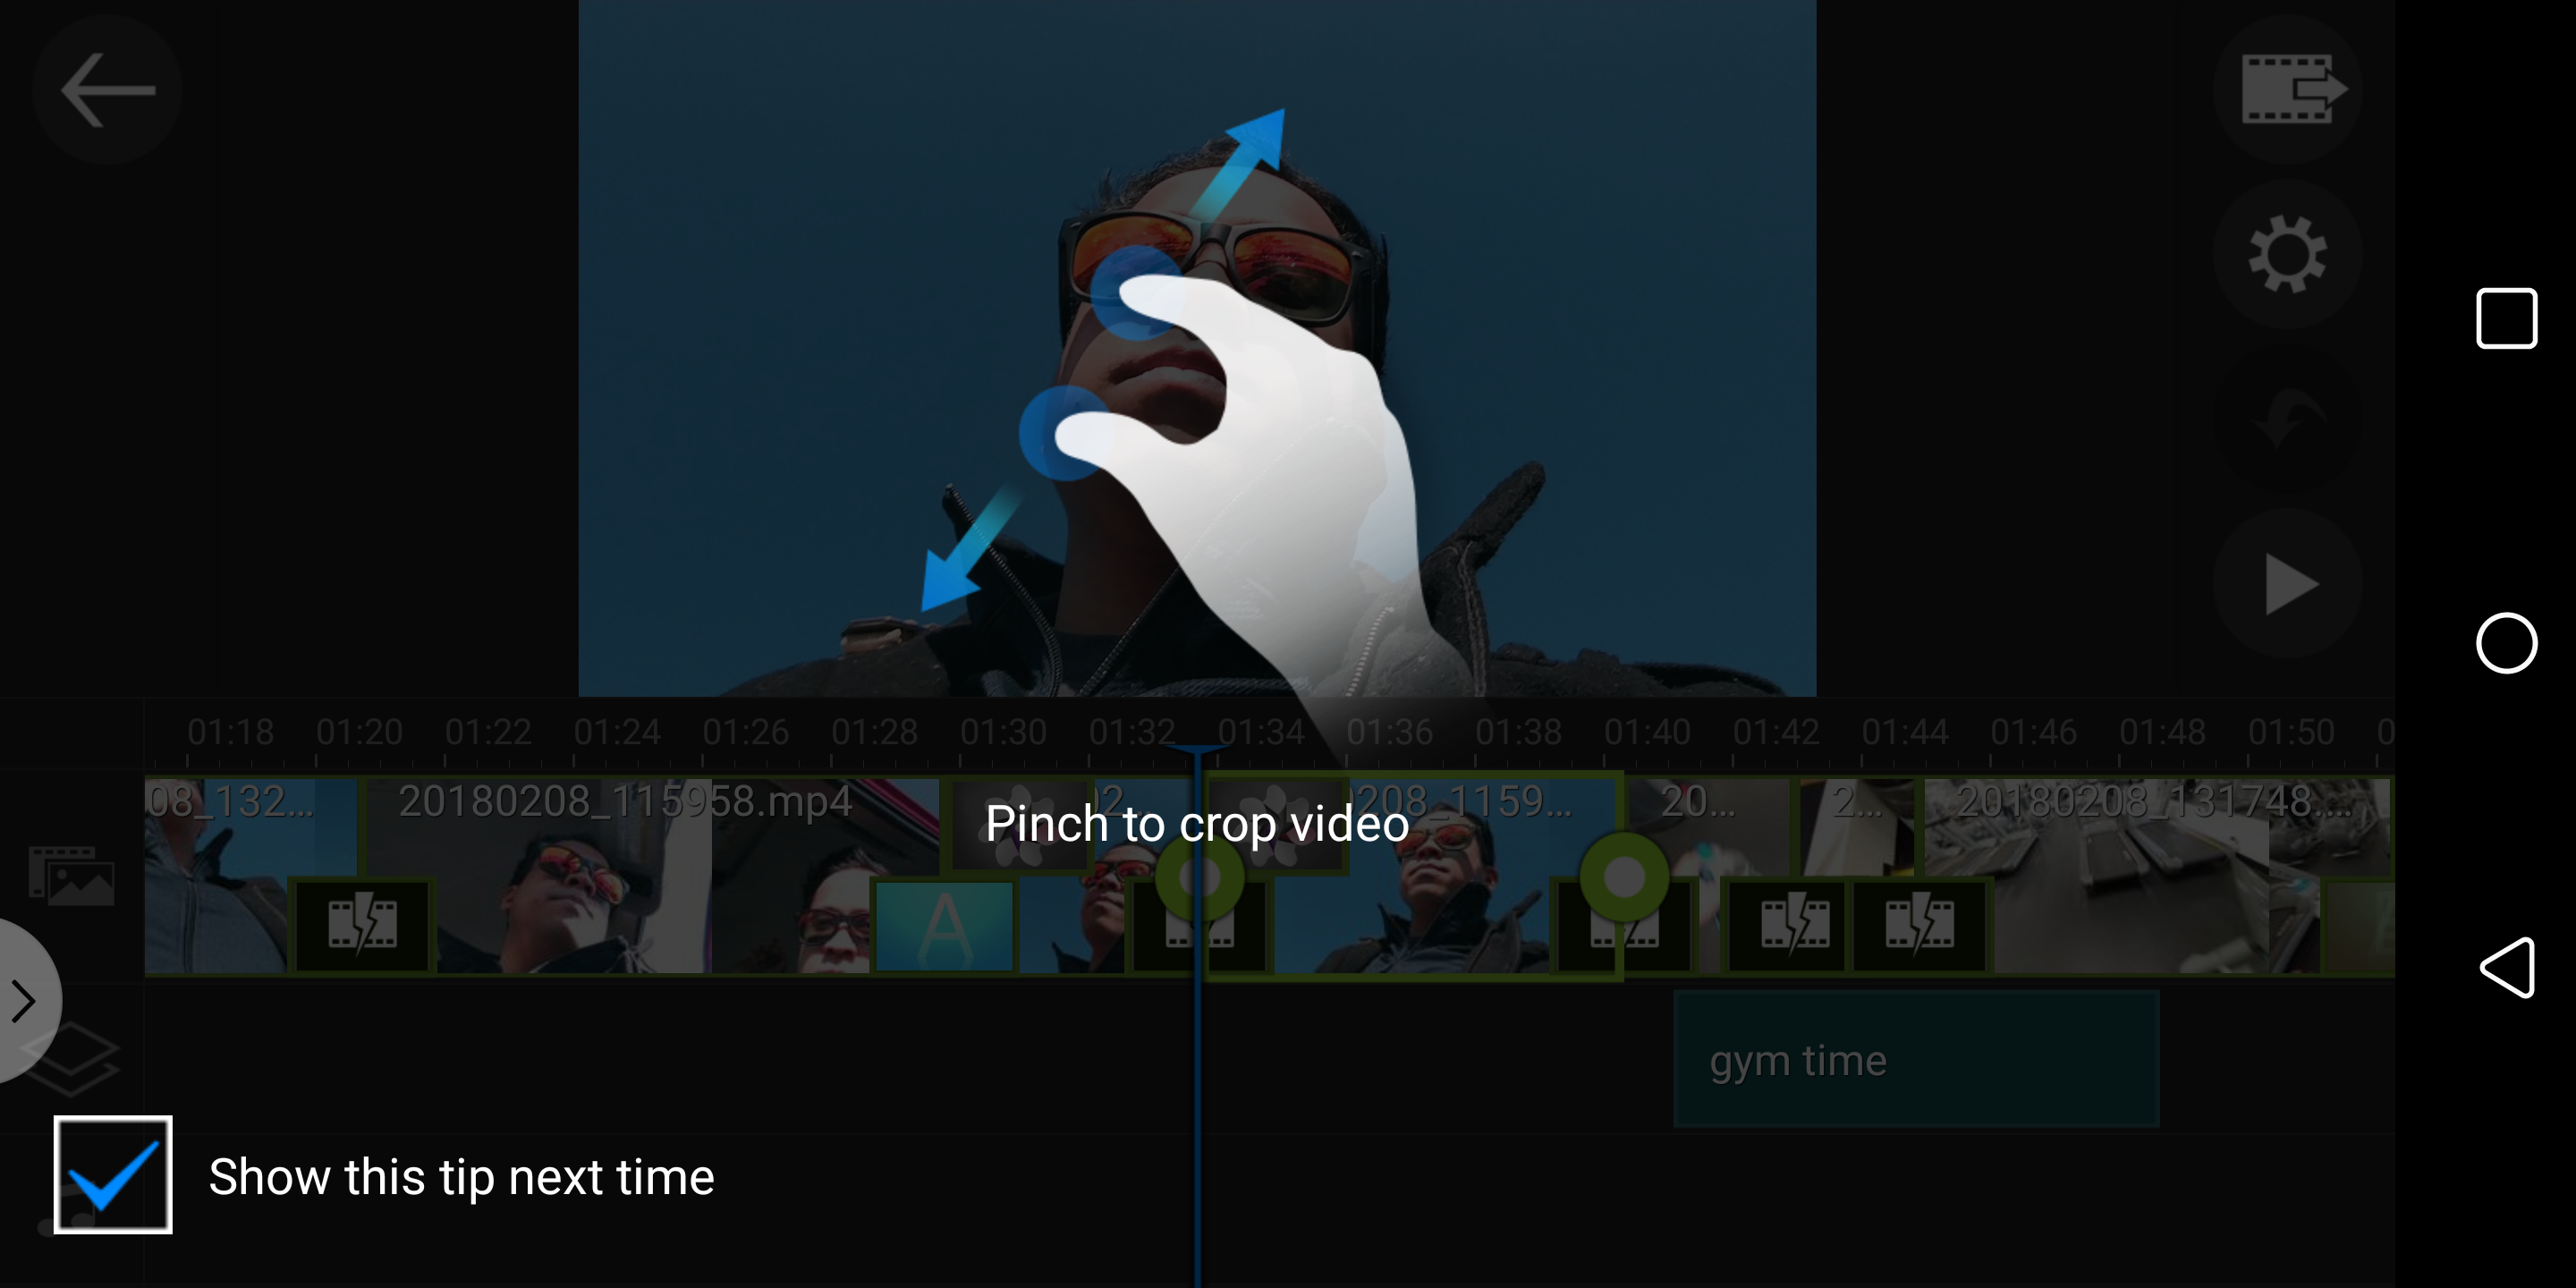
You can crop 4K videos in PowerDirector for extra diversity with your scenes.
Color filters/color grading can set the tone, but be mindful about them
One way to enhance or set the tone of a video is by adding some sort of color filter or color grading to the footage. On the LG V30, it offers several "LG Cine" video modes that add a cinematic look, which delivers broader dynamic range when transitioning from lighter to darker areas – whereas color filters don't adapt at all to the changes. Despite that, color filters can be applied in post using CyberLink's PowerDirector app to achieve an equally cinematic visual.
Naturally, you'll want to preview these color modes, mainly because they dictate the kind of presence your video will have on your audience. For happier moments, you'll probably want to employ a color filter with a warmer tone – while conversely, cooler toned color filters to emphasize sadness. As you can surmise, the color filter establishes the tone of your story. Obviously, you don't want two consecutive shots in your video to employ contrasting color filters, so it's best to break them up if possible.
On top of that, it's effective to use color filters during key scenes – you really don't want to overuse them, unless the entire video is going to be using that particular color filter (think the bluish tone you see in the Underworld movies).
Color filters and adjustments can help to complement the tone of the video.
Splice longer footage to include a quick zoom
Videos can easily become repetitive or boring if you're just rolling one shot into another, and into another, without any sort of meaningful change to keep people interested and the pacing just right. Rather than just throwing in a long piece of footage into the timeline of the editing app, it's definitely beneficial to splice up these longer segments using quick zoom cuts. Not only will it keep viewers engaged in the video, but it'll also help to break up the monotony of having to watch through a long piece of boring footage. No one should be subjected to that!
Maybe there's a moment during that video where something briefly cool or interesting happens, which is the perfect opportunity to splice it up and emphasize that moment with a quick zoom. This, of course, would involve taking 4K footage, splicing up that exact detail you want to isolate, and then proceeding to crop that detail to emphasize the shot. You're essentially taking your audience's attention and focusing it on that moment with the aid of this splicing/zooming technique. Sure, it might be short and to the point at times, but the dynamics of this particular action will help to retain interest.

Replace those long boring segments by splicing them up into shorter, more dynamic clips.
You don't have to narrate in front of the camera all the time, use voice-overs with b-roll footage instead
Most people think that in order to make a video, they need to constantly be in the video speaking or narrating, but that's far from the truth. It's a habit that even some of the best content creators frequently do, so don't be too surprised if you find yourself doing this as well. Needless to say, there are moments during the video when it's necessary to do this, but you can still achieve something effective by doing a voice-over with b-roll footage running over it. Typically speaking, some people end up writing a script for what they intend to say, and once they're satisfied with that, they record their voice-over, which will be then added to the video.
Sometimes it's easier for some people to speak what they're thinking if they're not focused, or concerned about having to actually be in front of the camera. That's when voice-overs and b-roll footage come to mind, as it can take away some of the jitters and hassles away from the process. Using the Cyberlink PowerDirector app, you can do exactly this because it has support for layers – providing users with yet another valuable tool to help them with the video producing process!
Even though you can opt to use some other app to record voice-overs, PowerDirector offers its own native one that runs in synchronization to the timeline. Oppositely, you can record your voice-over using your phone's default sound recording app. If you don't have one pre-installed, there are several options you can download for free. Regardless of what you end up choosing, you can start off by recording the voice-over, and when you're satisfied with it, you can proceed to add it into your timeline and throw in the necessary b-roll footage from your media library to cover the entire span of the voice-over. To tell you the truth, this is a technique that we find invaluable because not only does it save time from doing cut after cut of being in front of the camera while talking, but it's also relatively easy to produce!
Sometimes it's easier to do voice-overs, you'll save your self time in the process.
Use clean fonts
While some of you might be inclined to just go with the default font options, you're not going to be doing a great job of convincing people that your video is professionally edited and produced! When it comes to adding text into your videos, you'll want to stick with something clean looking – but more importantly, something that fits into your video's narrative. Clean and simple fonts have been all the rage, so that's something we recommend using in your videos.
With PowerDirector, you might also want to utilize the title designer to really enhance the effectiveness of the fonts you end up using. That's because you can add additional touches to them, like adjusting the border size and colors, adding in shadows, and even make certain elements of the font transparent. And lastly, PowerDirector lays claim to a variety of animated titles that do nicely to open or close certain scenes – just make sure to use them sparingly, as deploying the same one can end up having a distracting effect.
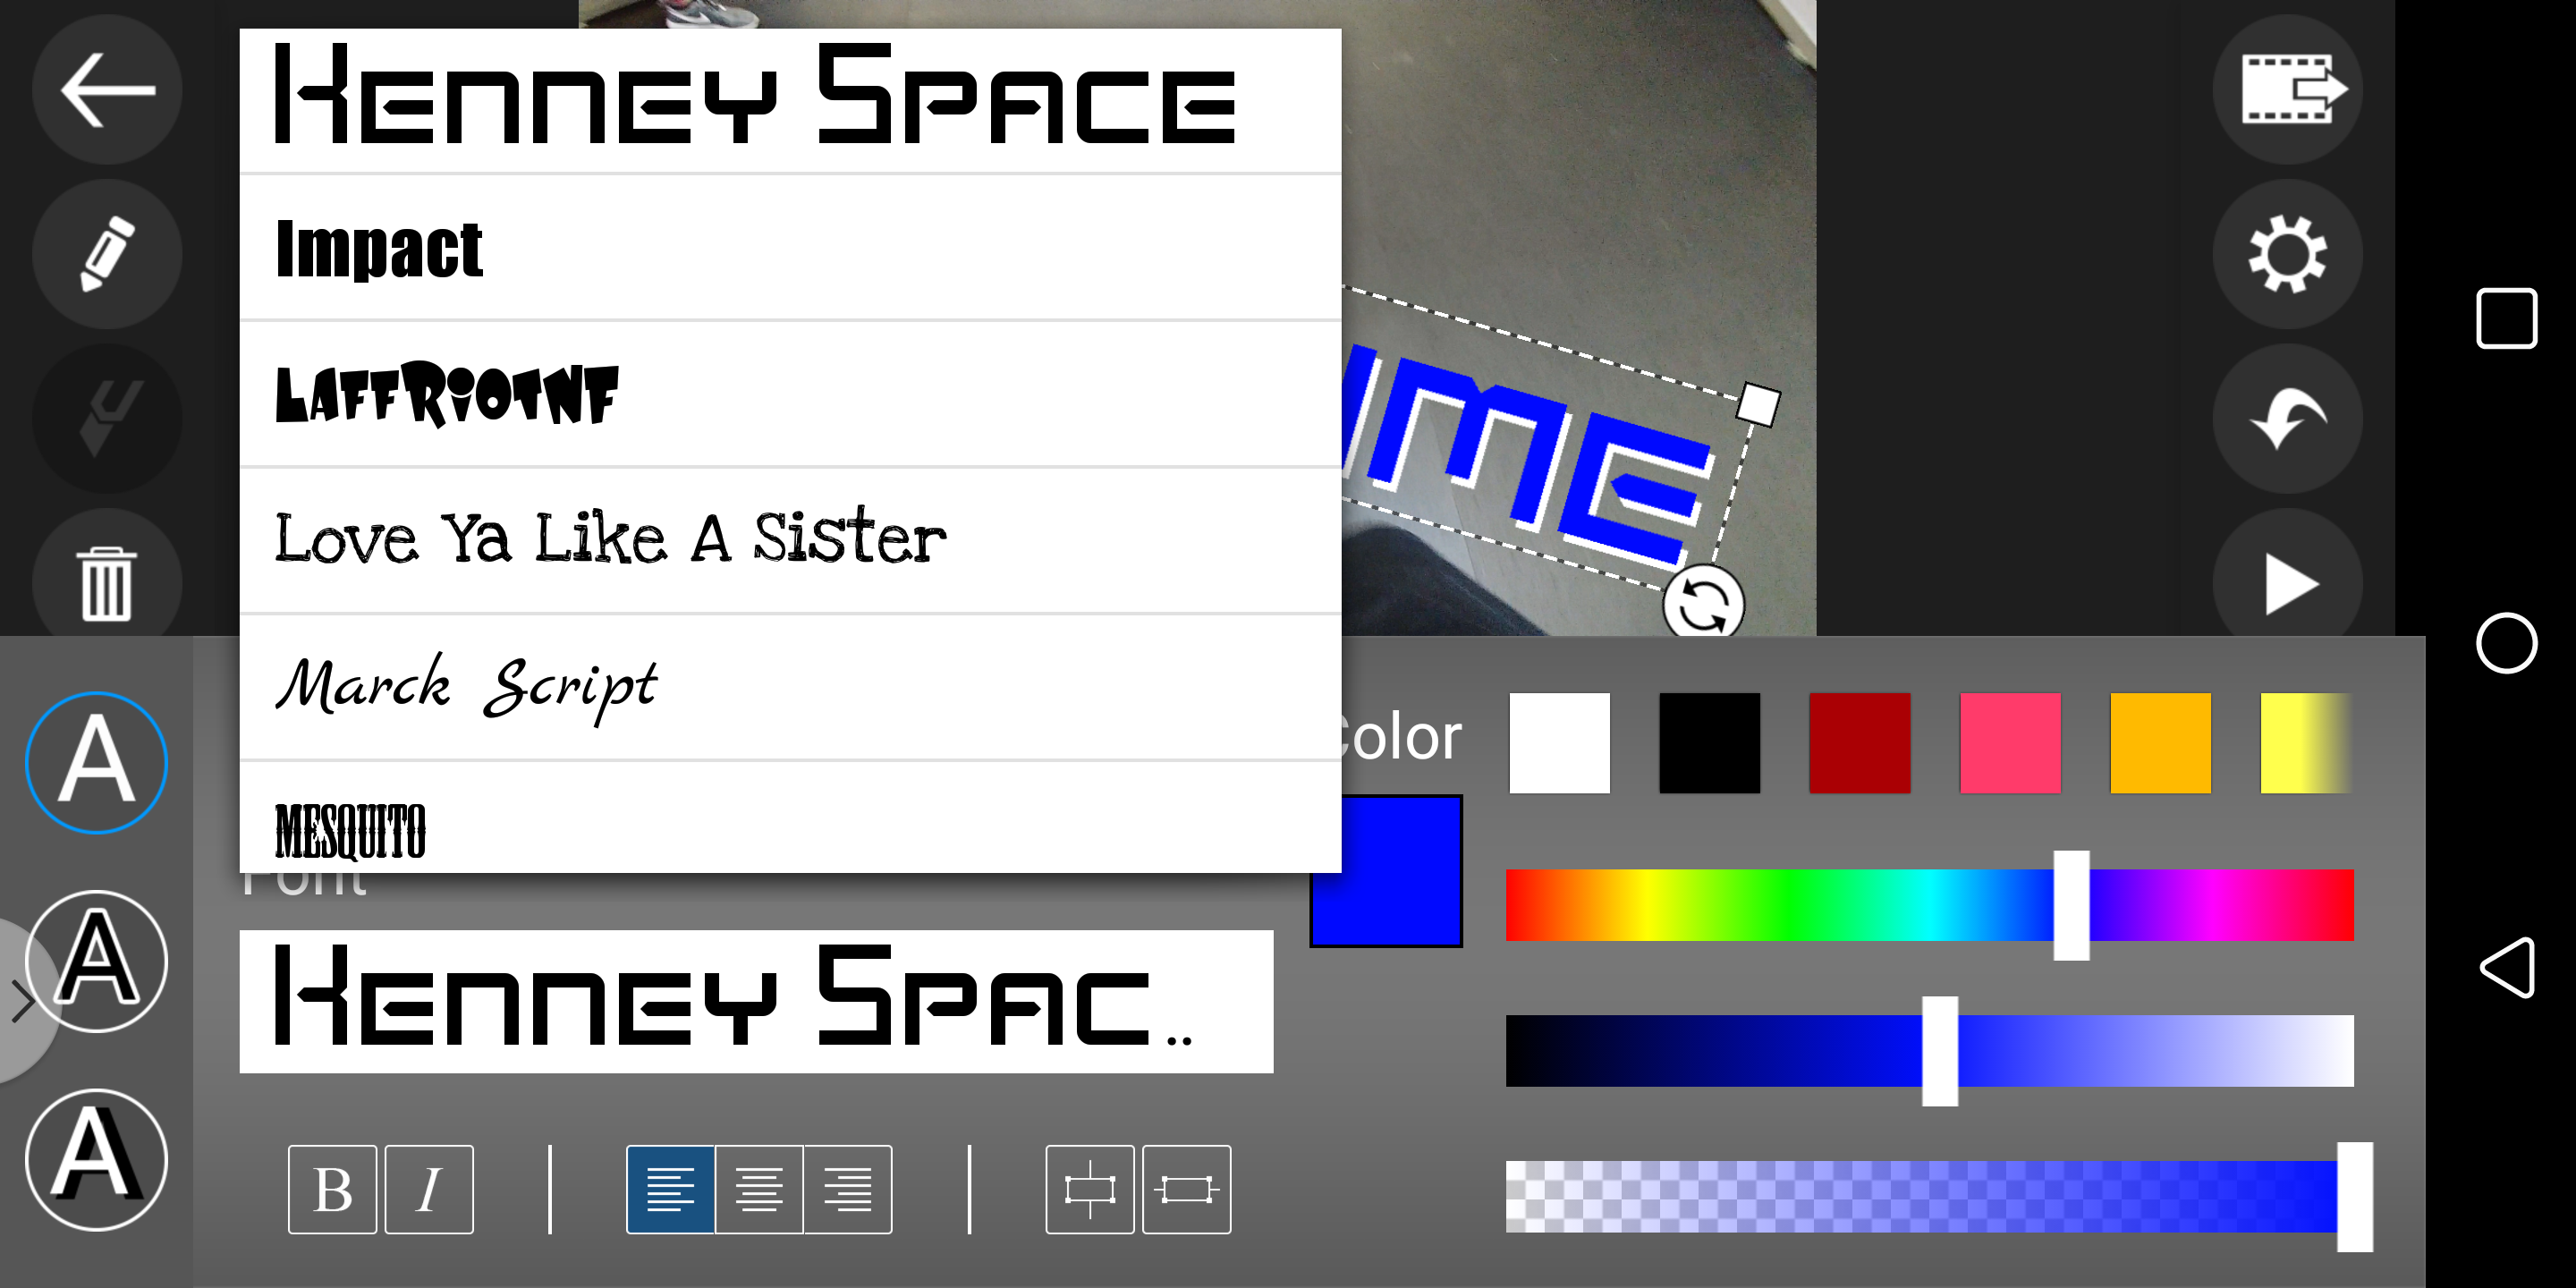
The title designer in PowerDirector gives you extra tools when it comes to enhancing fonts.
Effectively use transition effects
Ah transitions! They do wonders when it comes to bridging different scenes, but much like most things we've explained so far in this how-to guide, you'll want to use them effectively. When you have to clips next to one another in PowerDirector's timeline, an icon instantly pops up in between them – giving you the option to select a transition.
Again, if you want to keep your viewers engaged, you'll want to wisely choose the transition effect. In general, fade transitions do nicely to emulate the passage of time – so if you're using a time-lapse footage, you can break them up with fade transitions. Honestly, though, the majority of these transition effects with PowerDirector are kind of boring and conventional. If you really want to up your style, it might be worth a look to download some of its premium transition packs, which offer more modern looking transitions. Some of our favorite premium transitions come from its geometric packs, so check them out!
Besides that, the only other recommendation we have relating to transition effects is to set their duration. Some actually do better at shorter intervals, while others are better suited for a longer duration. It's just a matter of experimenting to uncover the best outcome and result!
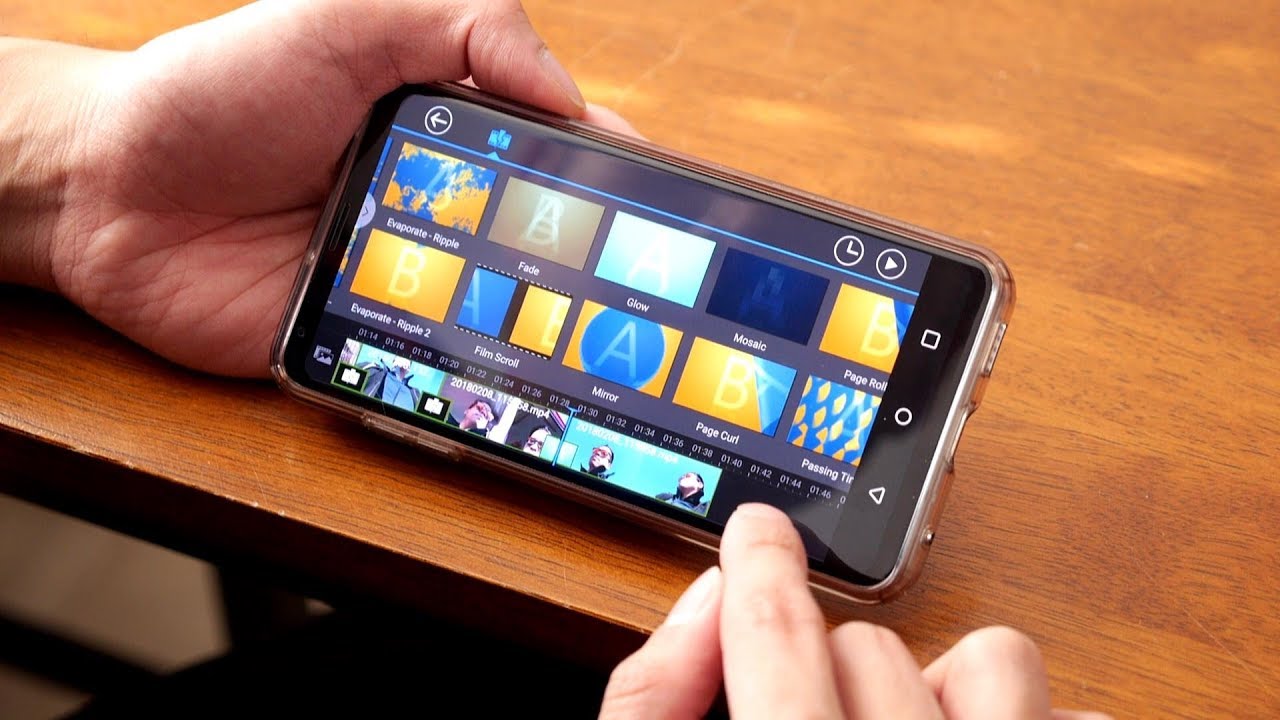
You can add transition effects in between clips, but don't overuse them.
Mix in slow-motion footage to accentuate a point
An often underutilized feature in our smartphones is their ability to shoot slow-motion video. Naturally, this can be achieved in a couple of quick ways. Firstly, most smartphones have dedicated slow-motion modes where you just select the resolution and shoot. Before proceeding on to do this, just be mindful about the selection because slow-motion videos captured at faster frame-rates, such as 240 FPS, tend to be in HD format (720p) – such as the case with the LG V30. Other phones were bred specifically for slow-motion capture, like the Sony Xperia XZ Premium, which can record video at the mind-numbing speed of 960 FPS, which offers substantially more room to slow down the footage in post. Most of today's high-end smartphones, like the Apple iPhone X and Samsung Galaxy Note 8, can record 60 FPS at 1080p, which can then be used to achieve slow-motion in post when producing video at 24 FPS.
When it comes to editing them on your smartphone, most apps provide the option to slow down footage. In PowerDirector, there's a slider bar that can adjust the speed of the video – either slowing it down or speeding it up. Slow motion footage can help to yet again emphasize something in your videos, much like the zoom effect we mentioned earlier on. Plus, it's a great way to kick off a montage of sorts, or even to break up the action in your video.
You know what else you can do to add even more variety? You can reverse these clips at their regular frame rates, then replay the same footage, but in slow-motion this time, for greater diversity. And if that's not enough, you can mix and match techniques, such as speeding up the footage for a little bit, then slowing it down when there's something you want to emphasize to the viewer. Keeping it fresh and interesting can be tough, but these mixed solutions with slow-motion footage can absolutely keep you looking like a professional!
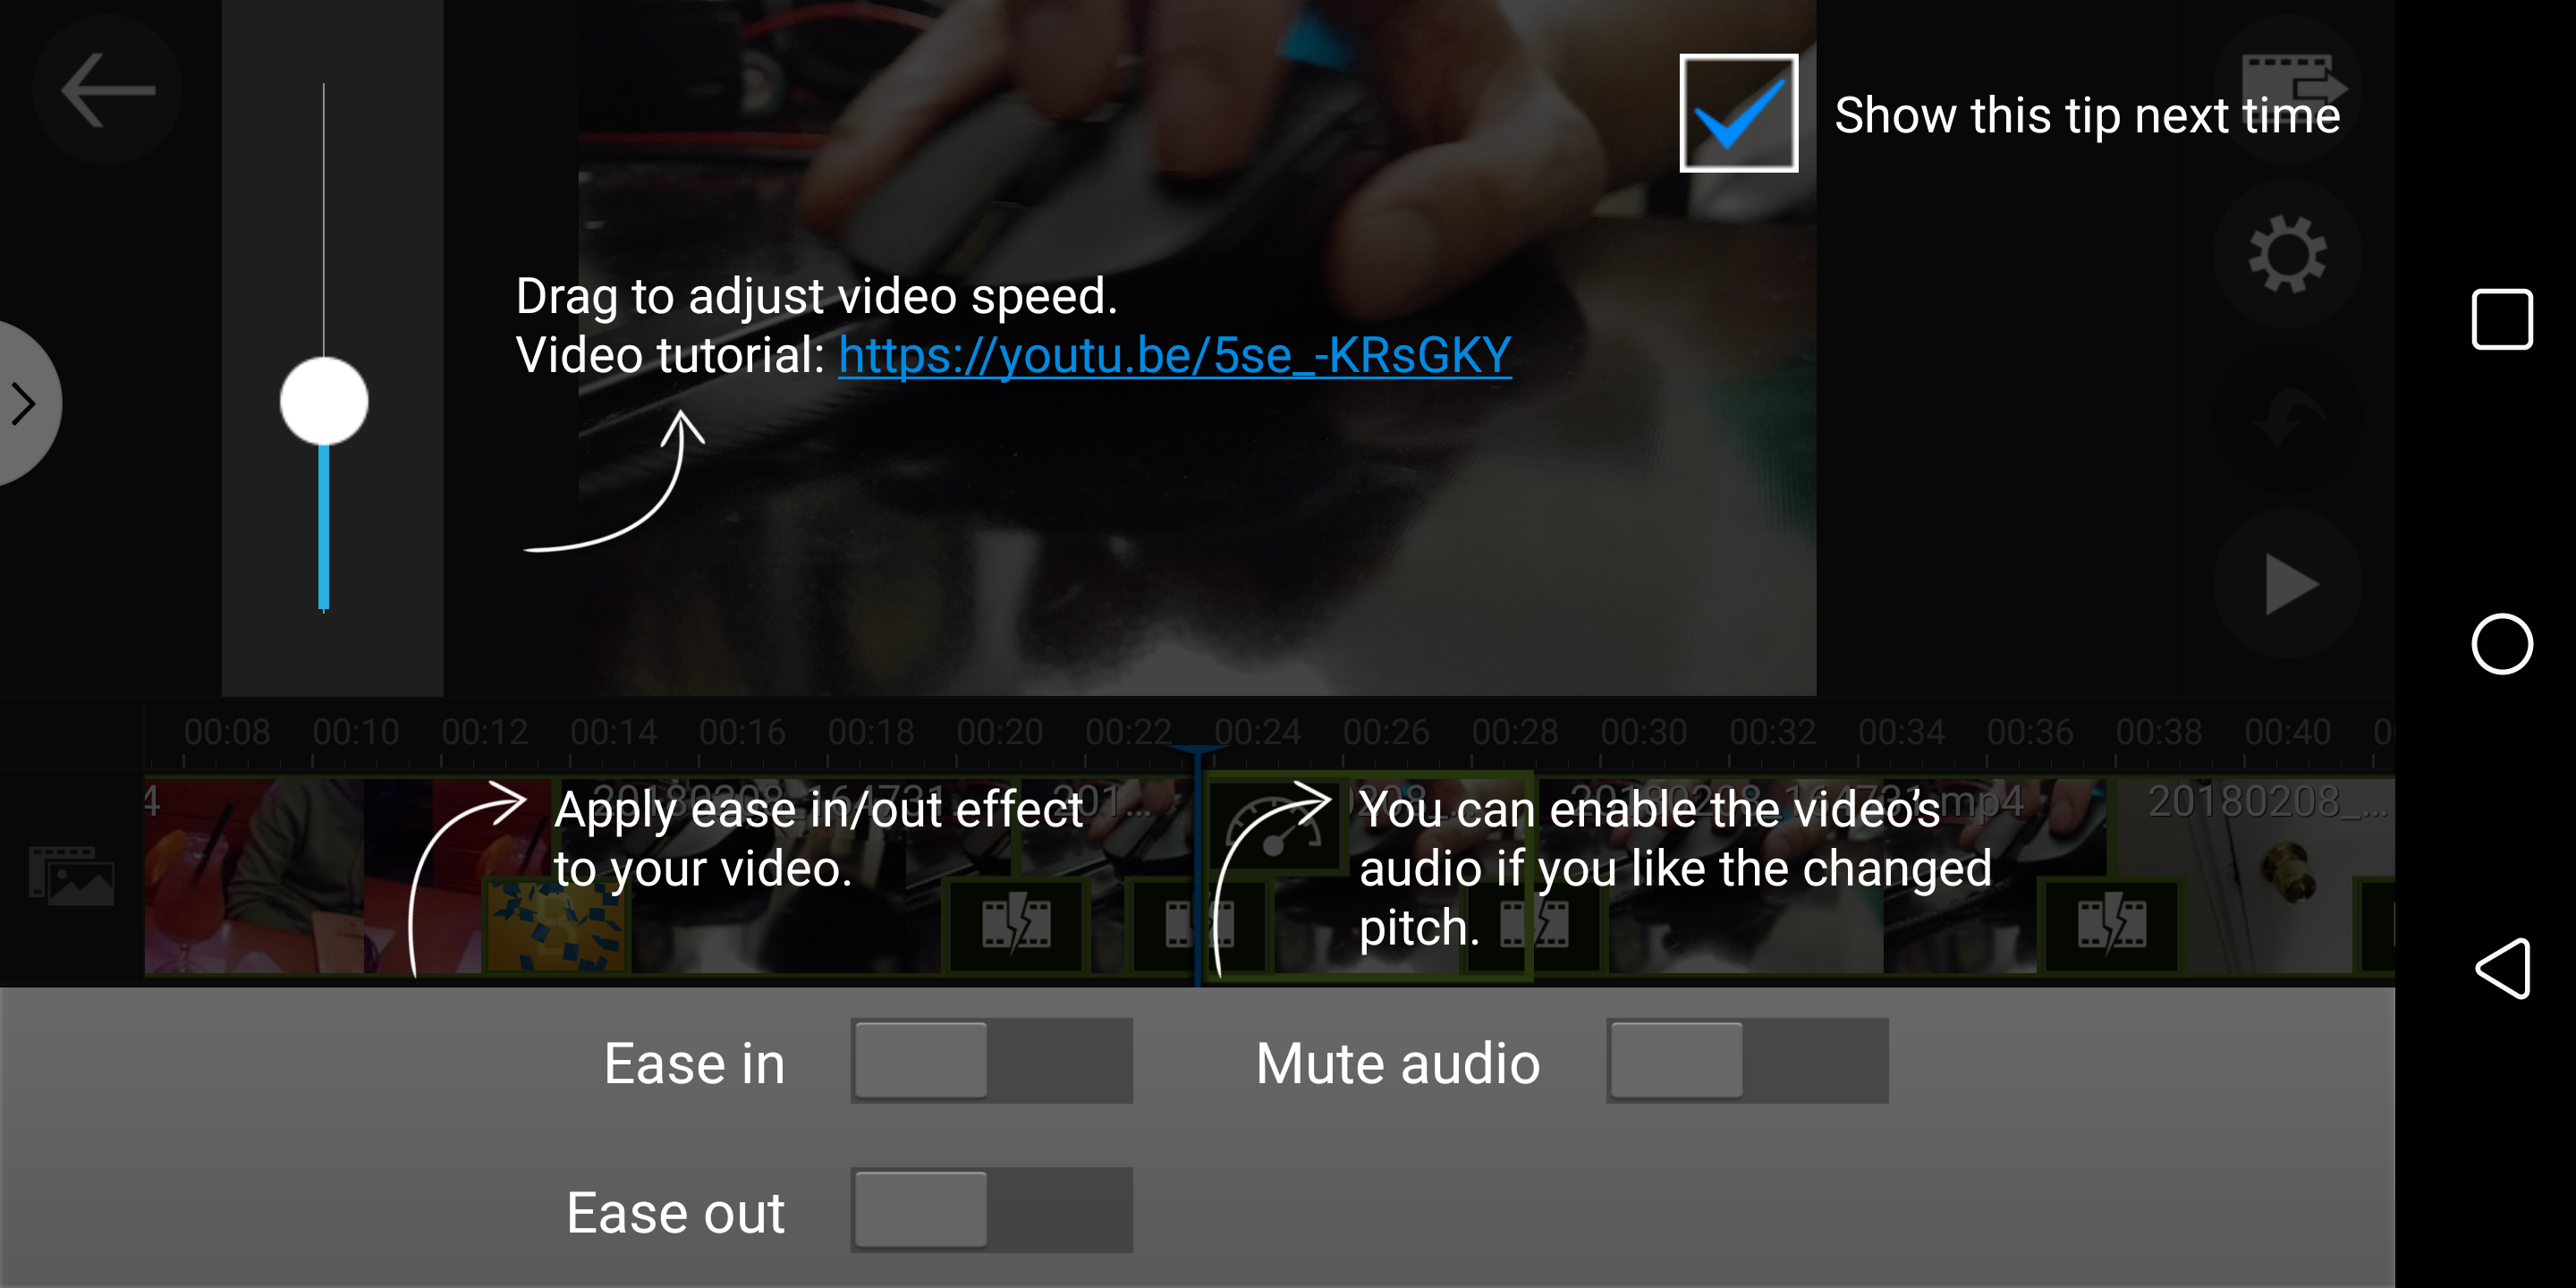
Use the slider in PowerDirector to adjust the speed of your clips.
The right music for the mood
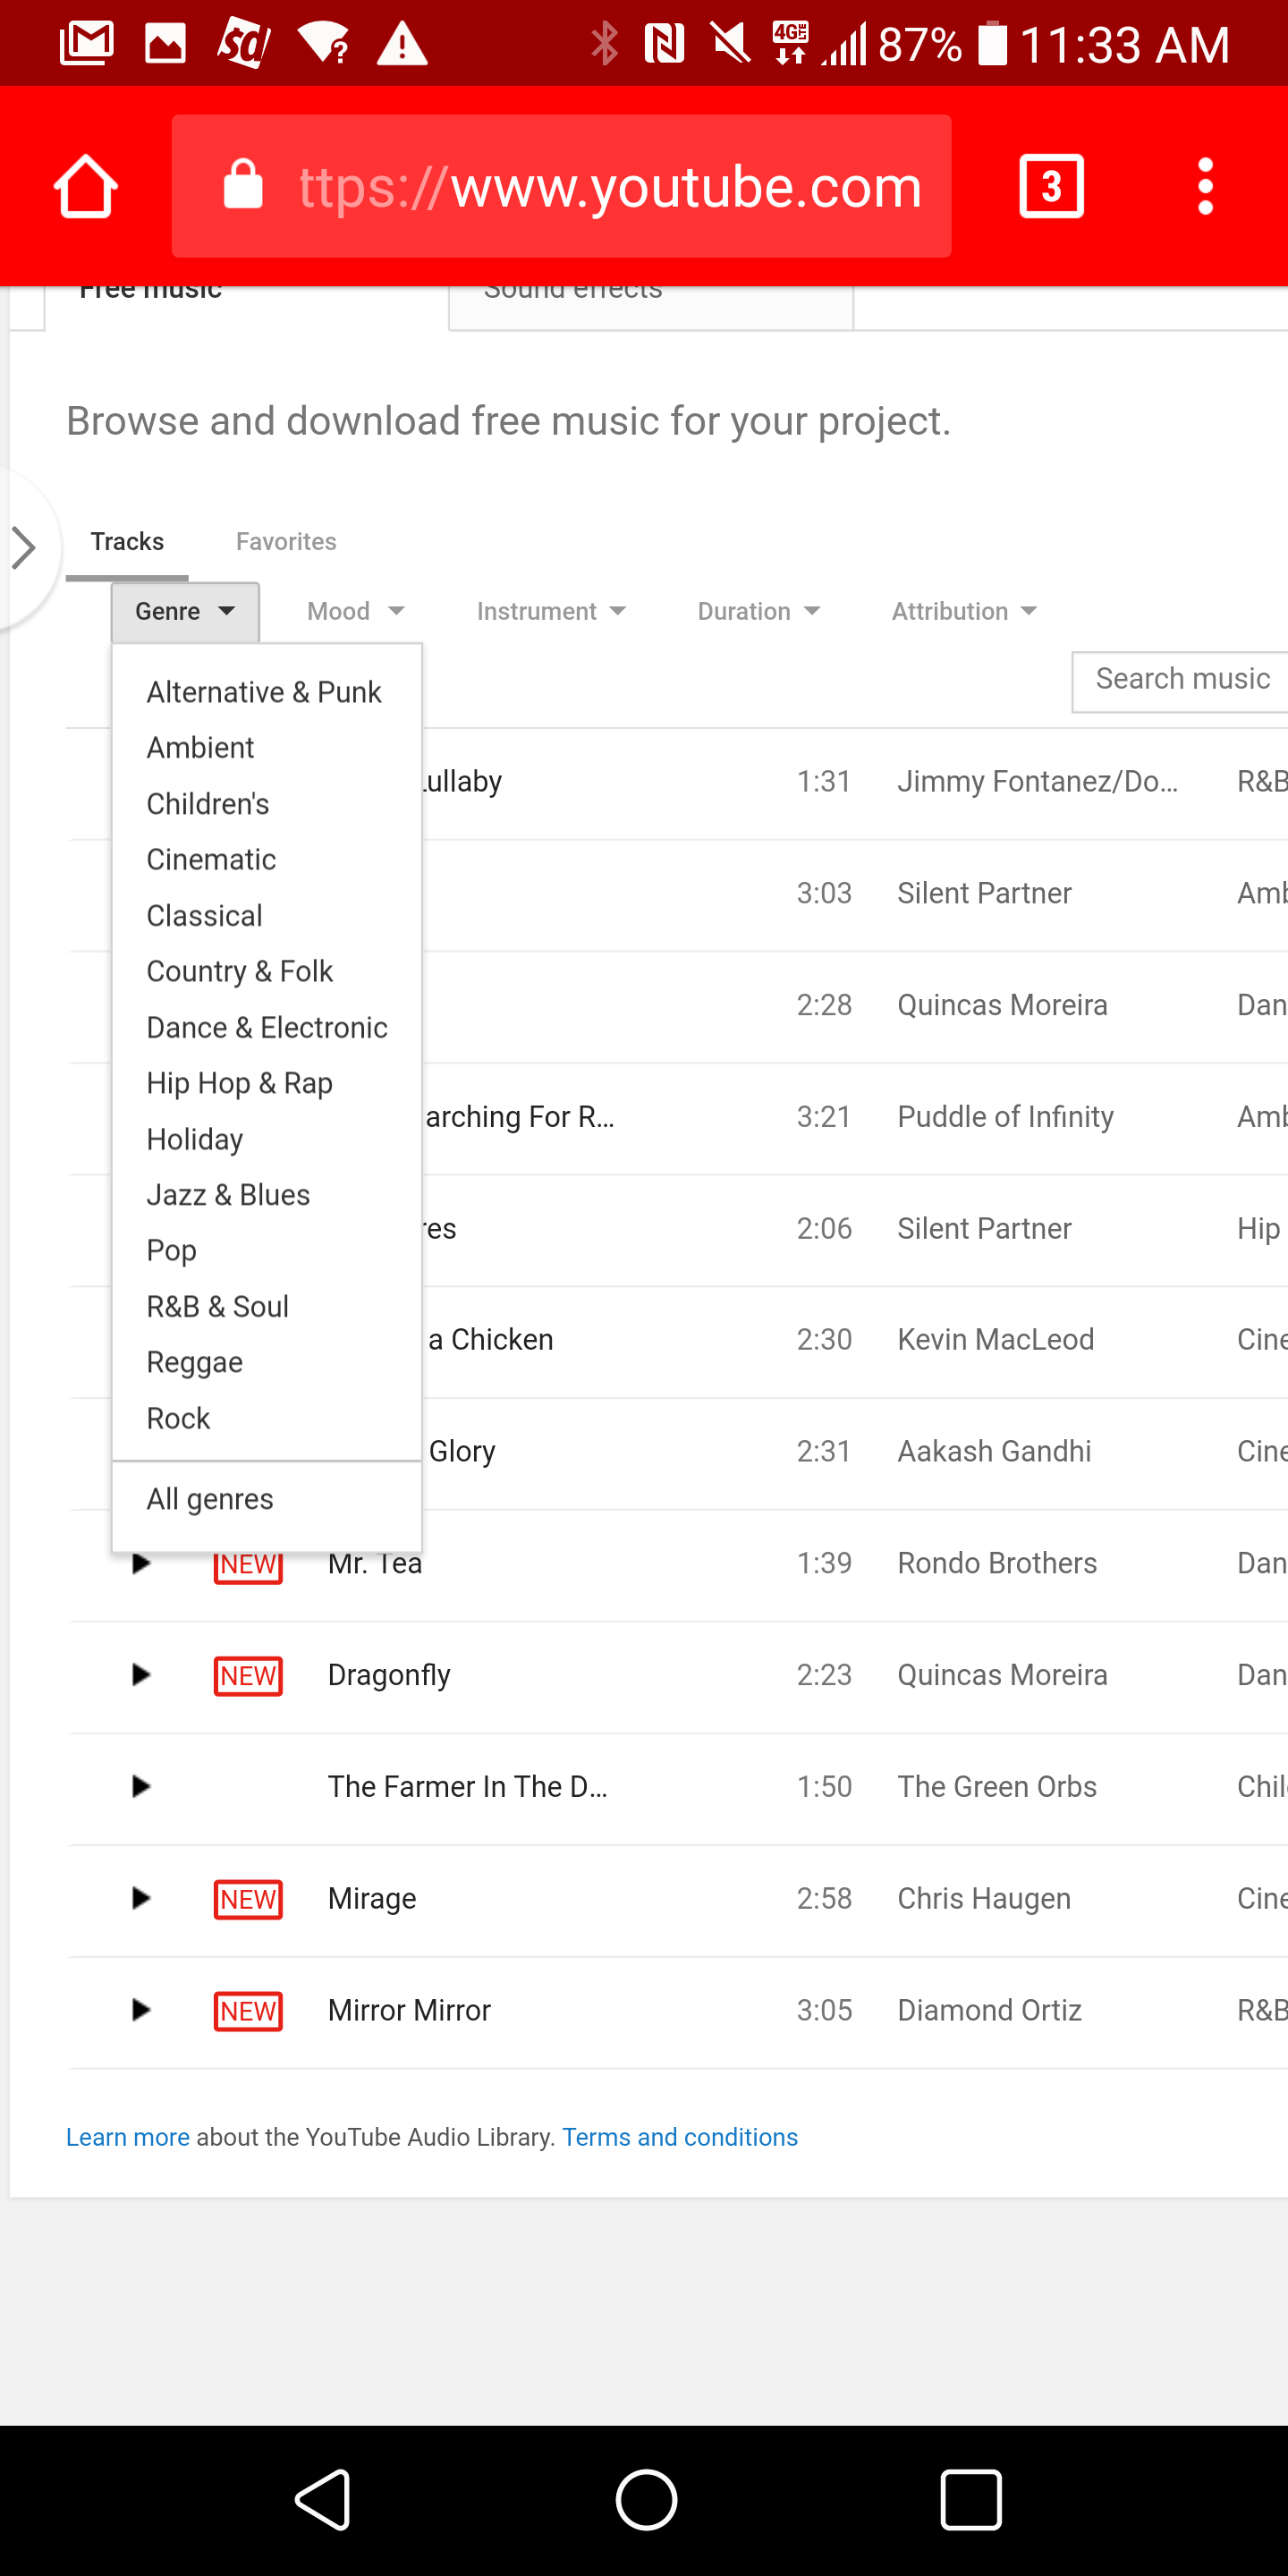
You can download free music tracks from the YouTube Audio Library.
First and foremost, you don't need to have music playing throughout your entire video – it's okay to keep it silent or rely on the audio that was recorded alongside with the video. Looking at the timeline in PowerDirector, music tracks are positioned into their own dedicated layer. There are options to adjust the volume of the music, as well as the ability to add in fades at the beginning or end. You might want to employ those fades because the music can sometimes be jarring when transitioning from one scene to another, so it's a good rule of thumb to ease things by using those fades.
Despite having a limited selection, none of which are all that entertaining in our opinion, you can download additional music tracks from places like YouTube's Audio Library, which features an assortment of tracks covering different genres and styles. Some of them are actually pretty good, but you might need to do some searching before finding the correct one for your video.
Don't go too overboard with the effects
One strategy you'll want to refrain from doing frequently is going overboard with the effects in your video, they can sometimes do harm more than good. Sure, you might be tempted to add some stickers, apply a specific color effect through several clips, or even consecutively have a bunch of slow-motion shots run through in succession, but it will only just soften your composition – so you'll want to be very particular about that.
You might be tempted to use a bunch of effects in your videos, but you want to use them effectively to help paint your story.
The final word
And there you go! Follow the tips above and you'll be a professional in no time when it comes to editing videos on your smartphone. Recording video is increasingly becoming a focus for many phone manufacturers, but we're eager to see how video editing apps responds to the needs and demands of content creators. While most people are likely to continue doing the bulk of their video editing using their computers, our smartphones are becoming increasingly more competent in bridging the gap! Producing full length movies might be out of the question using your phone, but for short clips and stuff for YouTube, these video editing apps are more than practical to use!
Popular stories


Latest News
Things that are NOT allowed:
To help keep our community safe and free from spam, we apply temporary limits to newly created accounts: