In this tutorial, we'll show you how to take a drab-looking shot look a lot better – or at least try to – using only your phone. We'll be working with Snapseed, which might seem like a simple and easy to use app, and it is for the most part, but it's also a sufficiently powerful tool for any mobile photography enthusiast. This tutorial will cover a lot of ground and provide useful tips for editing different types of shots, but if you want to follow it step by step using our photo, you can absolutely do so by downloading the sample below.
Recommended For You
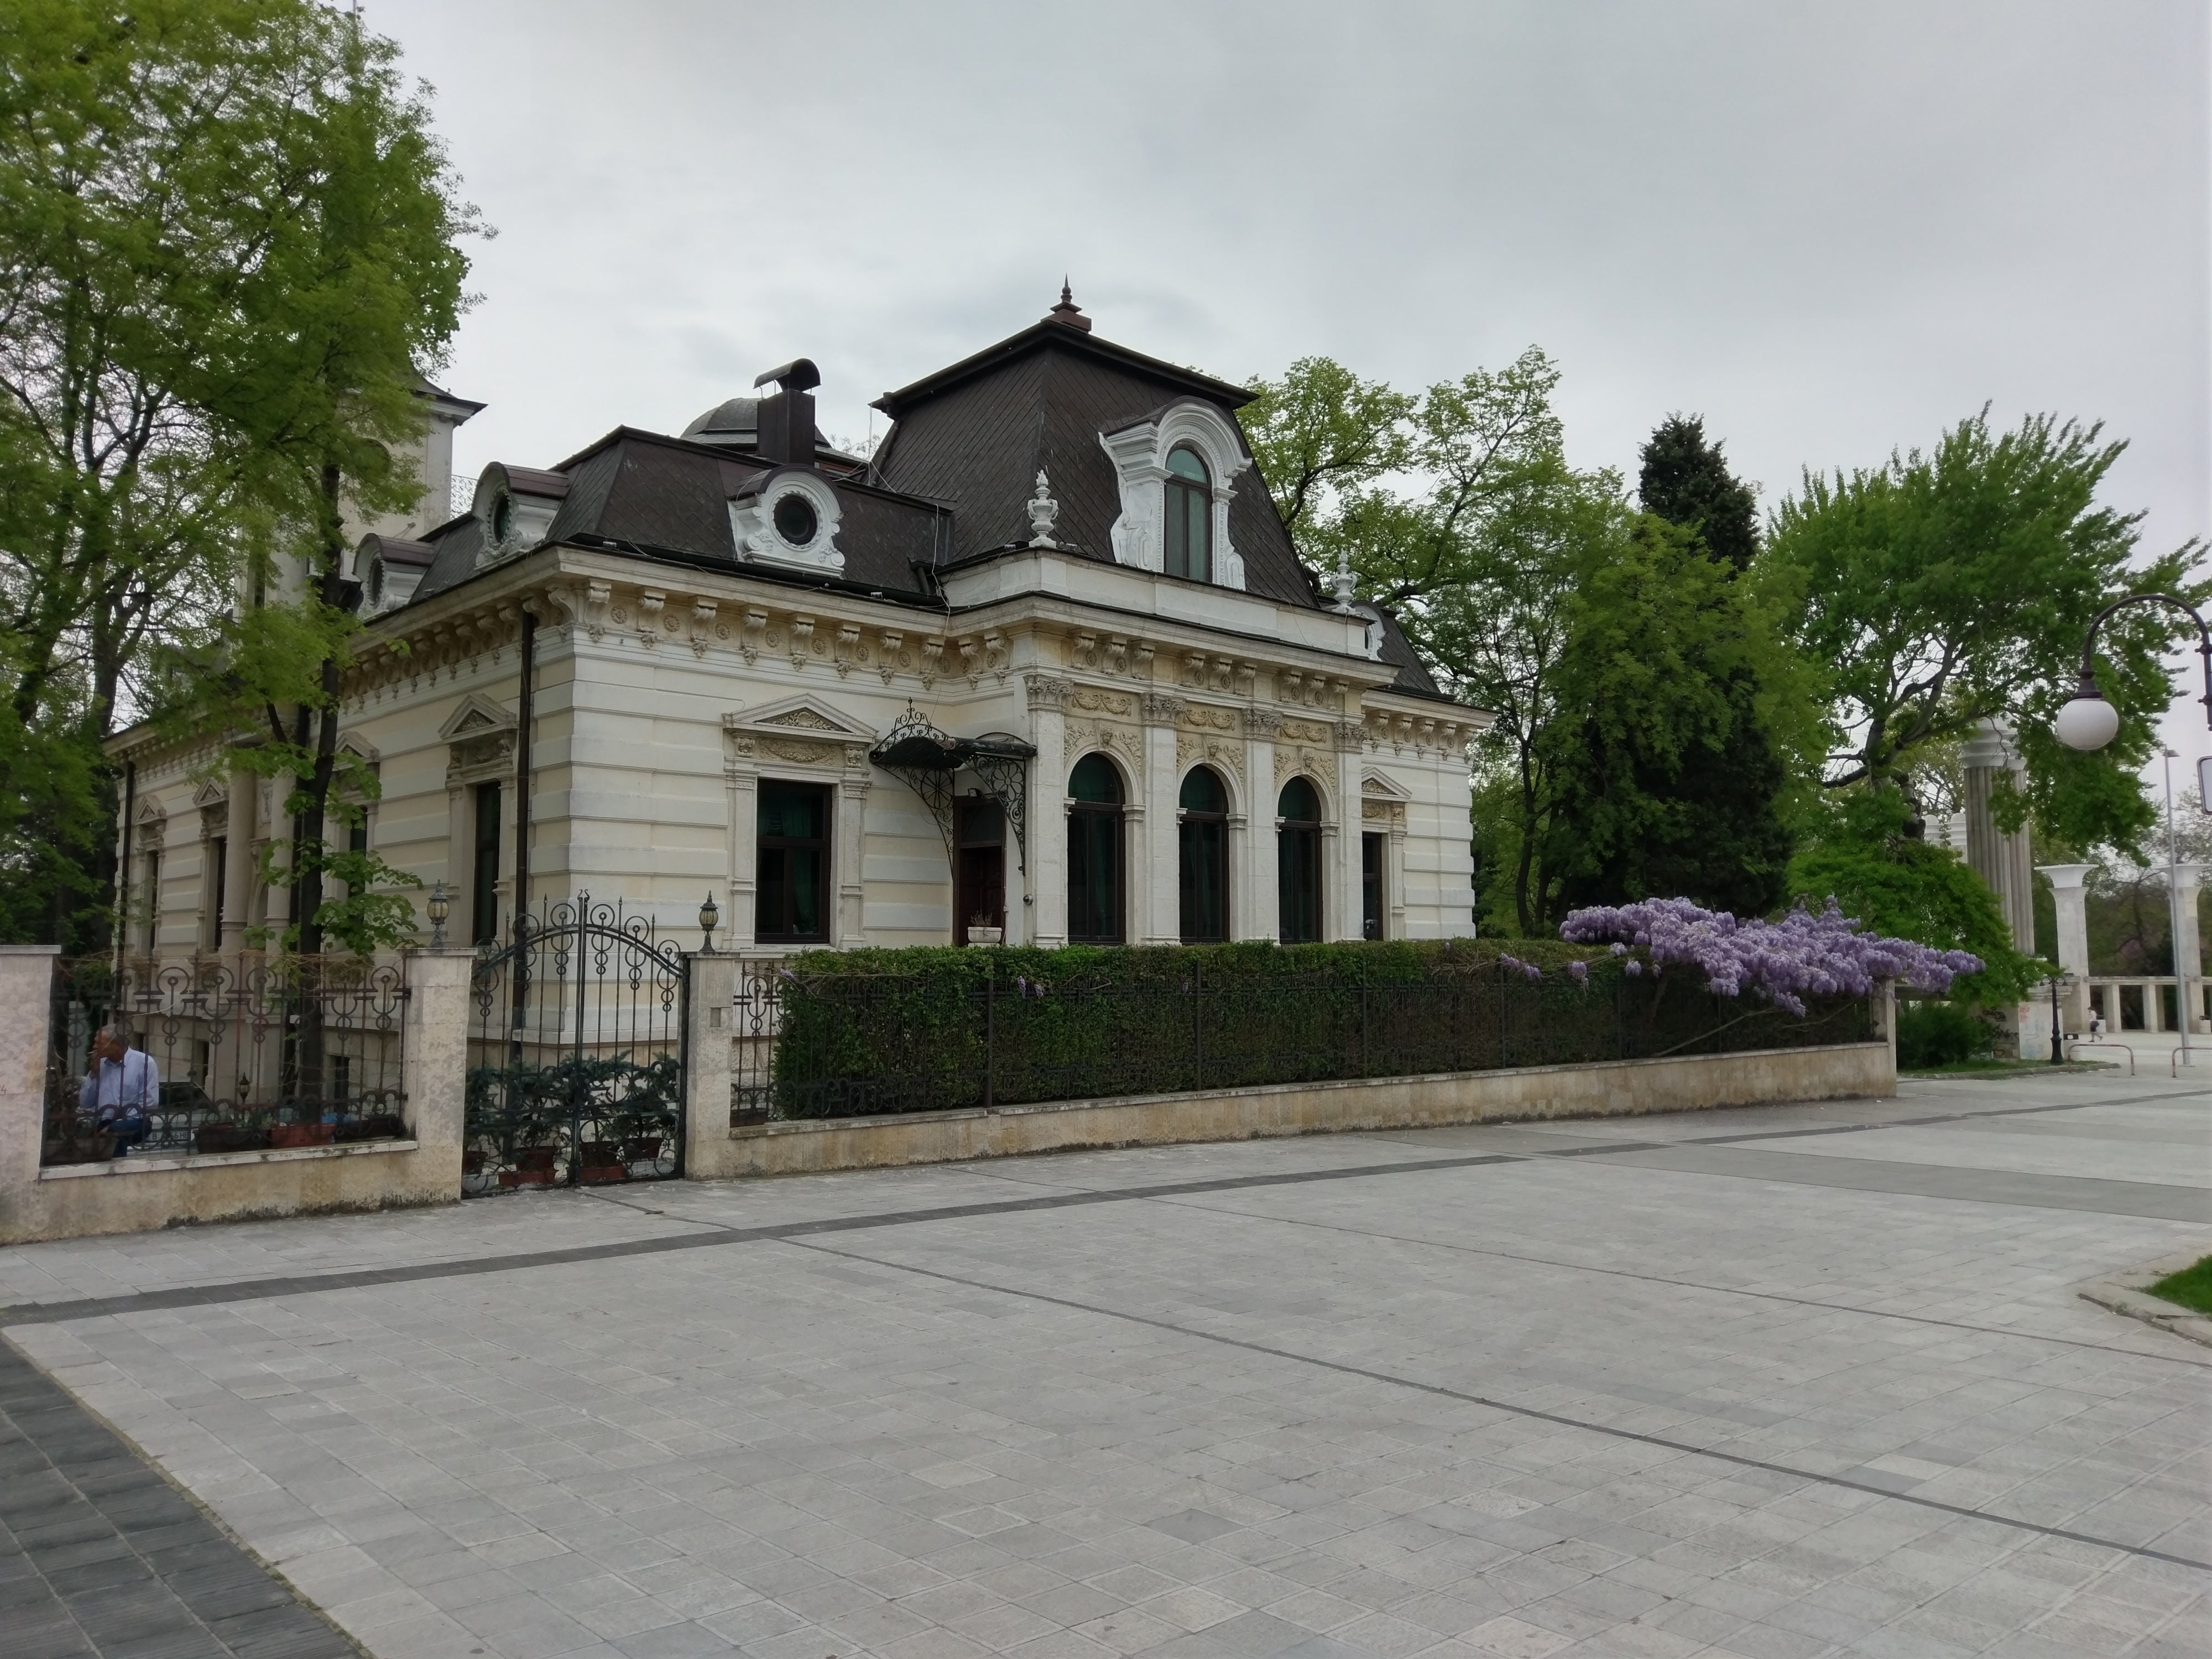
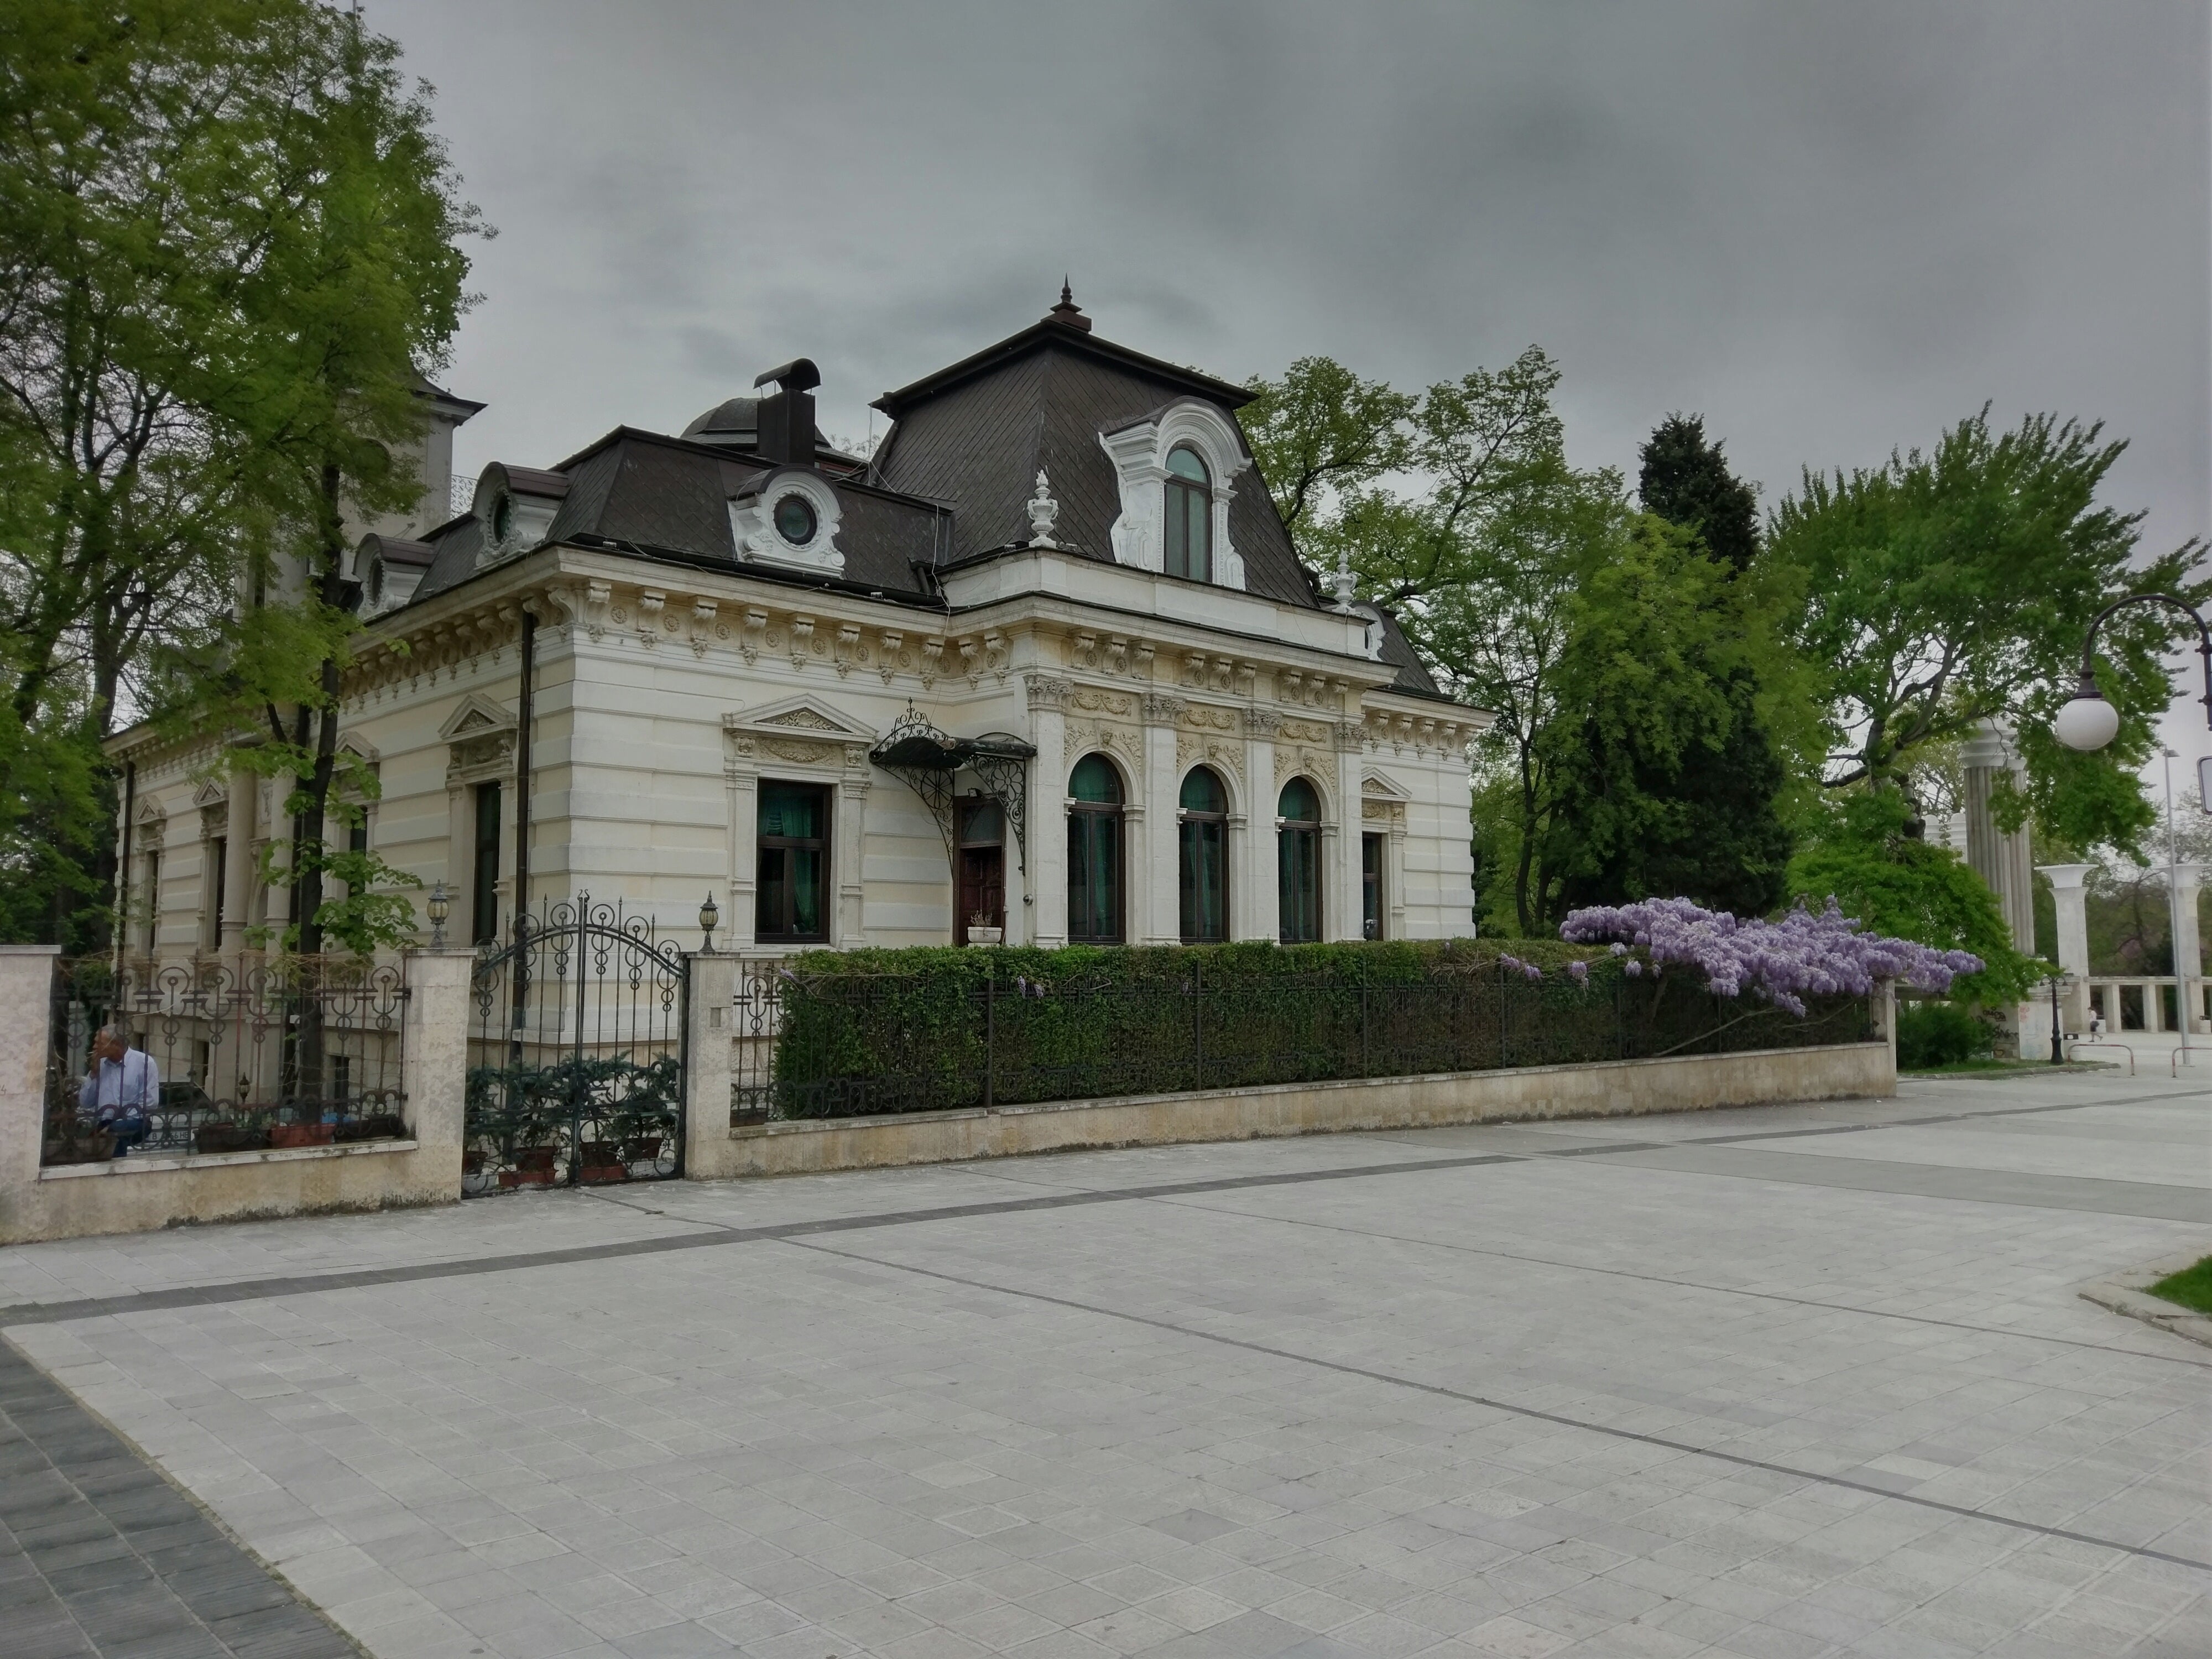
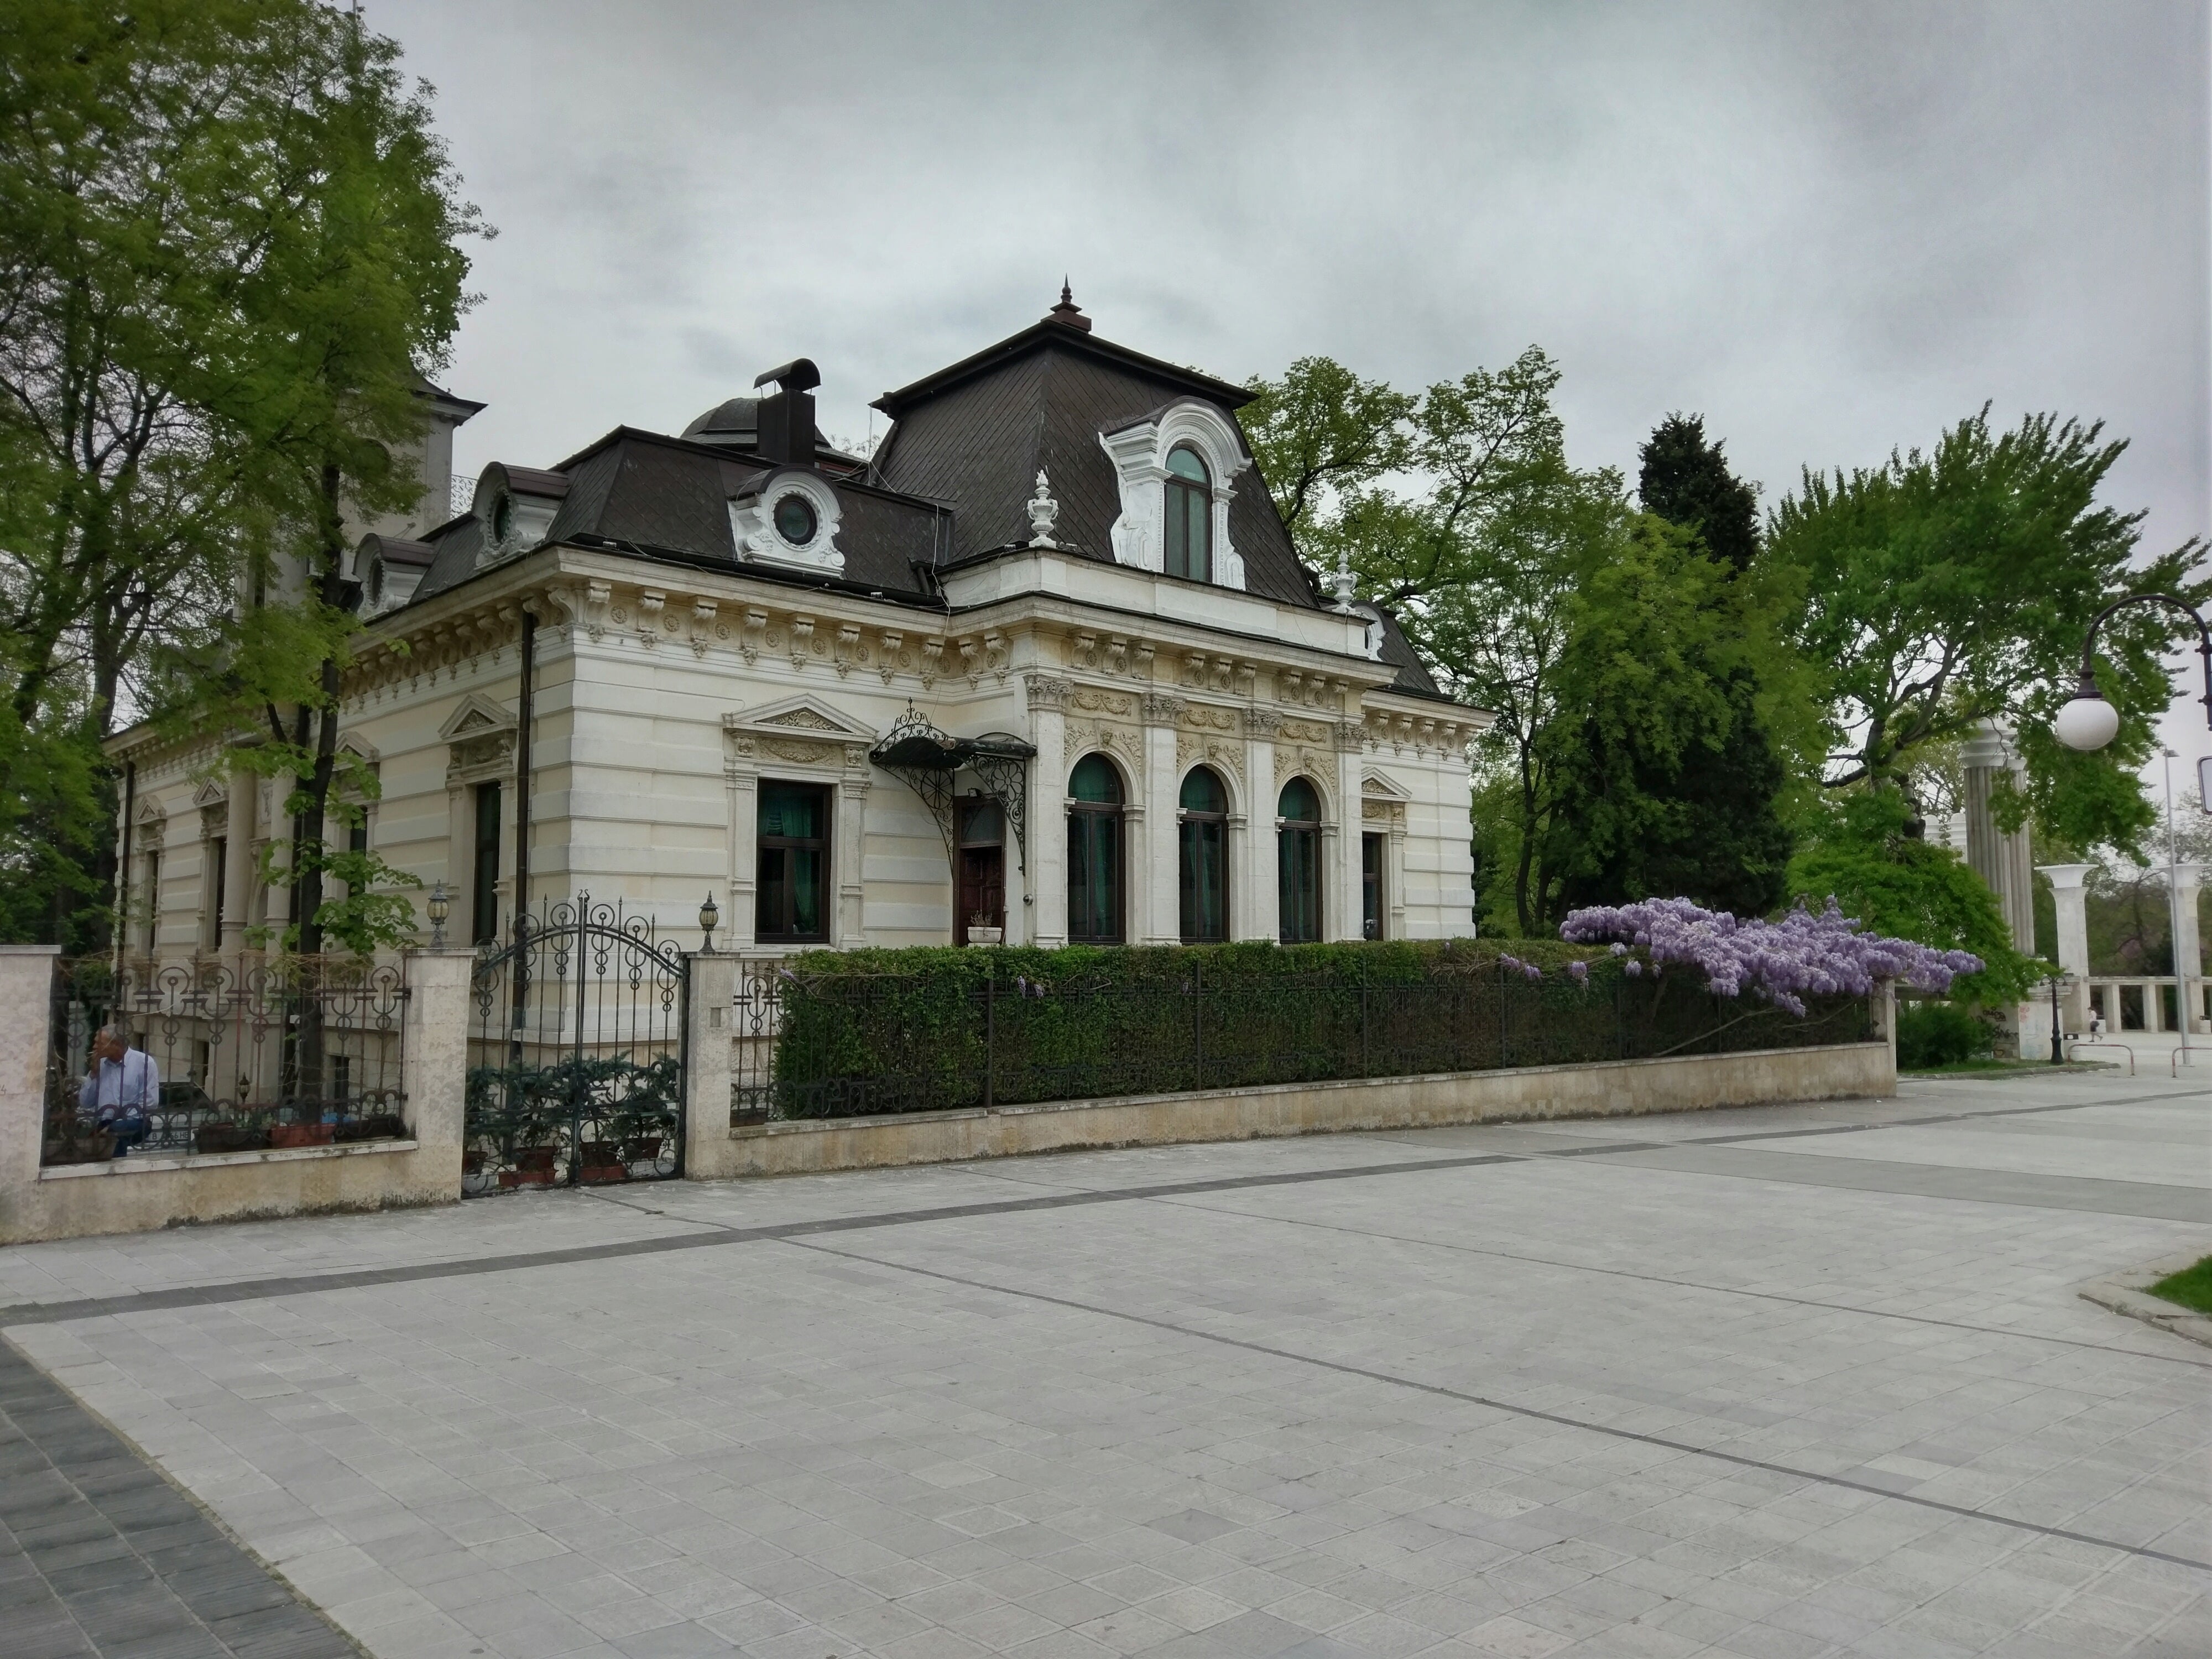
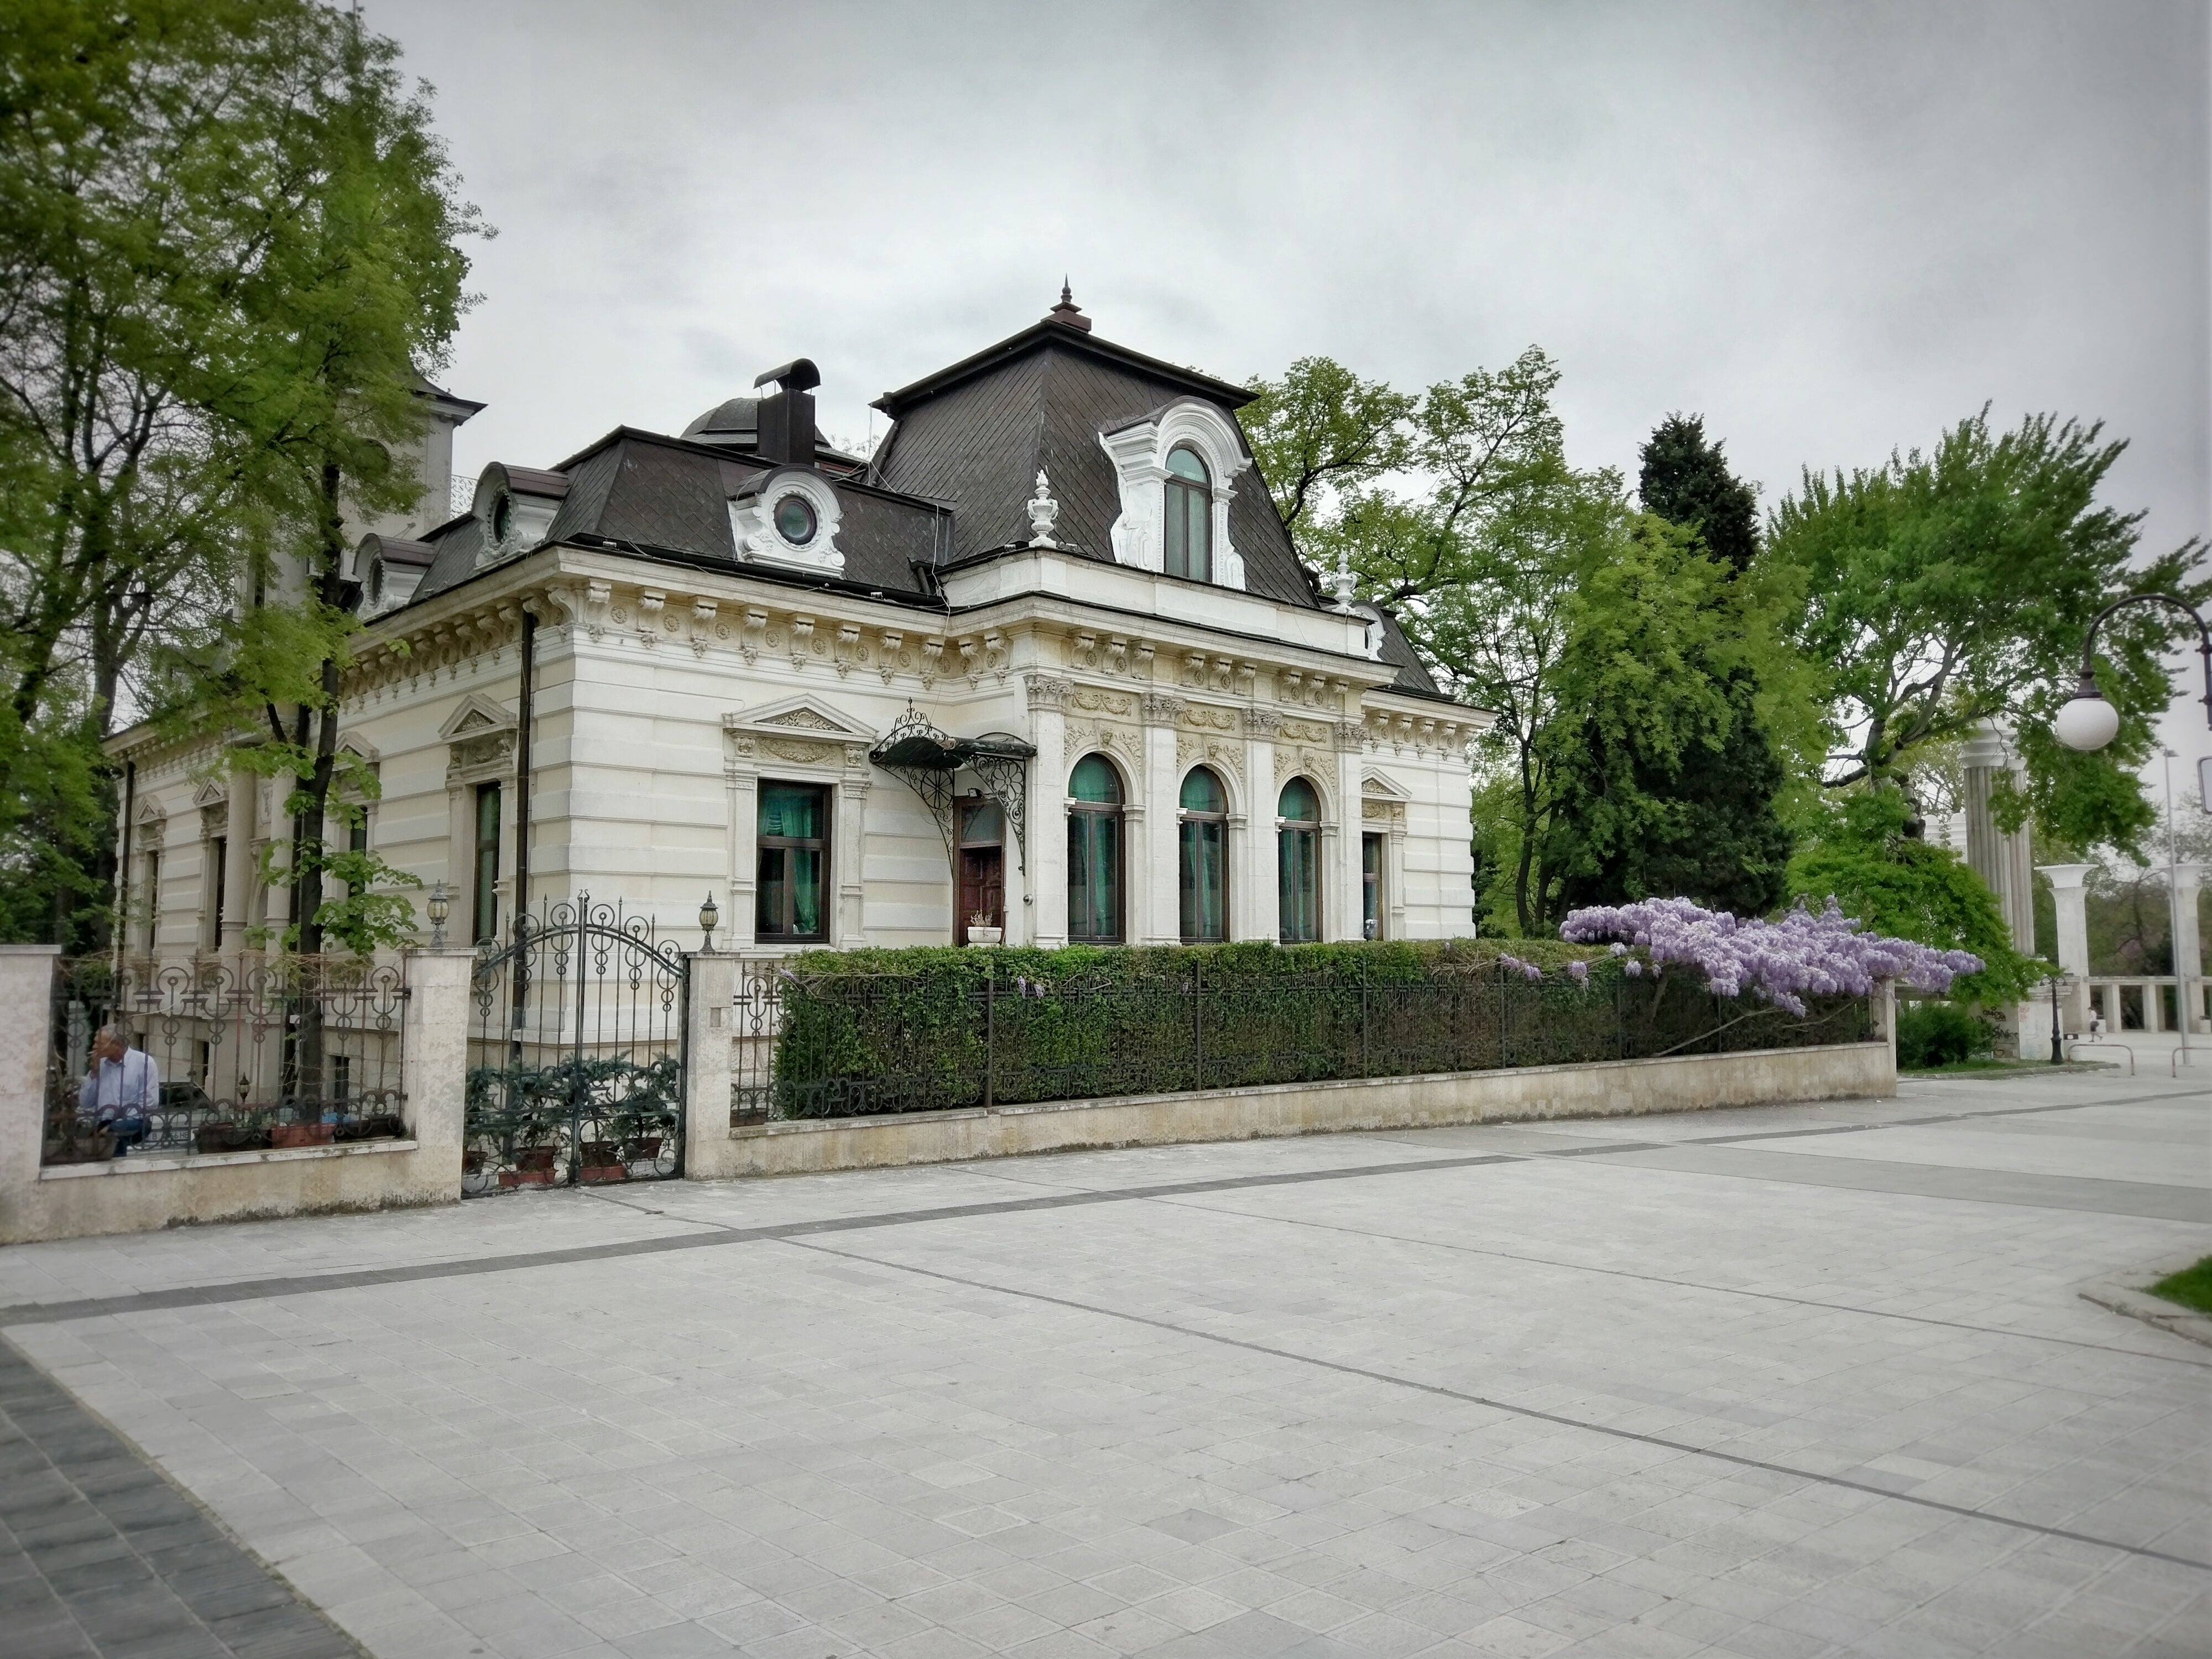
For the purpose of this how-to, we'll be taking a look at this photo of a building made with the HTC 10:
We will be working with this photo today
It's neither a terribly exciting shot, nor is it exceptionally pretty, but we will be trying our best to change at least the latter. The colors are drab, there is a serious lack of contrast and the sky is just a gray patch above the trees. So, what we will be doing here, as much as it pains us to say it, is, for lack of a better expression, HDR-ifying the photo. Wait, wait, hold up! Don't close the tab! We won't be using the HDR filter and playing around with the sliders! Instead, we will manually go over the entire shot, using a couple of different tools, to try to make it look more appealing.
Recommended For You
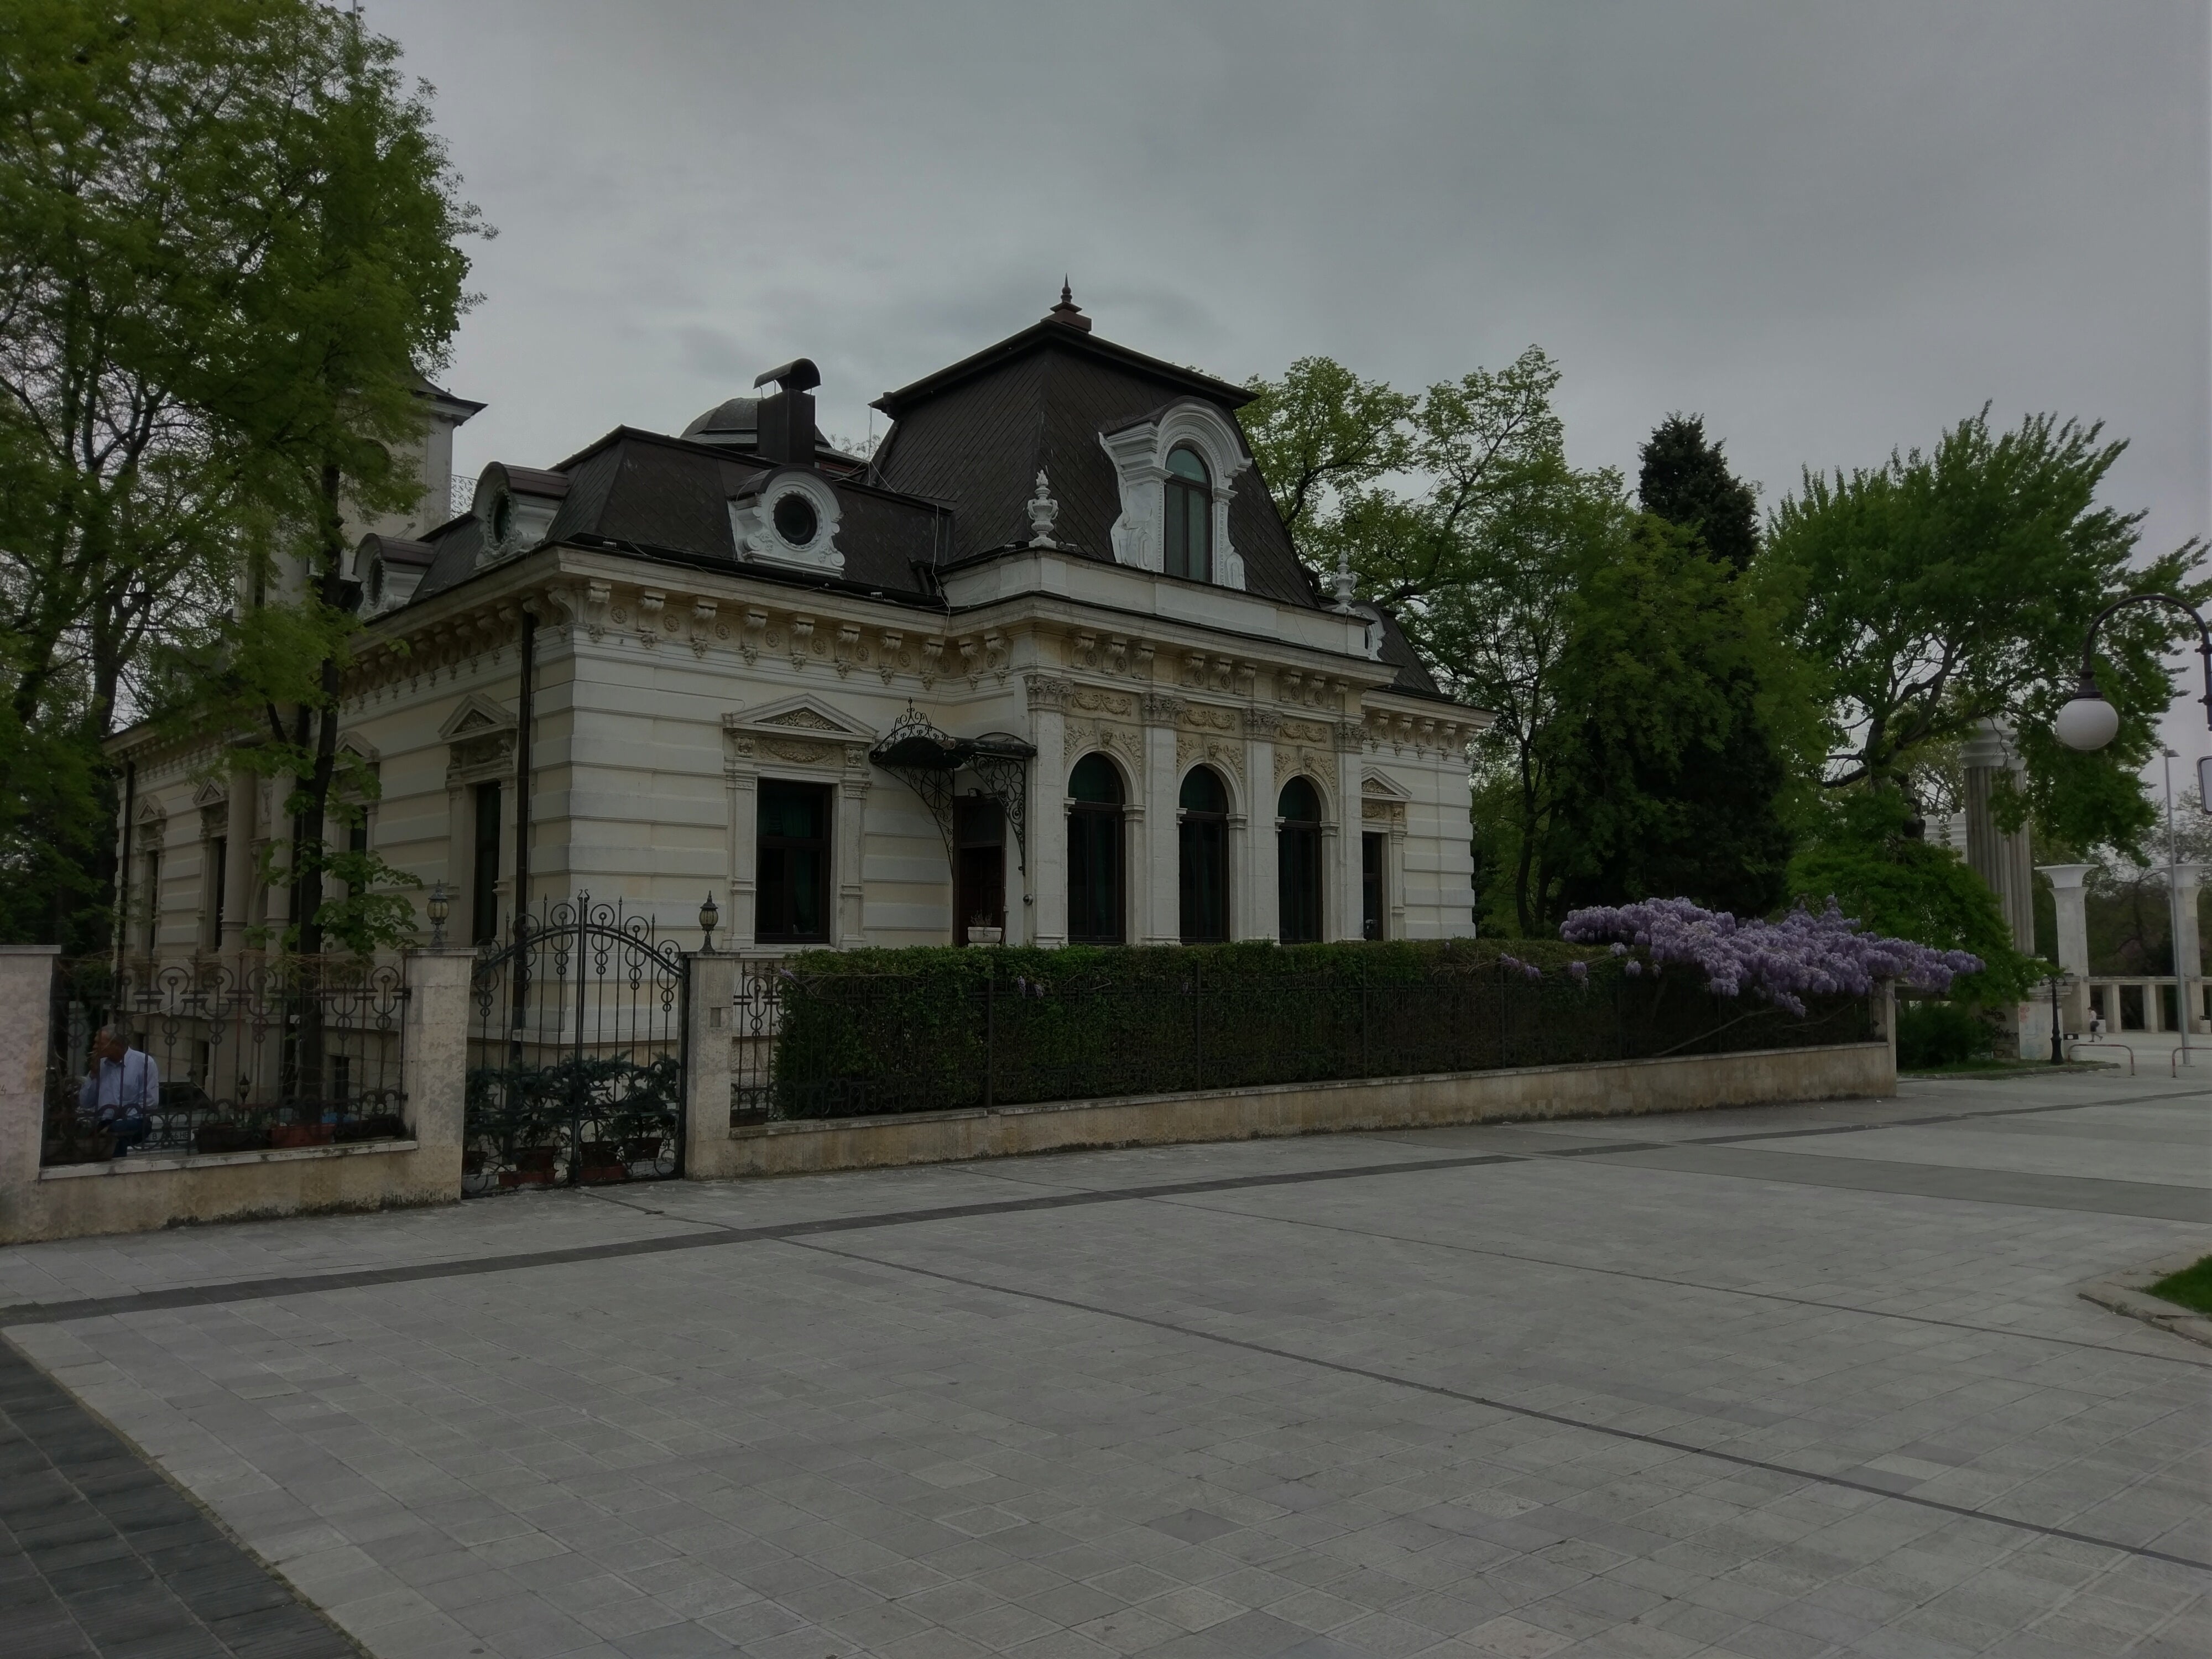
To open the tools menu, click the “pen” icon in the lower right-hand corner of the screen and select “Tune image”. Swipe up and down on the screen to select between different properties, such as brightness, contrast and saturation, and left and right to adjust their values. Contrary to what you might be expecting, we are actually going to bring the brightness down quite a bit, to around -72. There are many ways of doing this, of course, but in this case we are going to be working our way out of a darker image, because we want to squeeze as much contrast from the sky as possible. Anyway, once you're done, select the check mark in the bottom right-hand corner of the screen to apply the changes. This is what the image looks like now:
We are bringing the brightness down in an attempt to squeeze as much contrast as possible from the sky in the end. It won't be perfect, considering the source material, but we are here to try!
Tip: Long press on the screen to see a before/after preview.
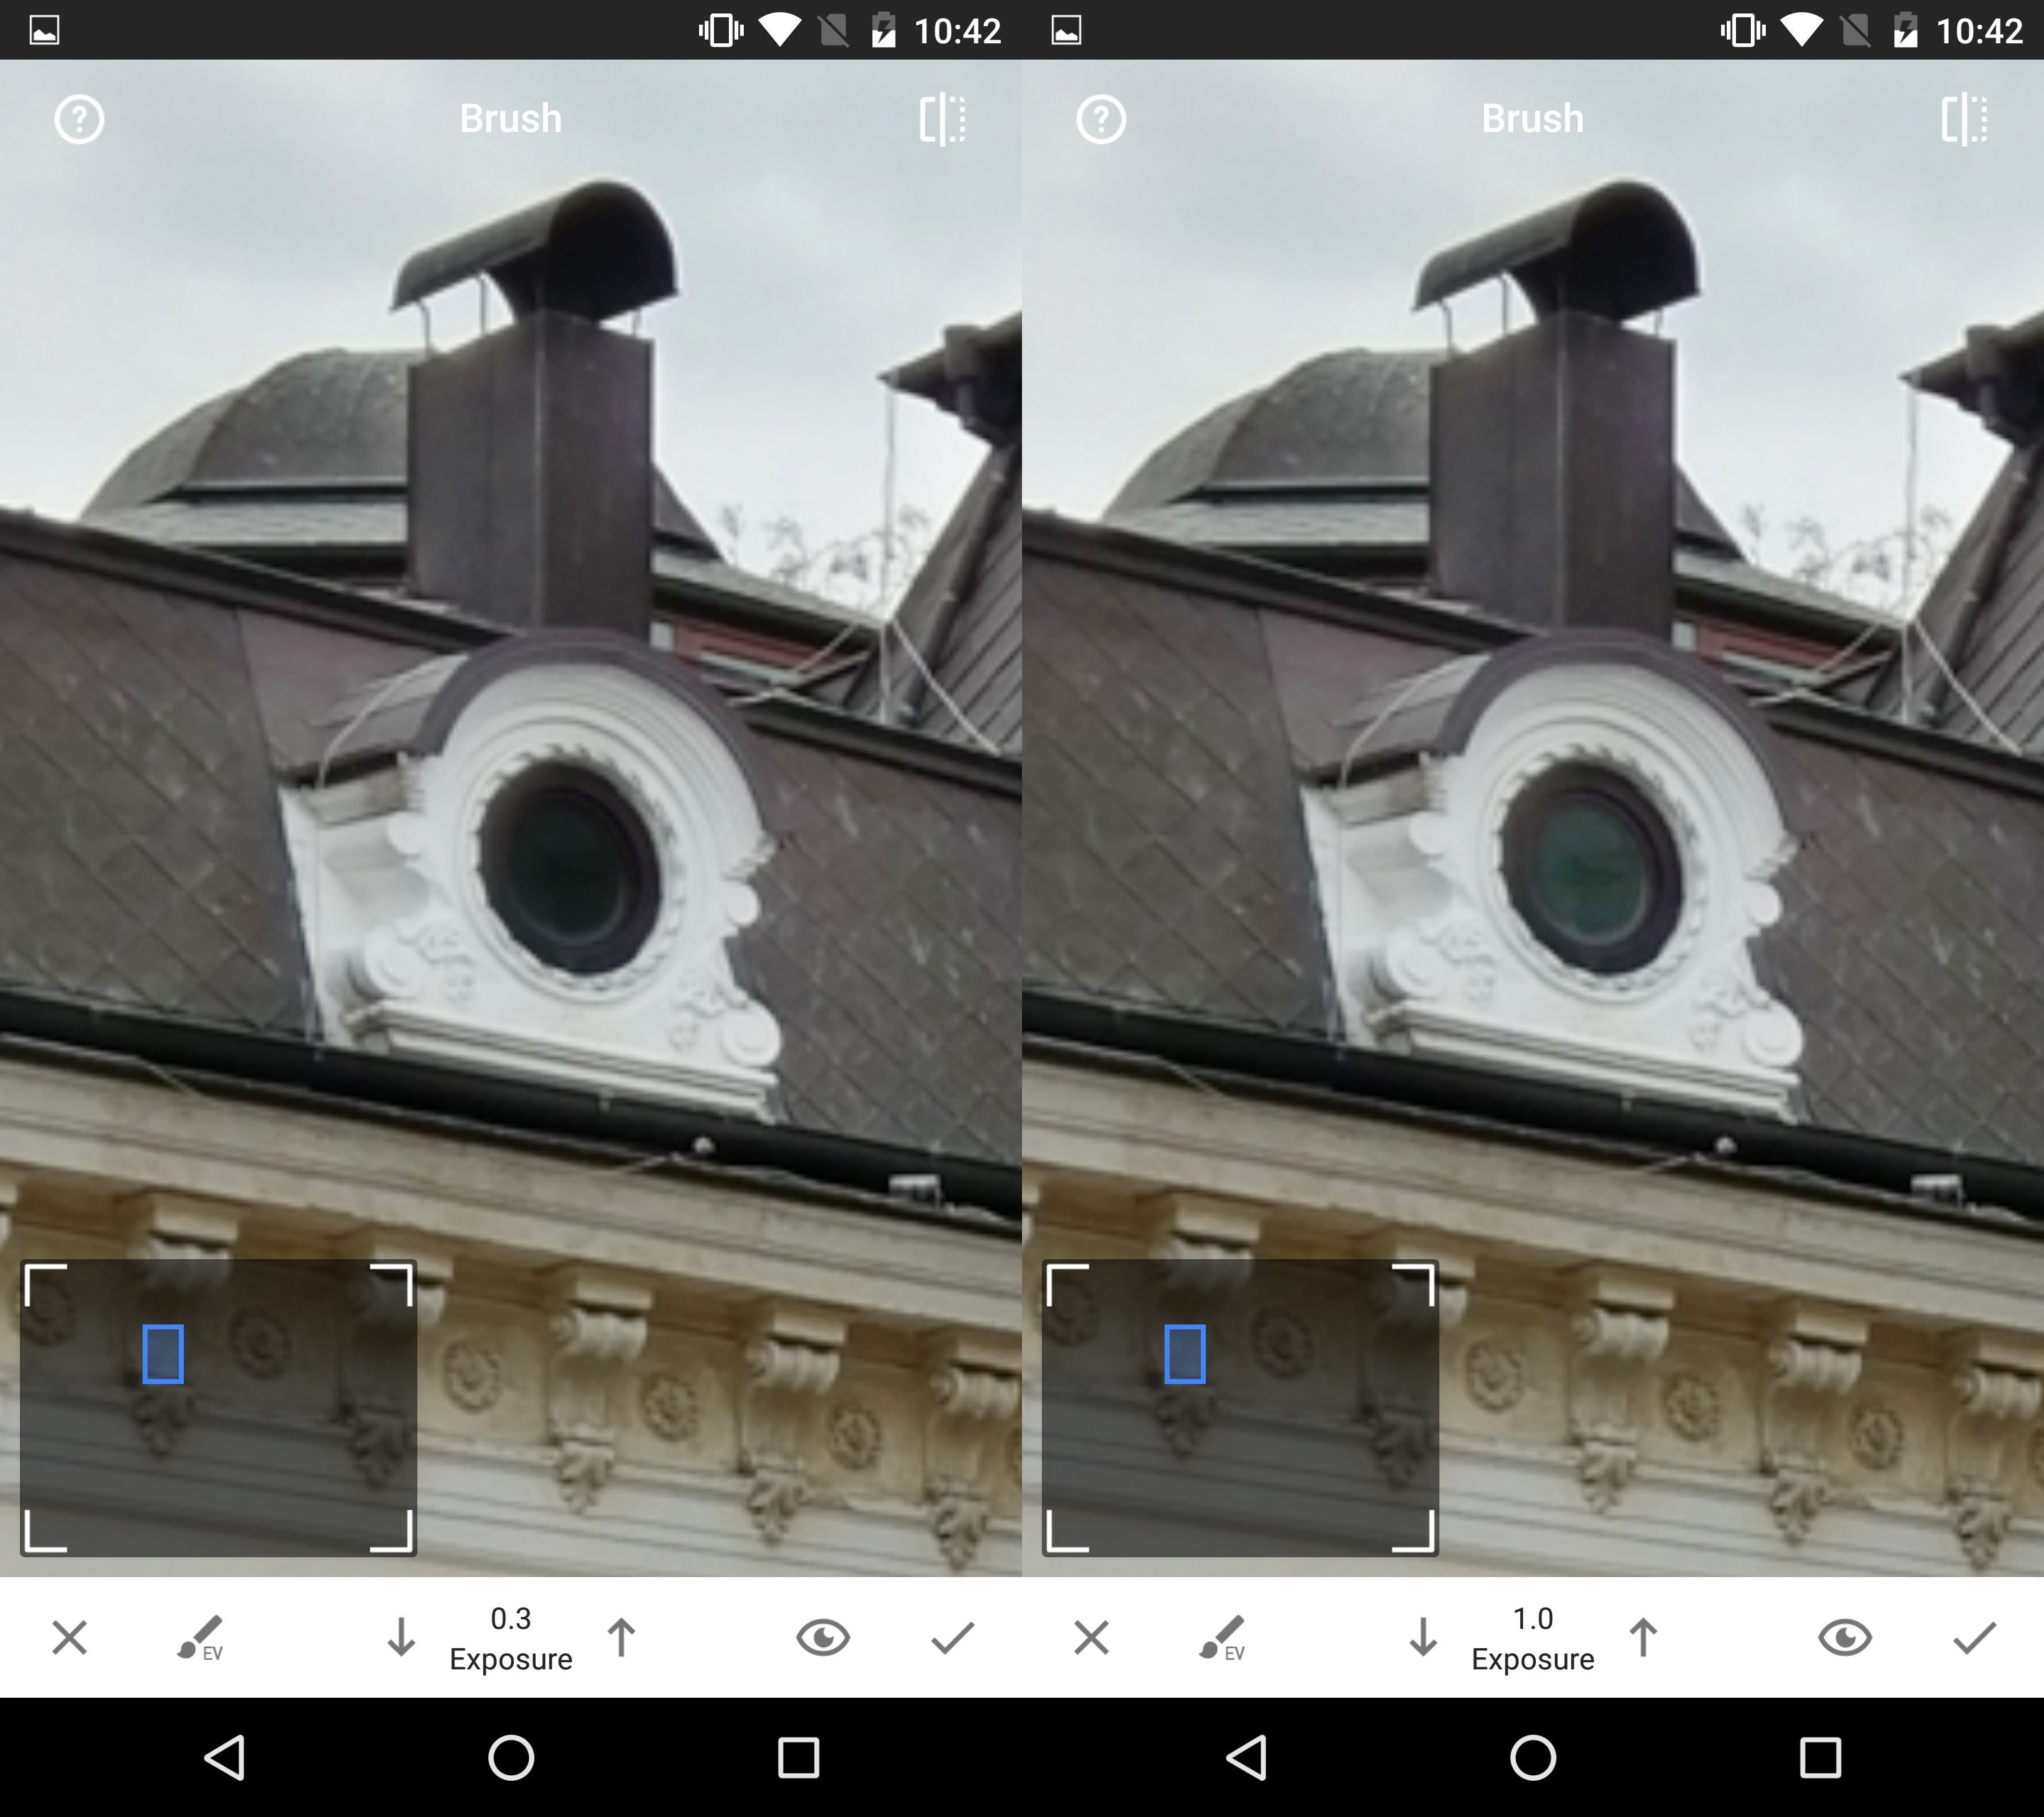
The round roof window with 0.3 steps of exposure vs. 1 full step of exposure
Now, we are going to play around with the brush tool. Open the menu and select “Brush”. We are going to brighten up pretty much everything, save for the sky, using the exposure brush (EV brush) which can be selected from the brush icon in the lower left-hand corner of the screen. Select it and then change its value via the up and down arrows. First, use the 0.3 EV brush and go over everything, except the sky. Keep in mind that in this mode, zooming also controls the size of your brush – the more zoomed in the picture is, the finer the brush.
Work your way around with the 0.3 EV brush and don't be afraid to use broader strokes. Once you're done, move on to the 0.7 EV brush and zoom in on the shot for finer control over your actions. Work your way around the shadows, while paying special attention to darker areas, such as the hedgerow in the front, the windows and the front door. You can go as far up as 1 full step of exposure when working on some of the windows.
Take your time and be careful when painting close to the sky – you don't want any “halos” around the trees and the edge of the building, that's one of the worst side effects of using HDR filters and we don't want none of it in our manual labor! Now, move on to the sky by selecting the -5 dodge & burn brush, zoom in a bit and lightly stroke over what little clouds are visible in the sky to bring them out a bit more. Don't be afraid to “paint” your own clouds with this brush. Once you're done with that, hit the check mark to apply. The image should look something like this:
Brightening up everything but the sky, while adding some darker "clouds" of our own using the dodge & burn brush
Tip: While using the brush tool, you can always tap on the eye icon at the bottom of the screen to see which areas you've painted over.
What we have now is a very unnatural contrast between the sky, which is too dark, and everything else, which looks almost as if it's shining with its own light. So, head back to the brush tool and we're going to work a bit more on the sky. What we want to do is brighten it up a bit while maintaining contrast. Some of the clouds we painted in the previous step look somewhat unnatural, so we are going to go over them, alternating between the 0.3 EV brush and the 5 dodge & burn brush. Zoom in and out of the shot to control brush size, use light strokes – even single taps – to achieve a more natural looking result. Once you're ready, hit the check mark. The image should look something like this:
Evening out the sky by alternating between the EV and the dodge & burn brush
Tip: Each brush can be erased, just use the up and down arrows to select the eraser.
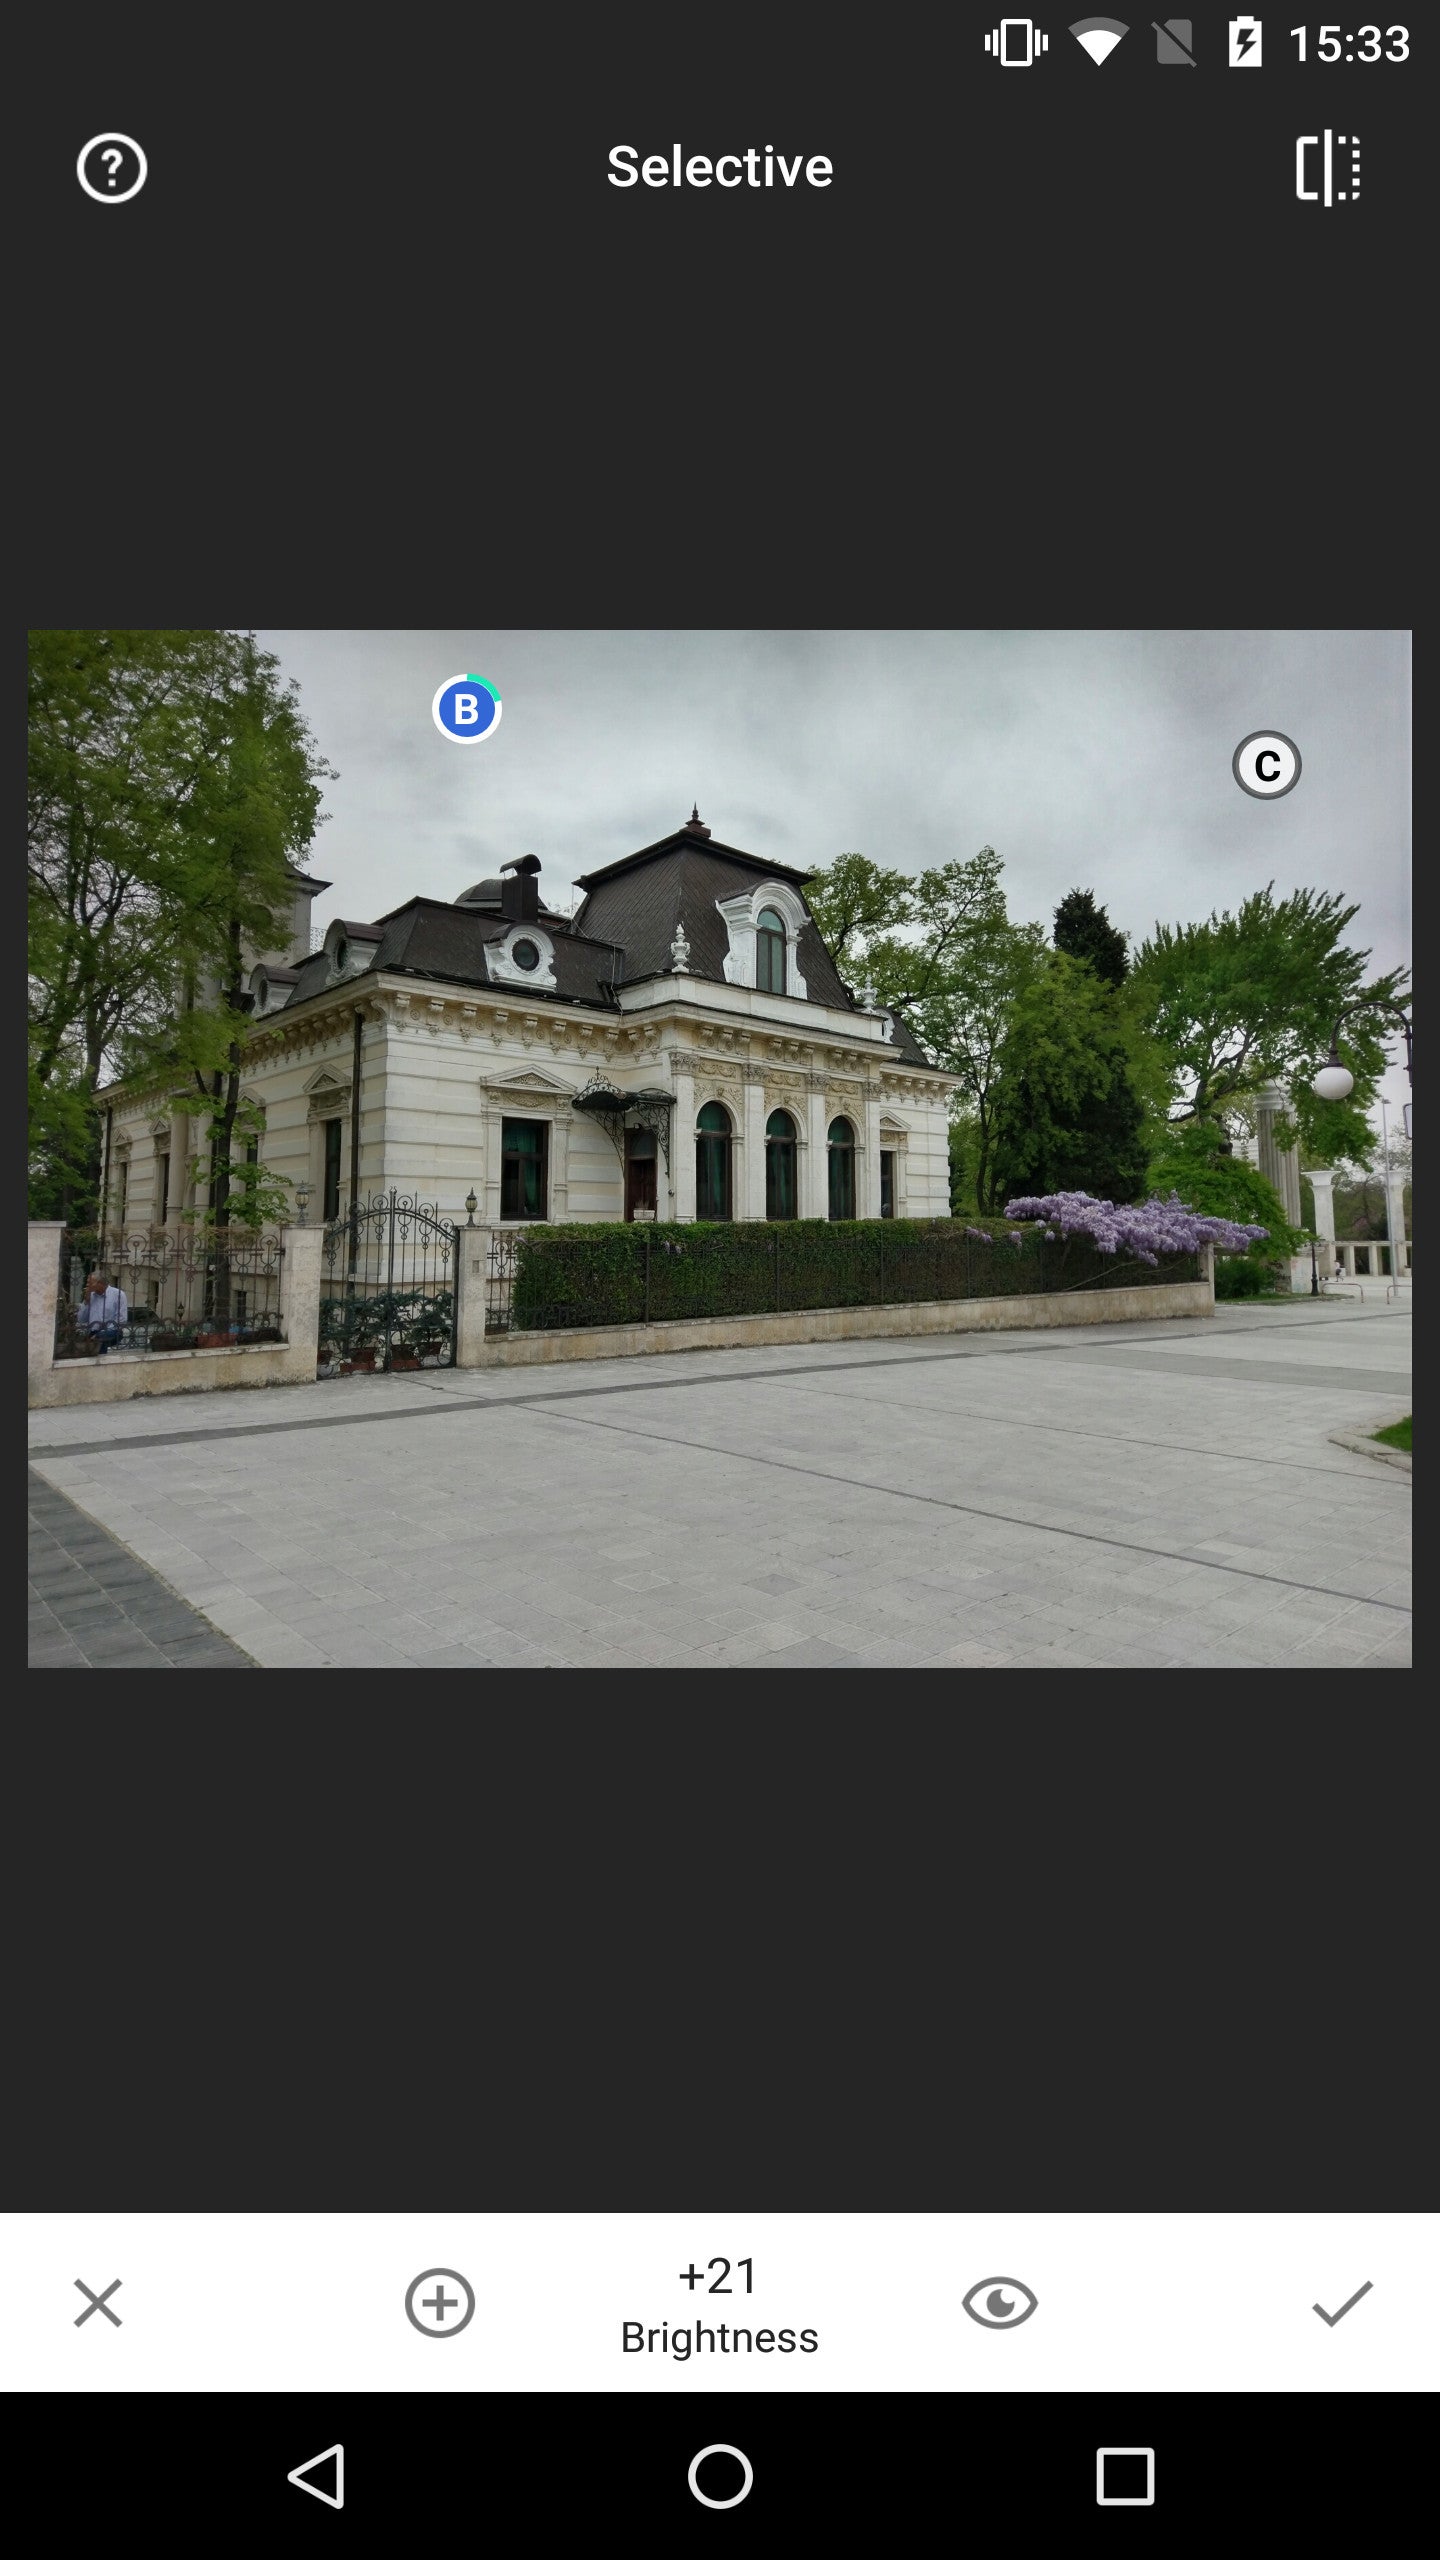
Creating contrast in different areas of the sky via the "Selective" tool
That's better, but the sky is still too dark. We want to increase its contrast, but we're done with the brush tool for now. Instead, go to “Selective” and tap somewhere in the sky above the building. This will create a point, the diameter of which can be adjusted by pinching in and out with two fingers. You'll notice that it's smart enough to affect mainly the highlights in any given area, so make it small enough to not go too much over the building, although that is unavoidable to a small degree. Now, swipe up and down to select between the three properties available for each point – brightness, contrast and saturation – and bring up the brightness to around 40 and the contrast to around 33. When you're done, click on the “+” icon at the bottom of the screen to create a new point and cover another portion of the sky with it, using similar values for brightness and contrast. Once ready, hit the check mark.
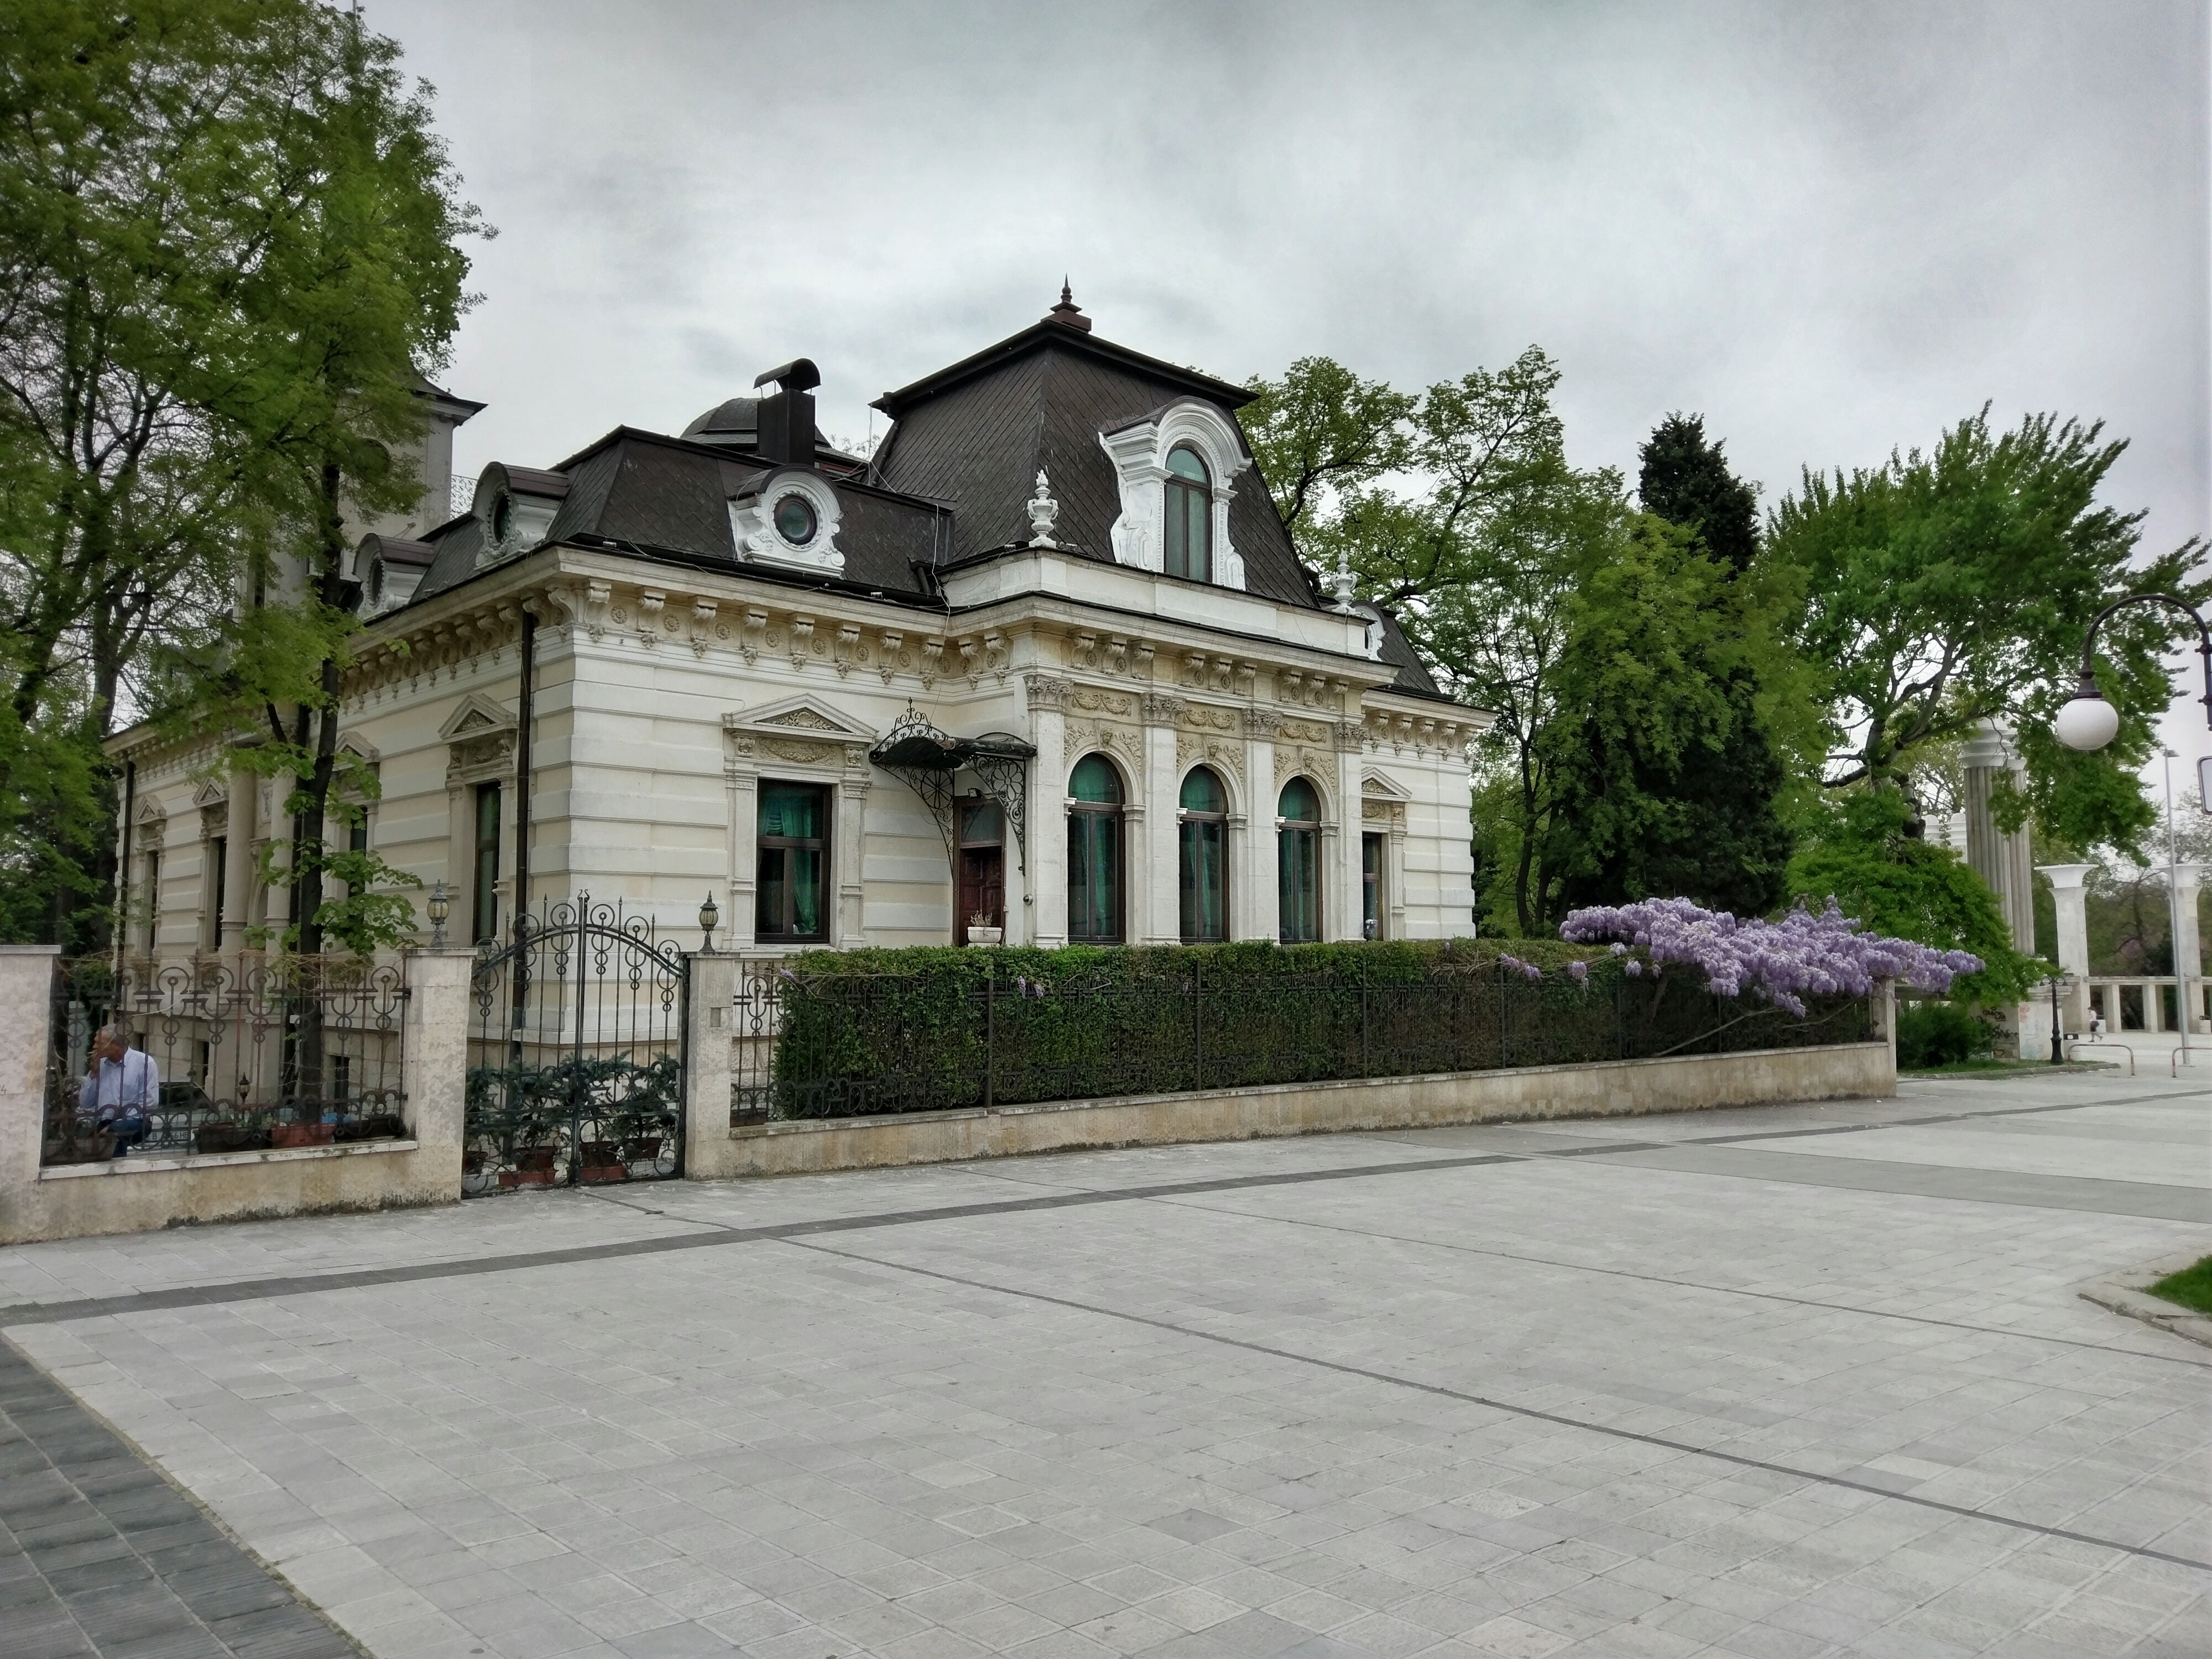
At this point, we feel like we need to go back to those windows and brighten them just a bit more:
Adding some more light to the windows
Now, long-press on the screen to see a before/after preview. Remember, what you're seeing on your phone's screen will most certainly be different from what you'll see on your PC or laptop. If you think the image is too dark, bump the highlights a bit. That's what we'll be doing now. Next, head over to “Tonal contrast” and set the high tones to around 10, the mid tones to around 15 and the low tones to somewhere around 30. Zoom in to see what changes you're making and don't overdo it! We want to squeeze just a little bit more contrast out of the shot and add some definition to the finer details. The changes will look negligible when the picture is zoomed out on your phone's screen. Check mark, done.
Next, we are going to add a little bit of vignetting. Select the vignette tool and adjust its diameter by pinching in and out with the fingers. Set the outer brightness to around -40 and the inner brightness to around 15. We don't want to create too much of a difference in contrast between the central part of the shot and the edges. Check mark, move on. Here's what it should look like:
Adding a subtle vignette, as well as some more brightness to the central portion of the image
Optional: You can add a bit of lens blur to the edges of your shot, if you like. The lens blur tool works similarly to the vignette tool – control the diameter with two fingers and bet on bigger transition and less blur for more natural-looking results.
Almost done, we are now ready for a final check-up. At this point, we'd like to remind you again that what you see on your phone right now will most likely differ to some extent from what you'd see on your PC monitor. This can be due to different screen types and color calibrations and there is no real way around it. Anyway, take a good look at what you've done and play around with the brightness and contrast a bit more, should you feel the need to do so.
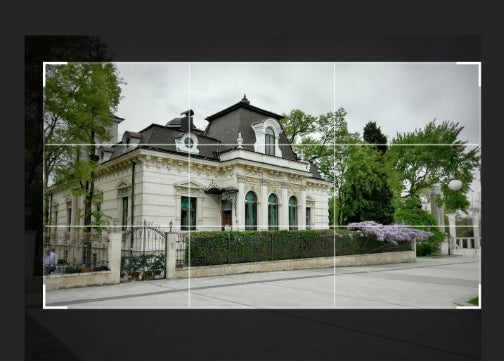
Croppin' away
Now, for the final crop! Select the crop tool and let's go for a 16:9 aspect ratio. One way to adjust your crop, is to align the lower line with the front fence and place the small roof window in the upper left meeting point in the grid.
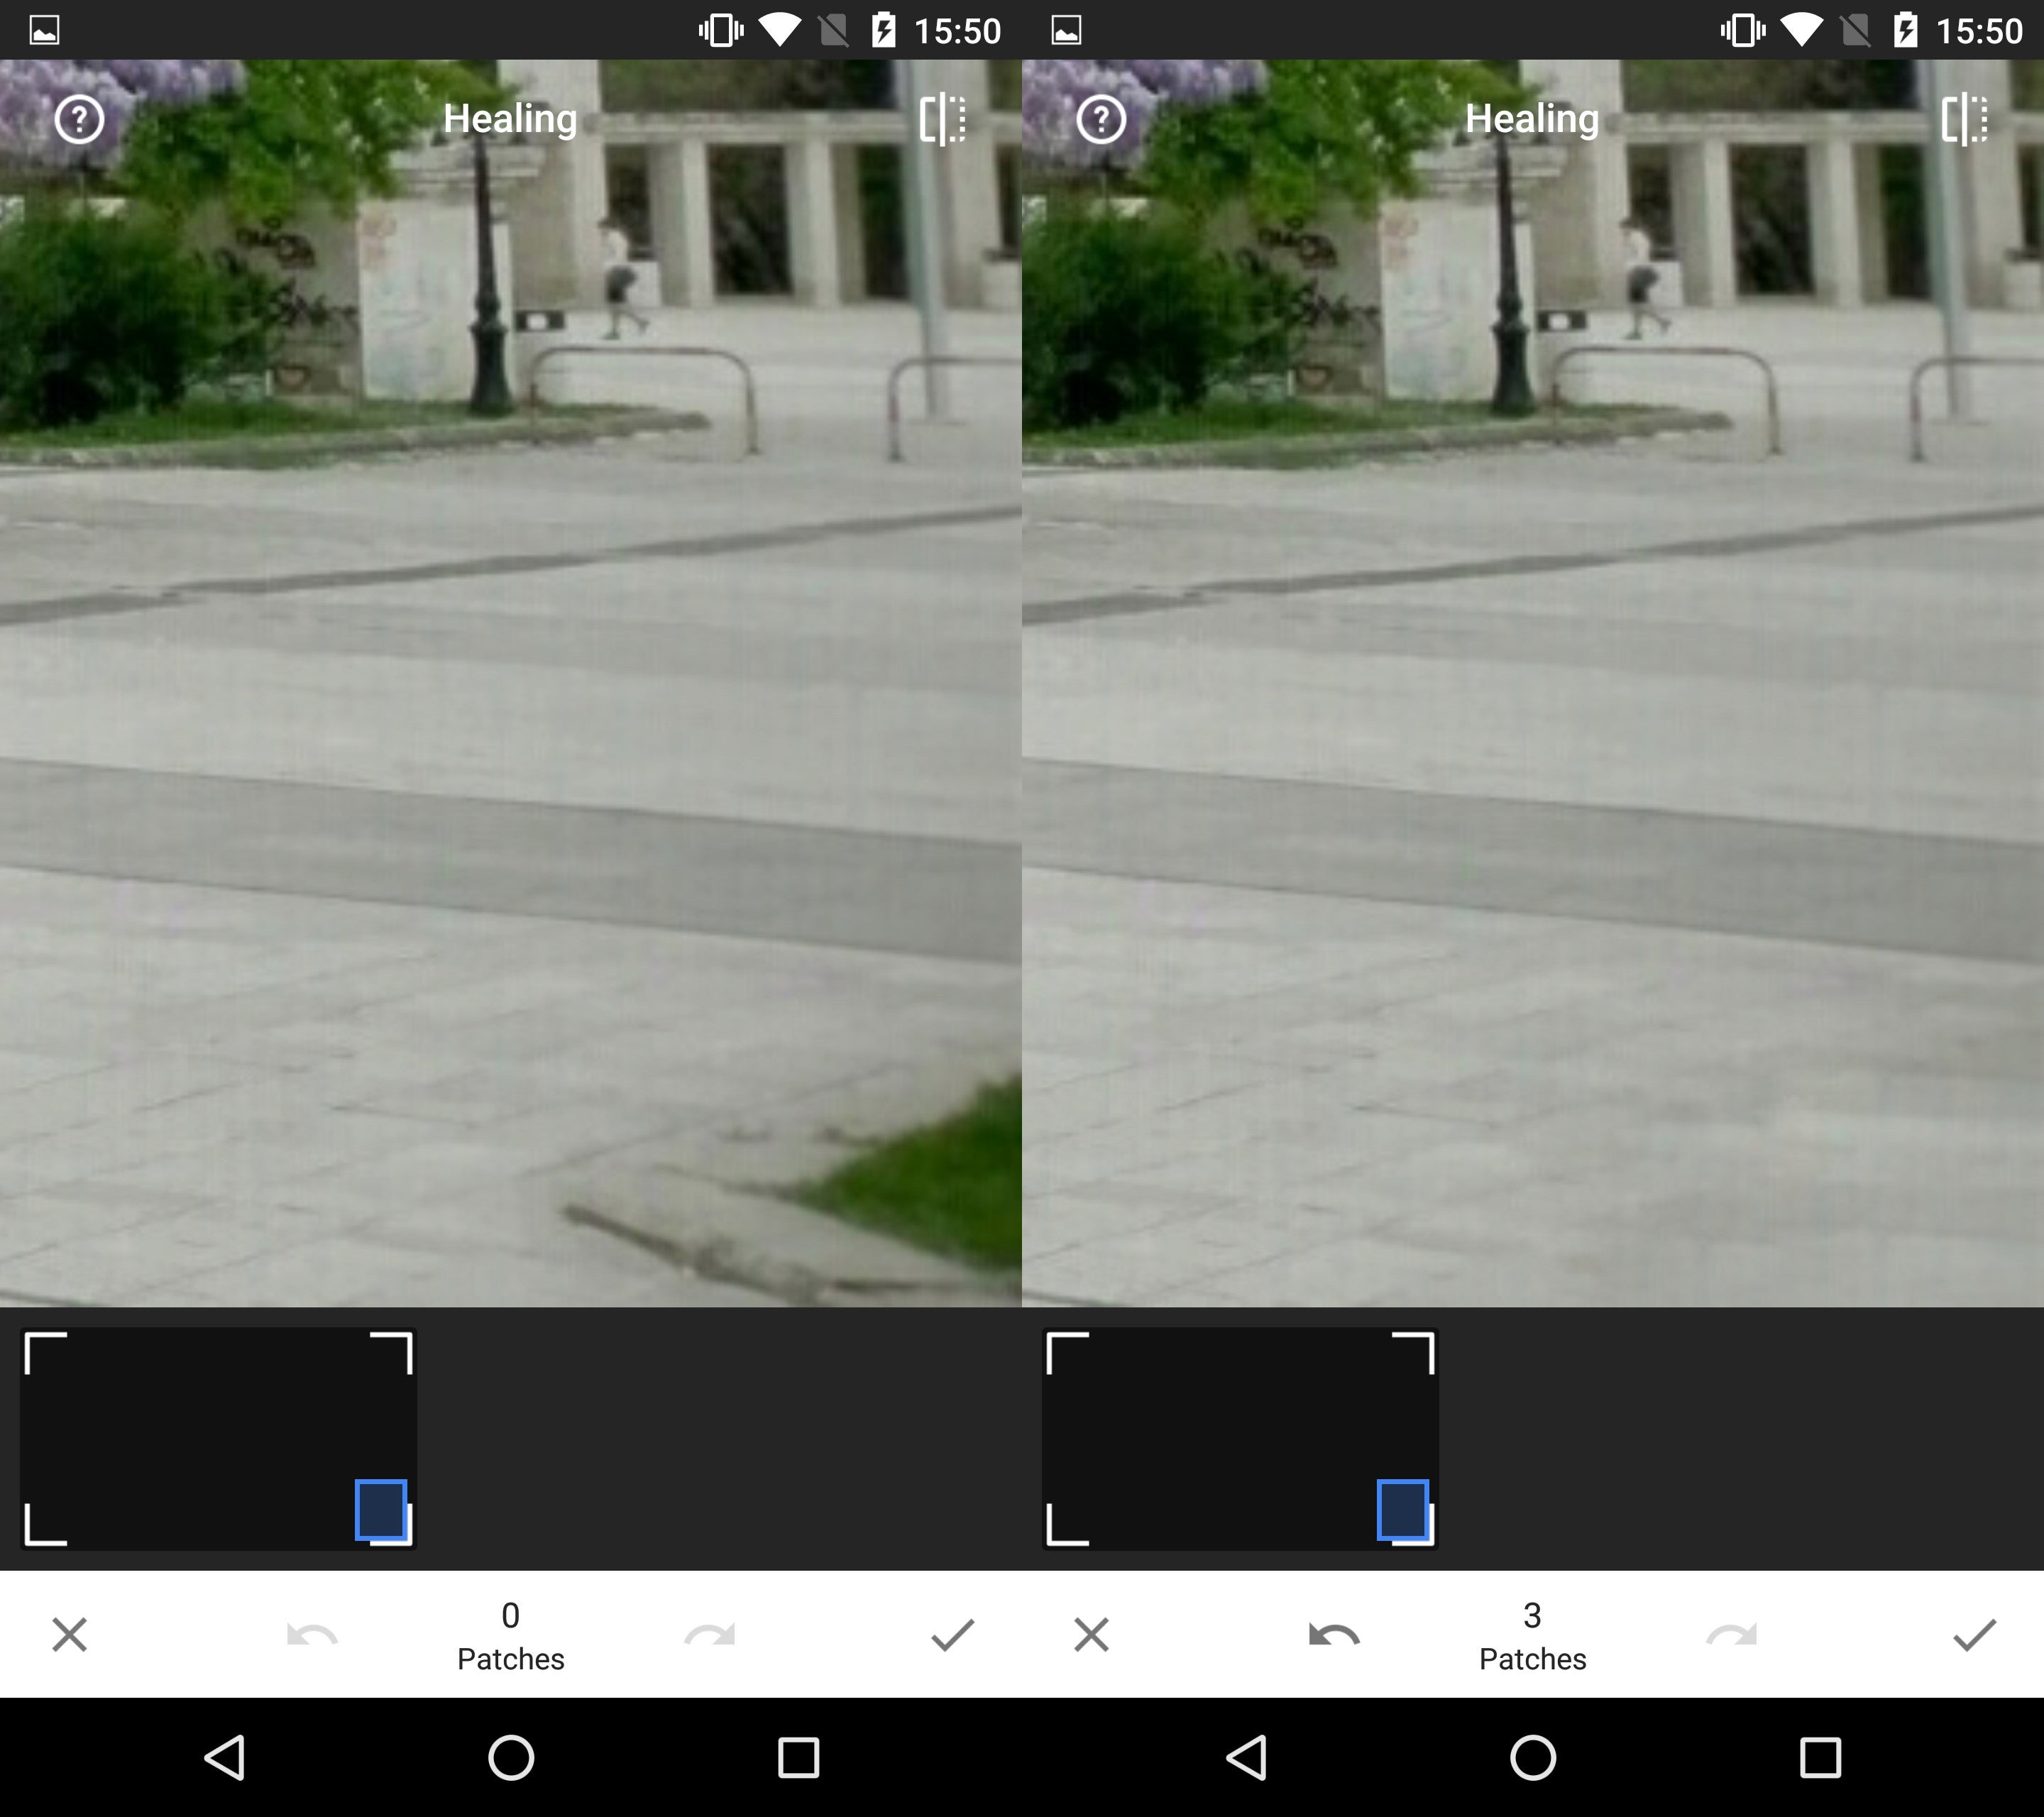
The healing brush is a very useful tool, but you should be careful when using it, as it might leave recurring patterns behind
We are pretty much done, but now we have to remove that pesky patch of grass in the lower right corner of the shot. Open the tools menu and select "Healing". The zoom level here again controls the size of your brush, so zoom in quite a bit and begin drawing on top of the grass. This one's easy, as the smooth tiled surface is lacking in detail and lends itself perfectly to this type of procedure. Don't be afraid to use broader strokes and tap on any recurring patterns to get rid of them.
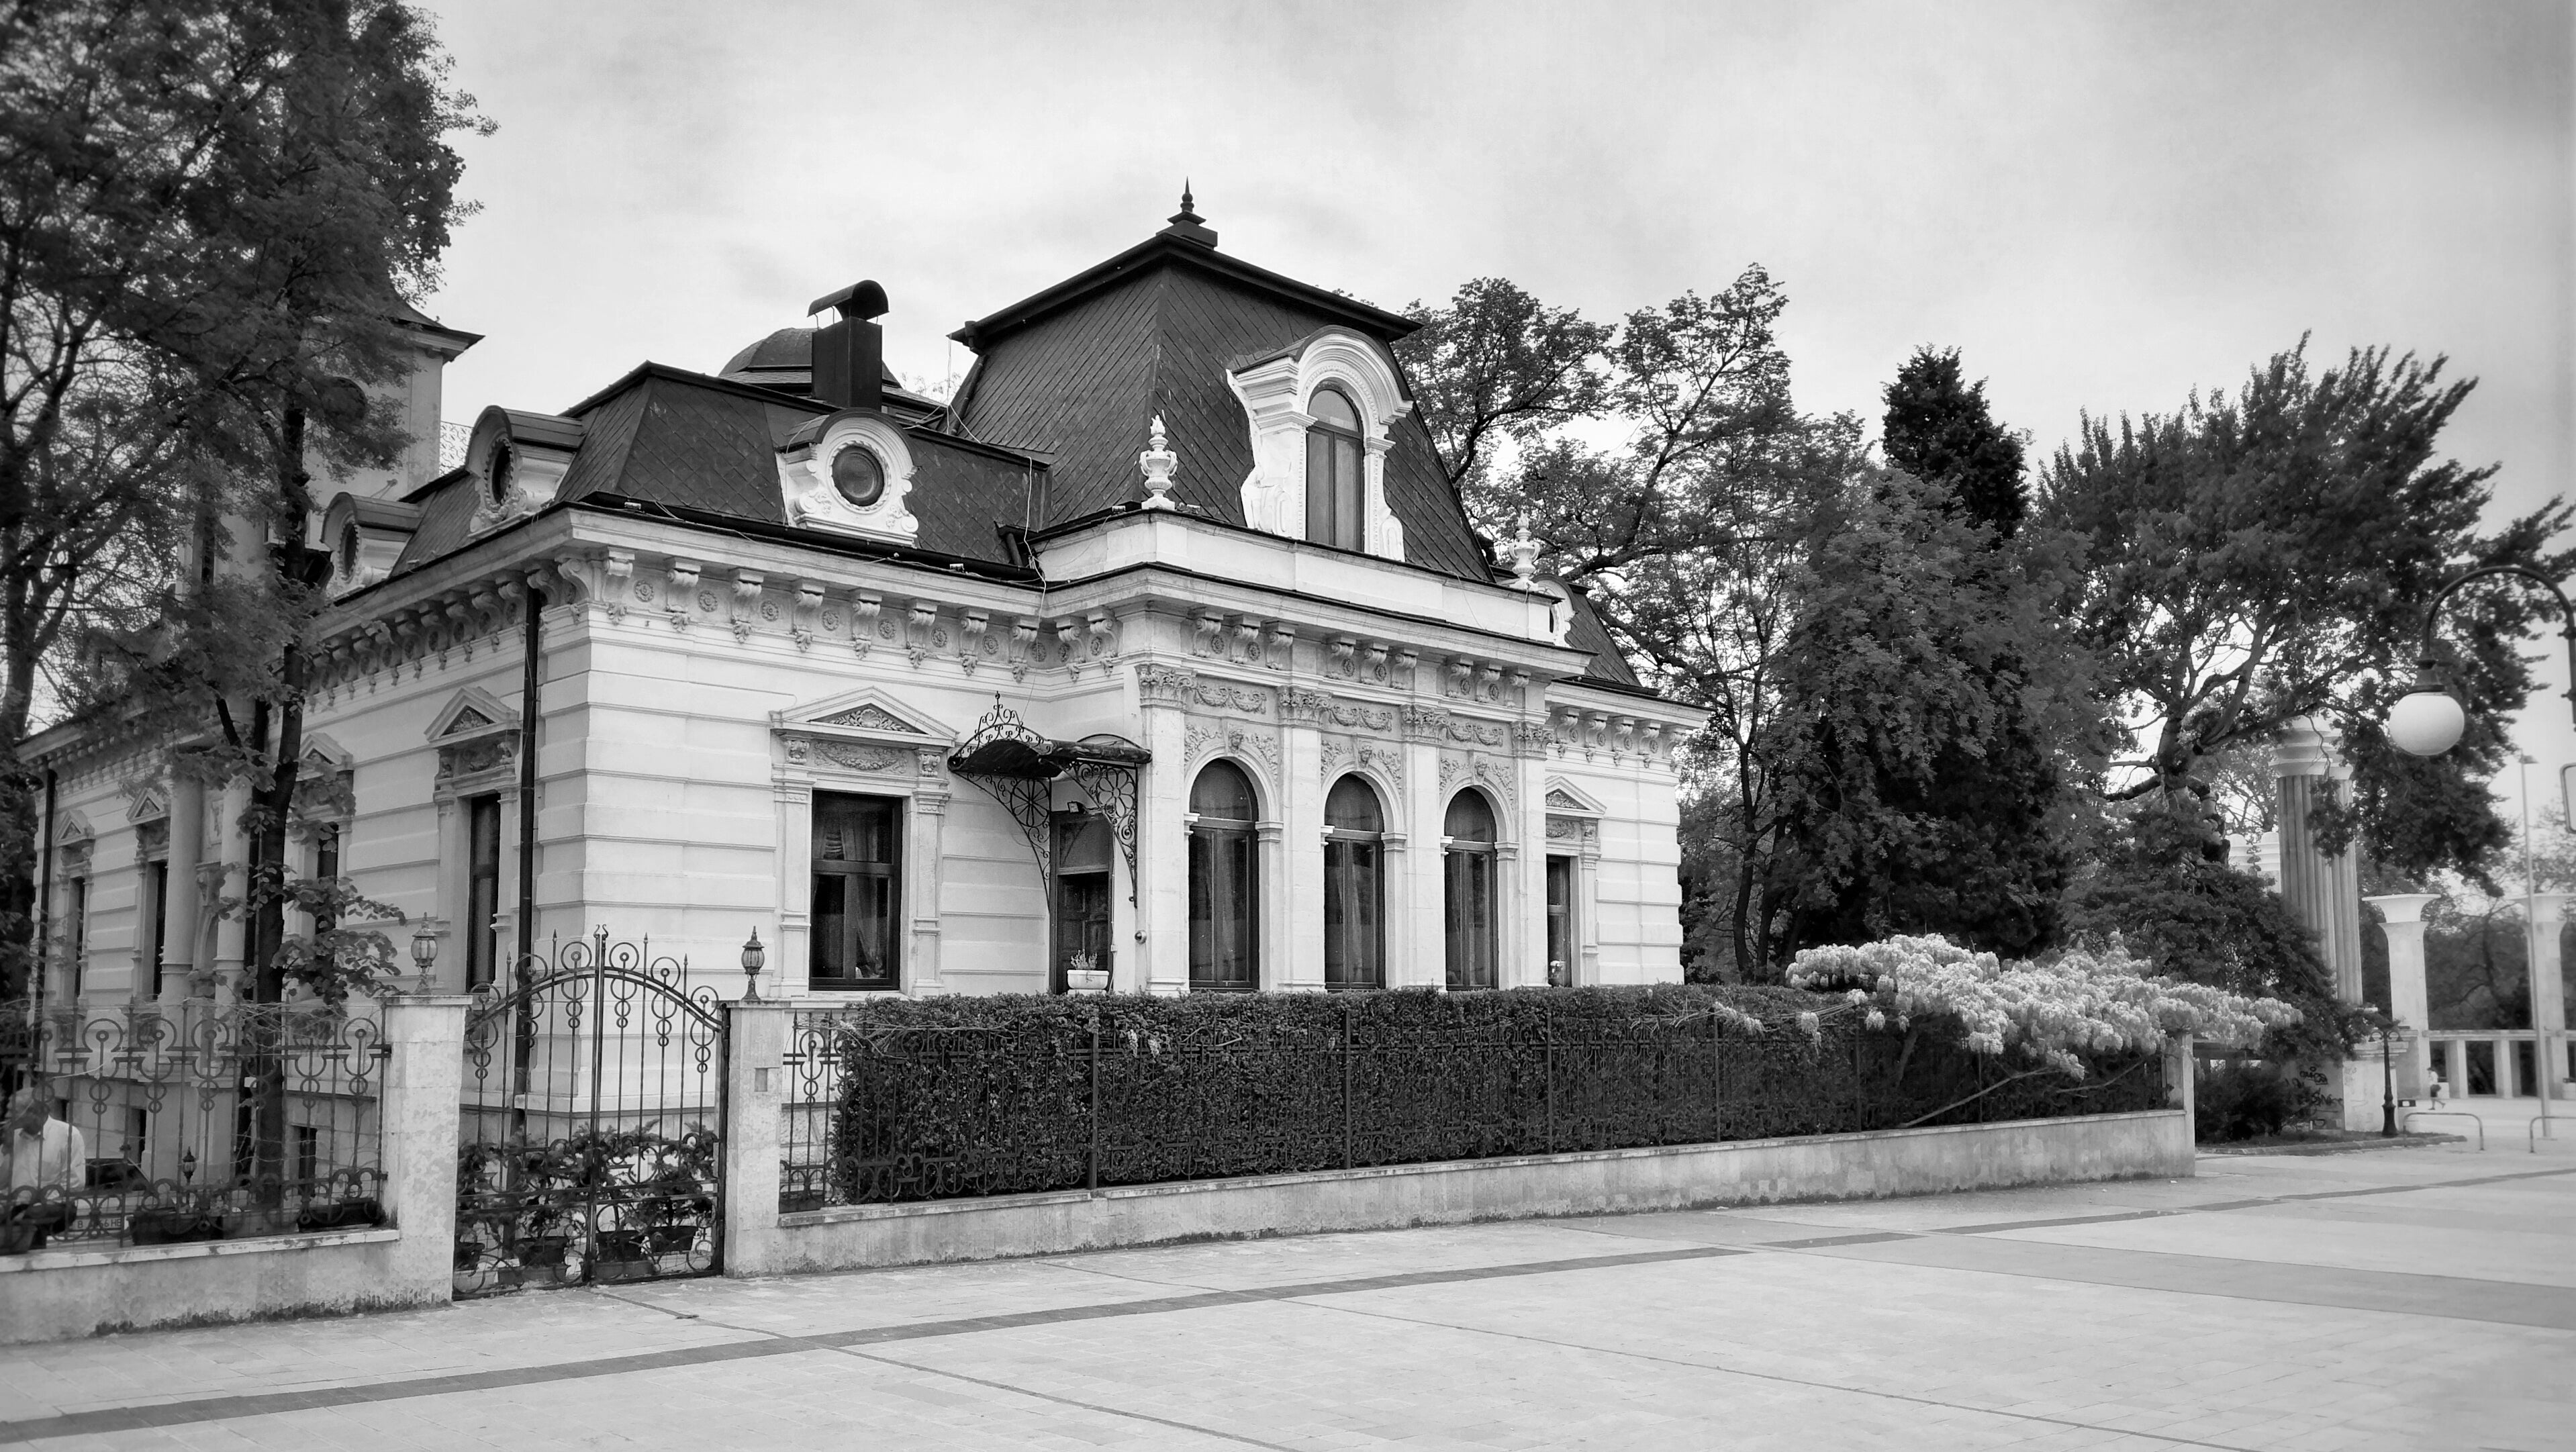
Once you are happy with the result, tap “Save” but don't close Snapseed just yet. This photo should also look cool in black and white, so we are going to do an alternative version. Select “Black & White” from the bottom of the tools menu and leave it on “Neutral” while adding a little bit of grain – not too much, around 10 increments – for some sharpness and that film look. Once ready, hit the check mark. The image should look like this:
Old-timey
And there you have it, how to manually spice up an otherwise drab-looking shot using only Snapseed.
Before/after
Get Visible as low as $20/mo for 1 year. Limited time offer with code: FRESHSTART
$20
/mo
$25
$5 off (20%)
Offer Ends 6.1.2026 at 11.59pm ET. New members get $5/mo off the $25/mg Visible plan, $35/mo Visible+ plan, or $45/mo Visible+ Pro plan for the first 12 months. Promo code FRESHSTART required at checkout.
A discussion is a place, where people can voice their opinion, no matter if it
is positive, neutral or negative. However, when posting, one must stay true to the topic, and not just share some
random thoughts, which are not directly related to the matter.
Things that are NOT allowed:
Off-topic talk - you must stick to the subject of discussion
Offensive, hate speech - if you want to say something, say it politely
Spam/Advertisements - these posts are deleted
Multiple accounts - one person can have only one account
Impersonations and offensive nicknames - these accounts get banned
To help keep our community safe and free from spam, we apply temporary limits to newly created accounts:
New accounts created within the last 24 hours may experience restrictions on how frequently they can
post or comment.
These limits are in place as a precaution and will automatically lift.
Moderation is done by humans. We try to be as objective as possible and moderate with zero bias. If you think a
post should be moderated - please, report it.
Have a question about the rules or why you have been moderated/limited/banned? Please,
contact us.


Things that are NOT allowed:
To help keep our community safe and free from spam, we apply temporary limits to newly created accounts: