How to screenshot your iPhone
How do you take a screenshot on your iPhone? It depends on whether you use an older iPhone with a home button, or a newer one that uses gestures for navigation.
For newer iPhones (with gesture navigation)
If you have a newer iPhone that uses gesture navigation (iPhone X or later), just follow these steps:
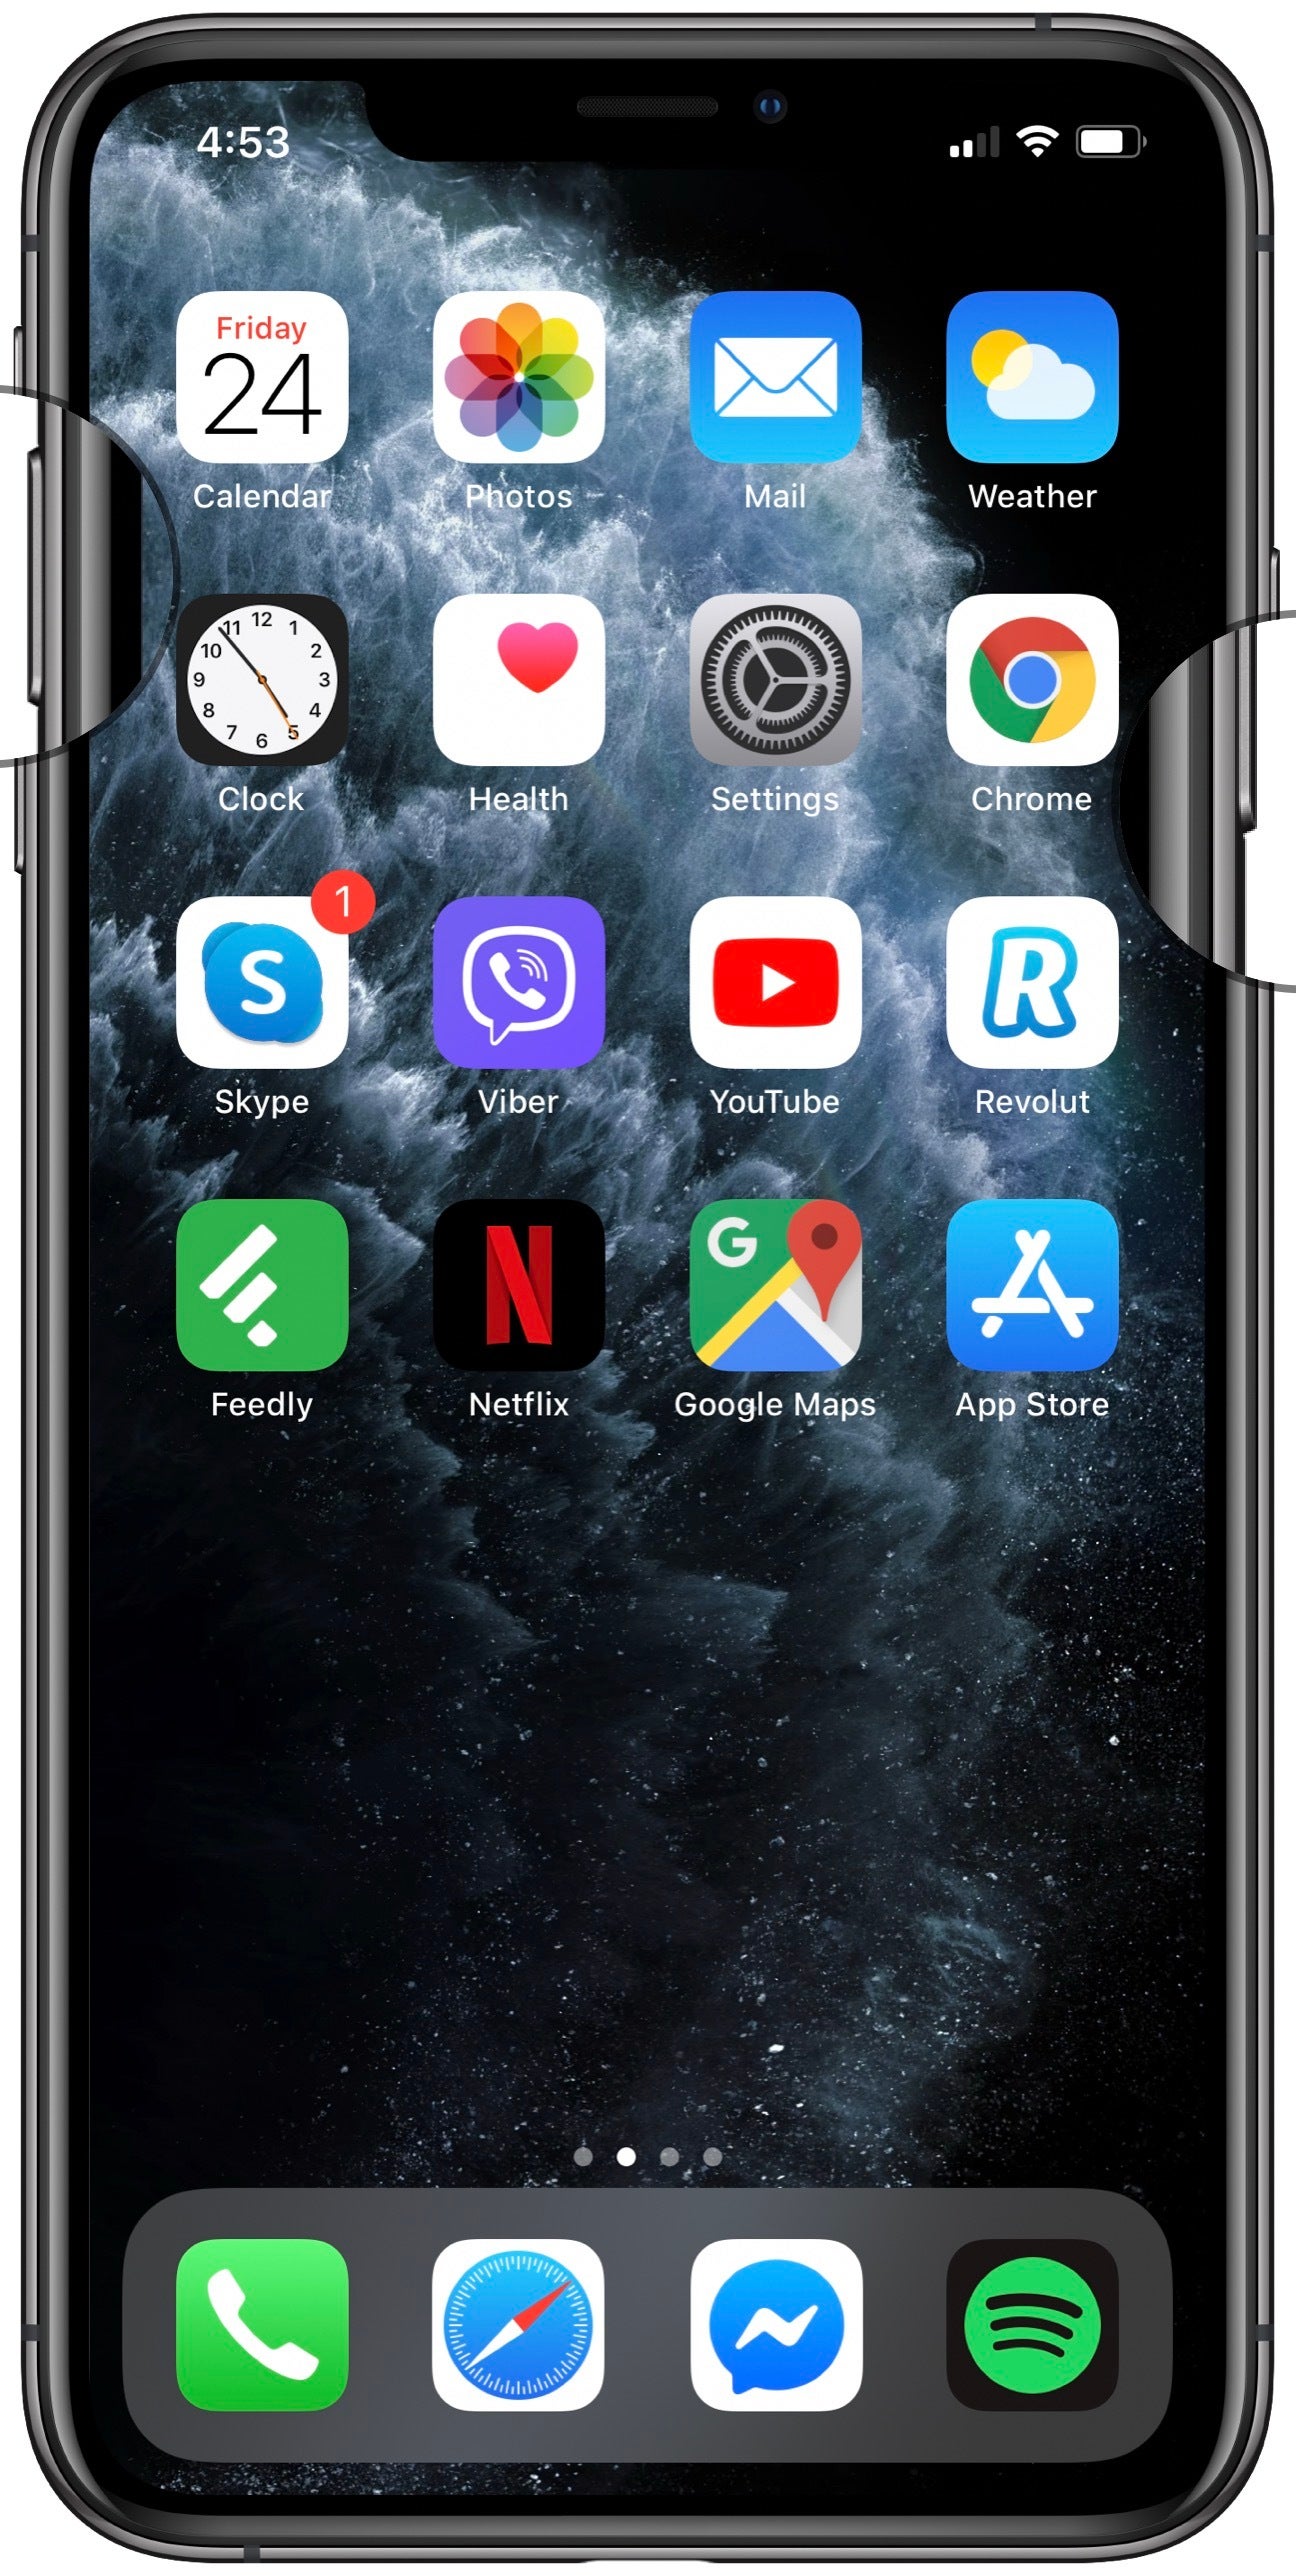
Simultaneously press and hold the power key and volume up button if you have a newer iPhone that uses gestures
- Simultaneously press the Power button and the Volume Up button and release them right away. Don’t hold the buttons too long or you may instead enter the Power Off/SOS screen.
- You will see your screen flash, and a small thumbnail appear on the bottom. Voila! All done!
- The thumbnail will float away in a second and the screenshot will be automatically saved to your Camera Roll in Photos. If you want to edit it or annotate it right away, you can tap on the small thumbnail to go directly to Markup mode.
So what about the notch? How does it appear in screenshots? Good news is that screenshots look as if there was no notch at all. Instead, you get a full rectangle with a continuous background, uninterrupted by the notch. And that's how you take a screenshot on an iPhone that uses gestures!
Note: Just make sure to avoid holding the two buttons for too long or you will enter the Power Off/SOS mode. If you enter that mode, you can easily press cancel to exit.
For iPhone 8 and earlier (with a home button)
If you have an older iPhone that has a home button (iPhone 8 series or earlier model), follow these steps instead:
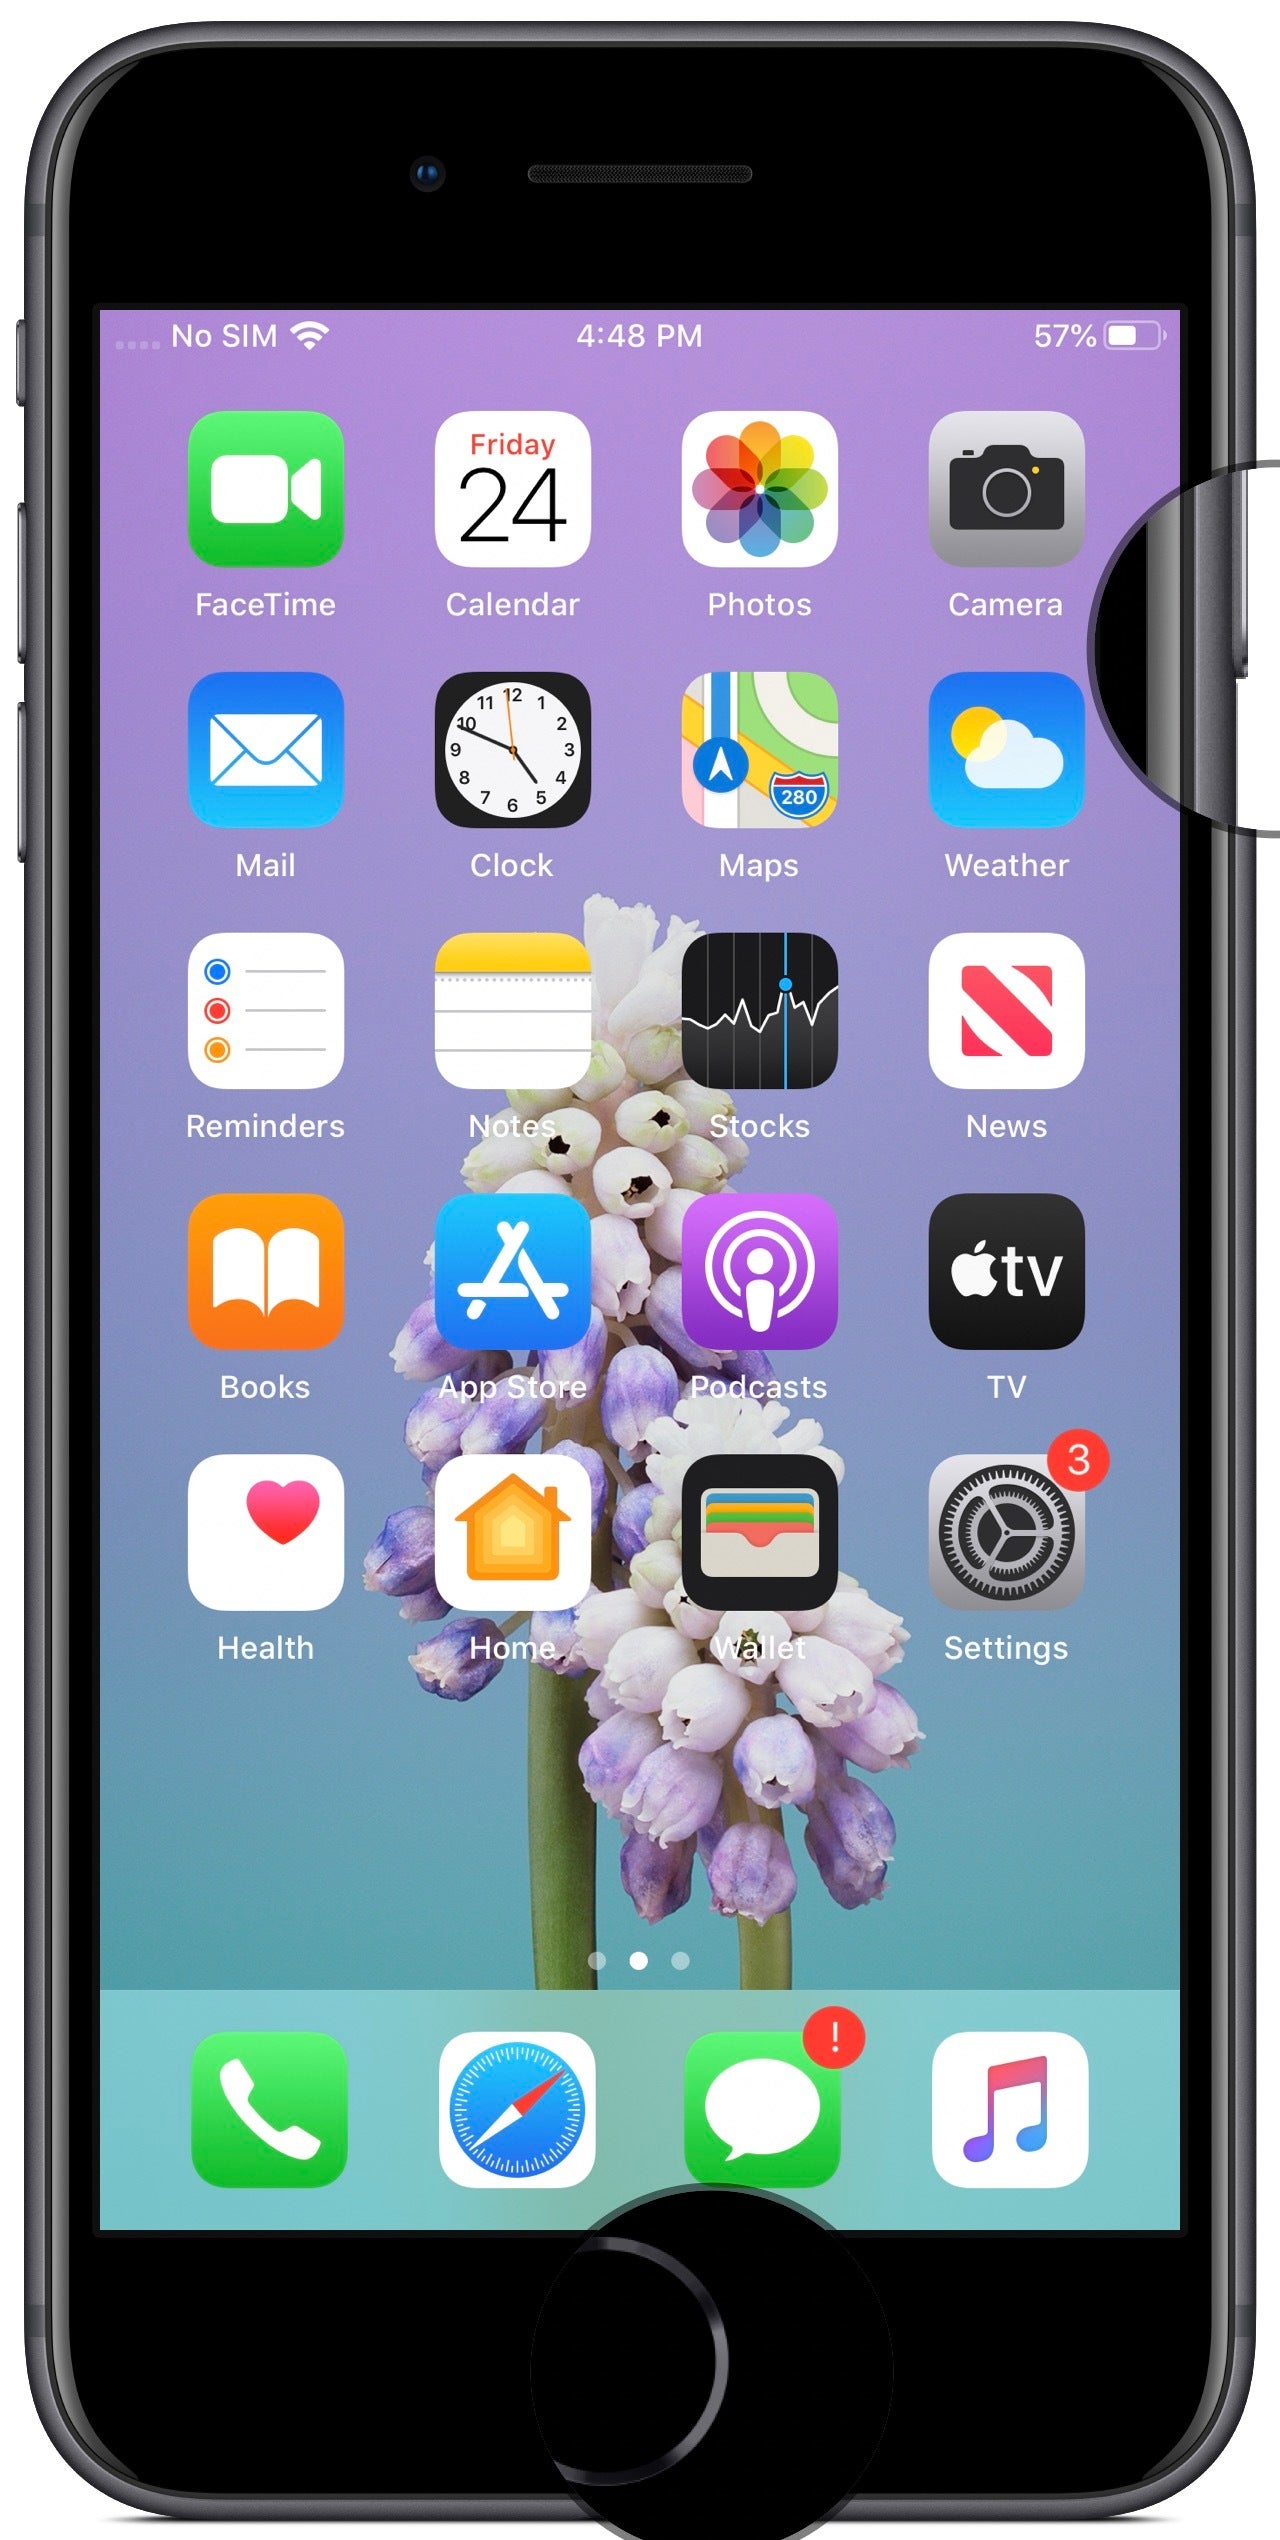
Simultaneously press and hold the power key and home button if you have an older iPhone that has a home button
- Simultaneously press the Power button and the Home Button and release them right away.
- You will see your screen flash, and a small thumbnail appear on the bottom. You're done!
- The thumbnail will float away in a second and the screenshot will be automatically saved to your Camera Roll in Photos. If you want to edit it or annotate it right away, you can tap on the small thumbnail to go directly to Markup mode.
In this case, again don't hold the buttons for too long as here you might accidentally trigger Siri. It takes just a short squeeze of the two buttons to flash the screen and take a screenshot, easy!
After iOS 11, screenshots are super-charged: you get to edit and annotate them easily, and they are all saved in a separate folder where you can go through previously captured screenshots. Tap on the little thumbnail that appears after you take a screenshot and you can crop it, you can annotate using a marker, pen and/or a pencil (you have a choice between one of six colors). Then, you can also add bubbles, arrows, as well as a signature easily. A neat magnifier tool allows you to accentuate a particular element as well.
Learn more about how to edit and annotate iOS 11 screenshots here


Things that are NOT allowed: