How to take professional quality portraits with your iPhone X
As the old saying goes, the best camera is the one you have with you, and if you own the latest Apple iPhone X, you have the luxury to not only capture great images with the main, wide-angle camera, but also shoot portraits with the secondary, telephoto camera that have the potential to really look great.
Apple does all the heavy work here, smartly separating the subject from the background and blurring the background, for a true DSLR-like look.
So, how can you make the most out of the Portrait Mode on the iPhone X? How can you take your portraits to the next level?
Let us walk you through our quick routine to better, more memorable portrait shots.
Step 1: Blur the background with the Portrait mode
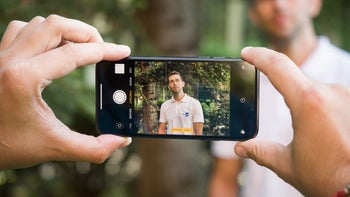
The first step is to take the picture of course. Open the camera, swipe to the portrait mode, make sure that you are within 2 to 8 feet from your subject to get the effect and as soon as you see the Natural Light box in the bottom light up, you can tap to take the photo. But first, before quickly tapping, take a second look and make sure that you subject is well-lit, make sure that there are no distracting, very bright objects in the frame, and make sure that your subject is ready for the photo and posing in a flattering way.
Once your composition is done, tap the button and shoot the photo.
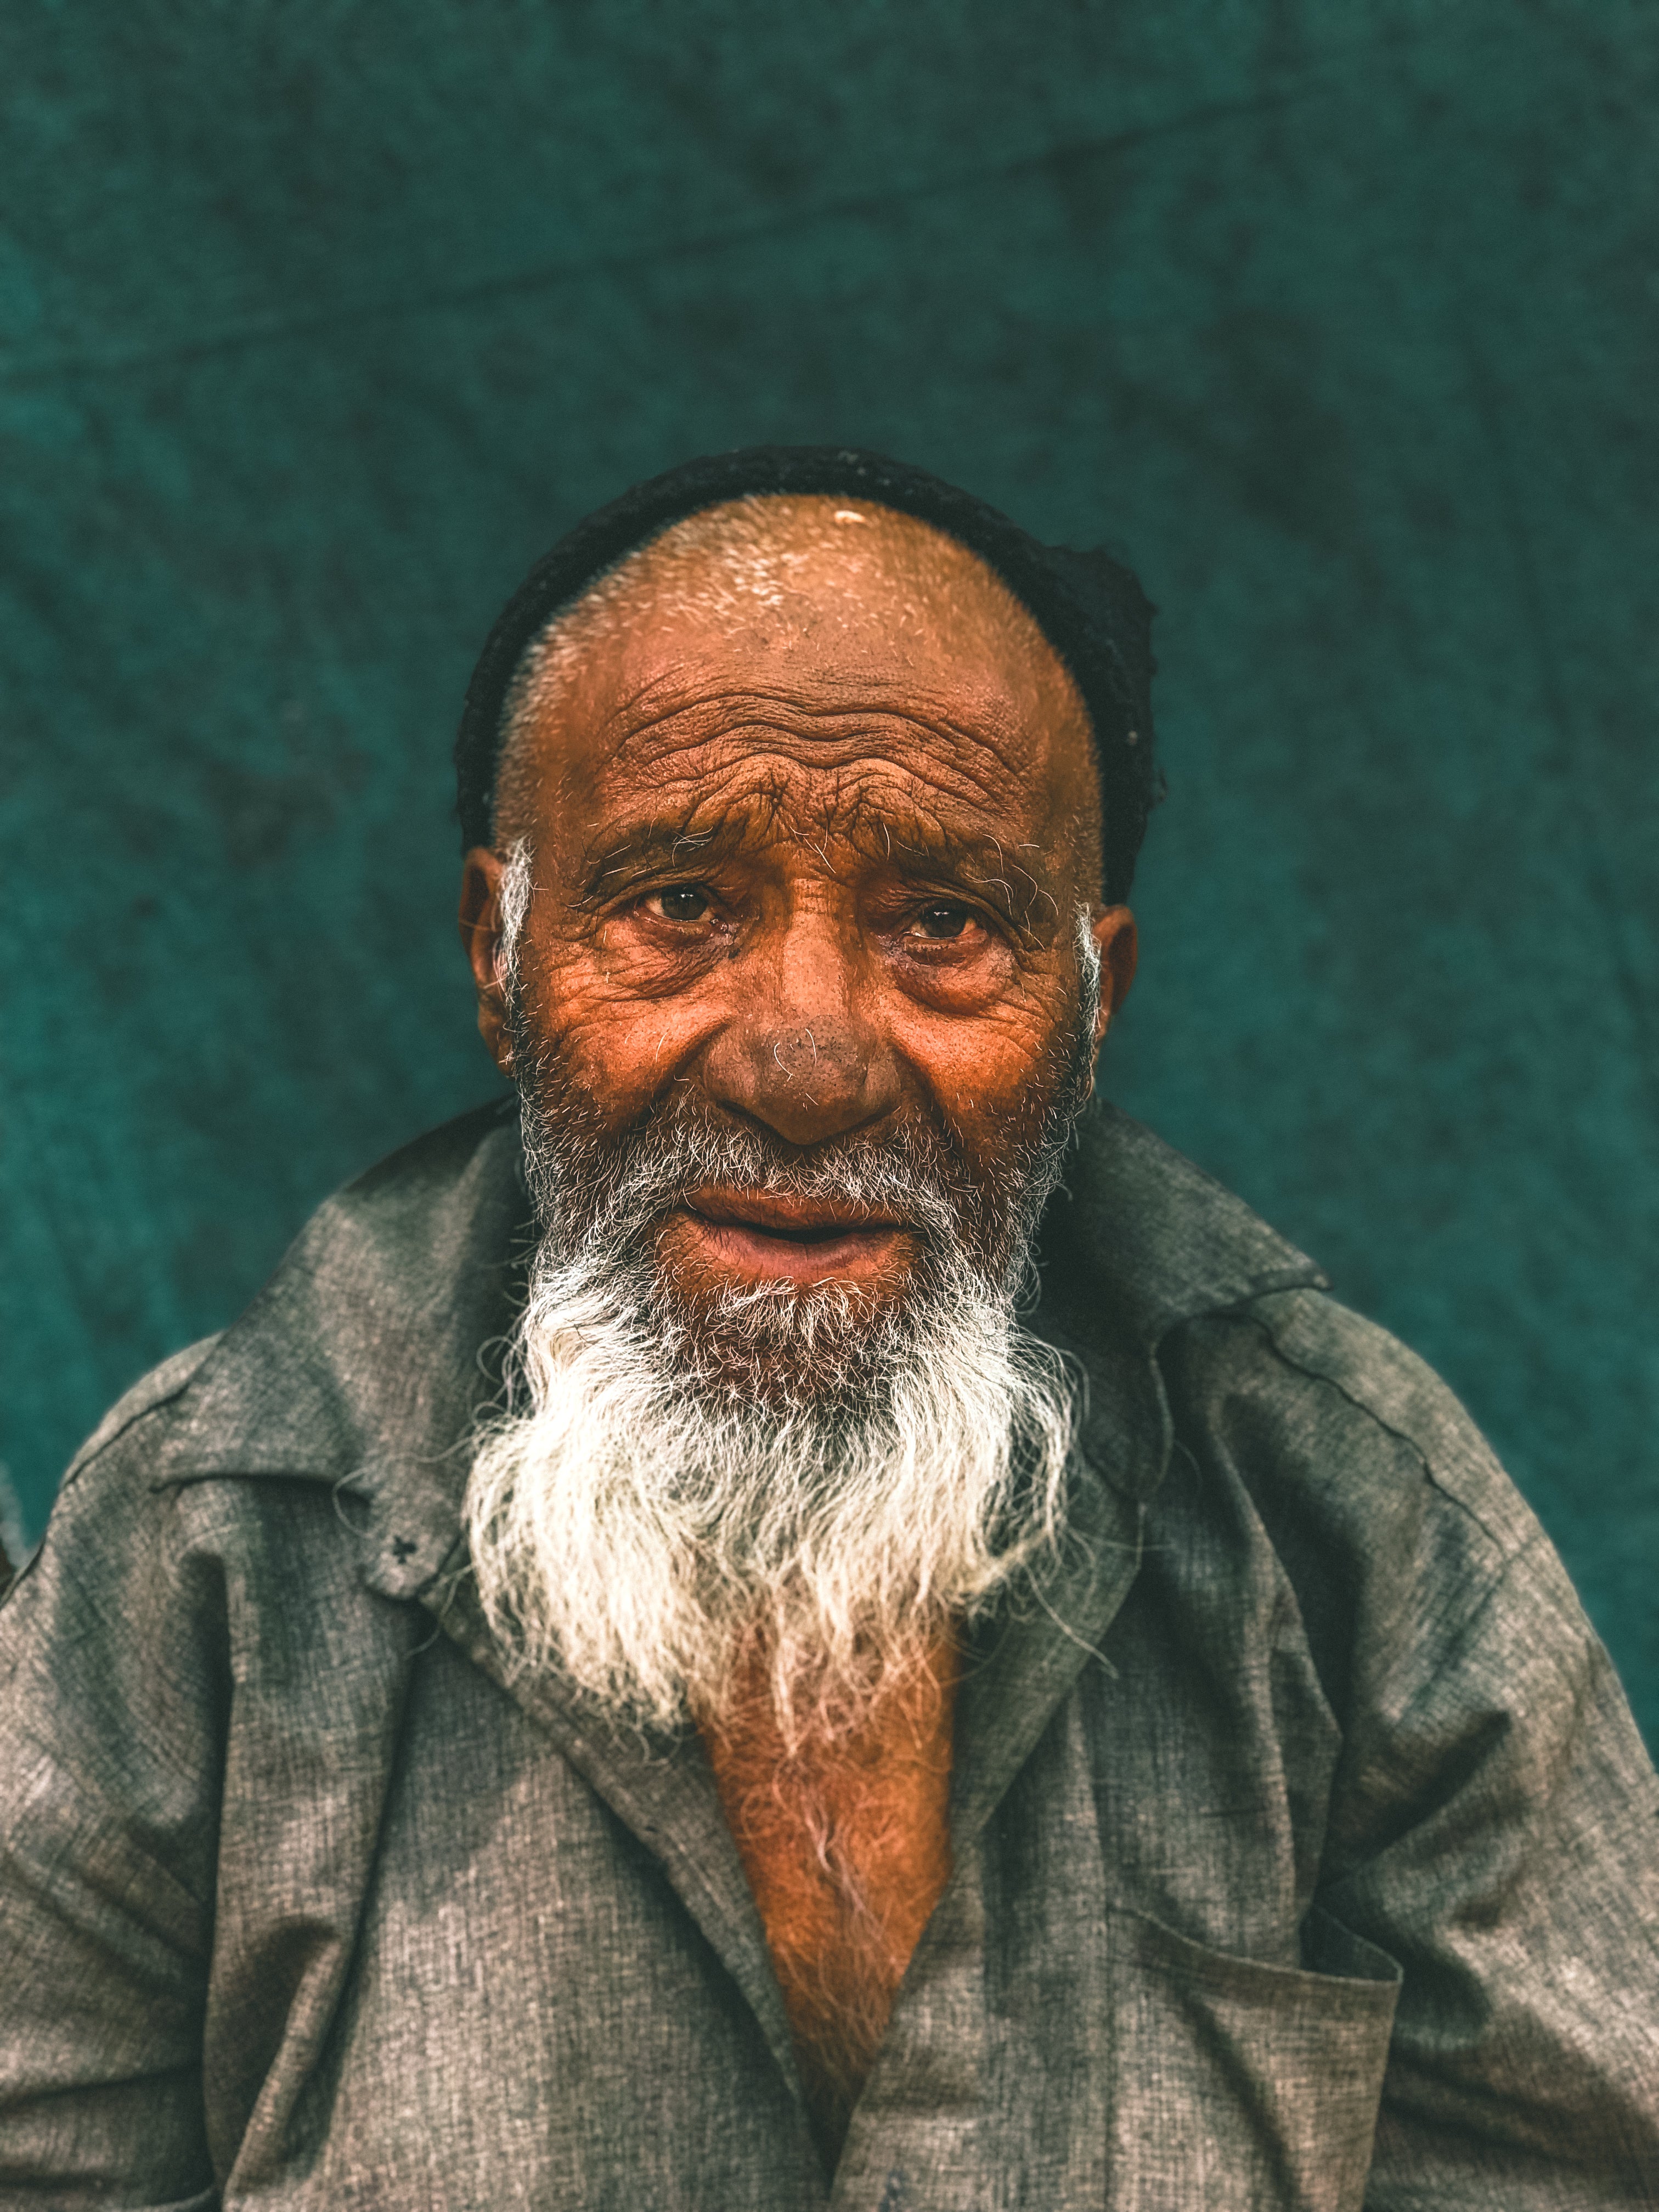
Shot on iPhone by Anwar Yusli, Malaysia, @nuar_yusli
The above example shows the impactful photographs that you can take using this mode. This picture was taken by Anwar Yusli, who recently travelled to the state of Jammu and Kashmir in Northern India and was amazed by the diverse blend of cultures in the region combined with breathtaking surroundings. He focused on taking portraits using iPhone X’s Portrait Mode which featured not only the people he met on his journey but also the natural surroundings that are unique to this region.
And for most people, using portrait mode would be enough: you can really get a great shot by just following these simple steps if you have good light. But in some cases, you might want to tweak the results a bit.
Step 2: Use the Magic Wand and lighten up darker photos
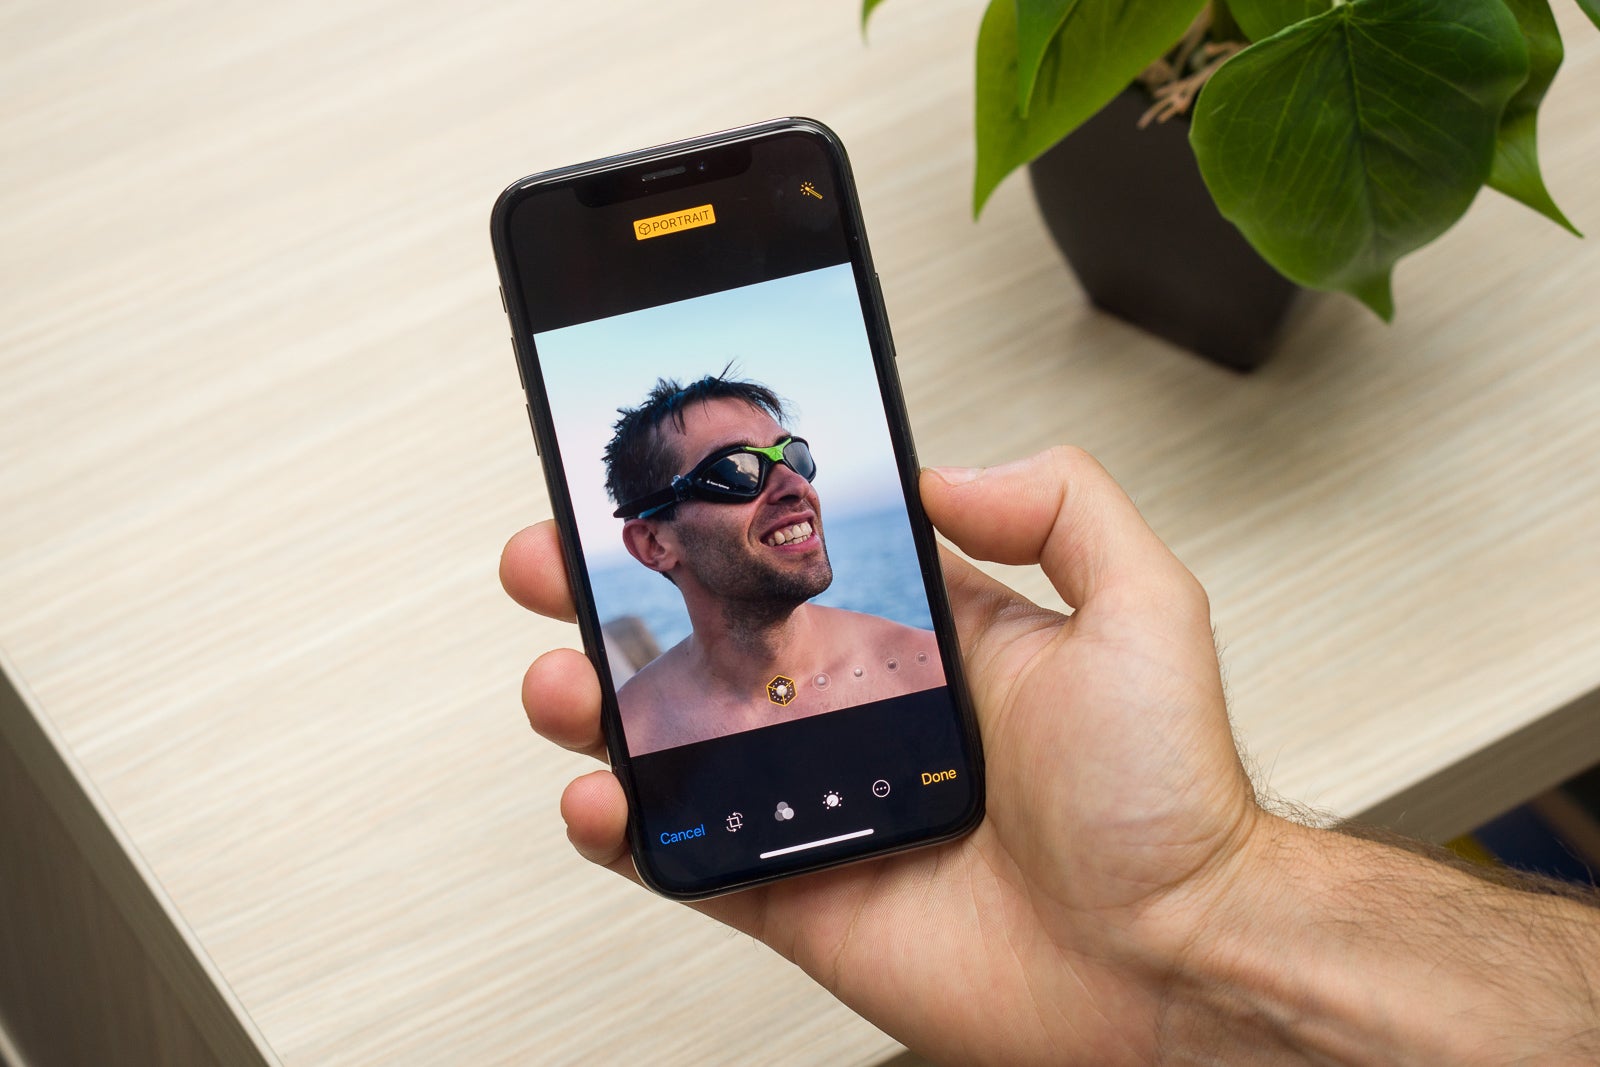
There are a ton of great photo editing apps on the Apple App Store, but the easiest way to fix an image is to use the so called magic wand. Simply select an image, tap on the edit button in the top right corner, and once again, tap in the top right corner where you can see the wand icon. This will bring some nice enhancements to the image, bringing the colors up and livening the scene.
For our specific portrait needs, it's a good idea to lighten up the face and darken the background. You can do this by tapping on the adjustment knob in the bottom row of icons. There in the "Light" menu, you can select various settings so that the face in an image is brighter and the background a bit darker, so you have more contrast.
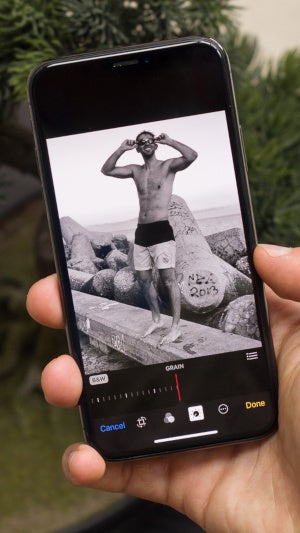
Step 3 (optional): Experiment with black & white
Finally, when you have too many colors in a picture, it tends to become visually overwhelming, almost chaotic. A good way to remedy colors that you don't feel look right is by simply removing the colors and trying a black & white effect.
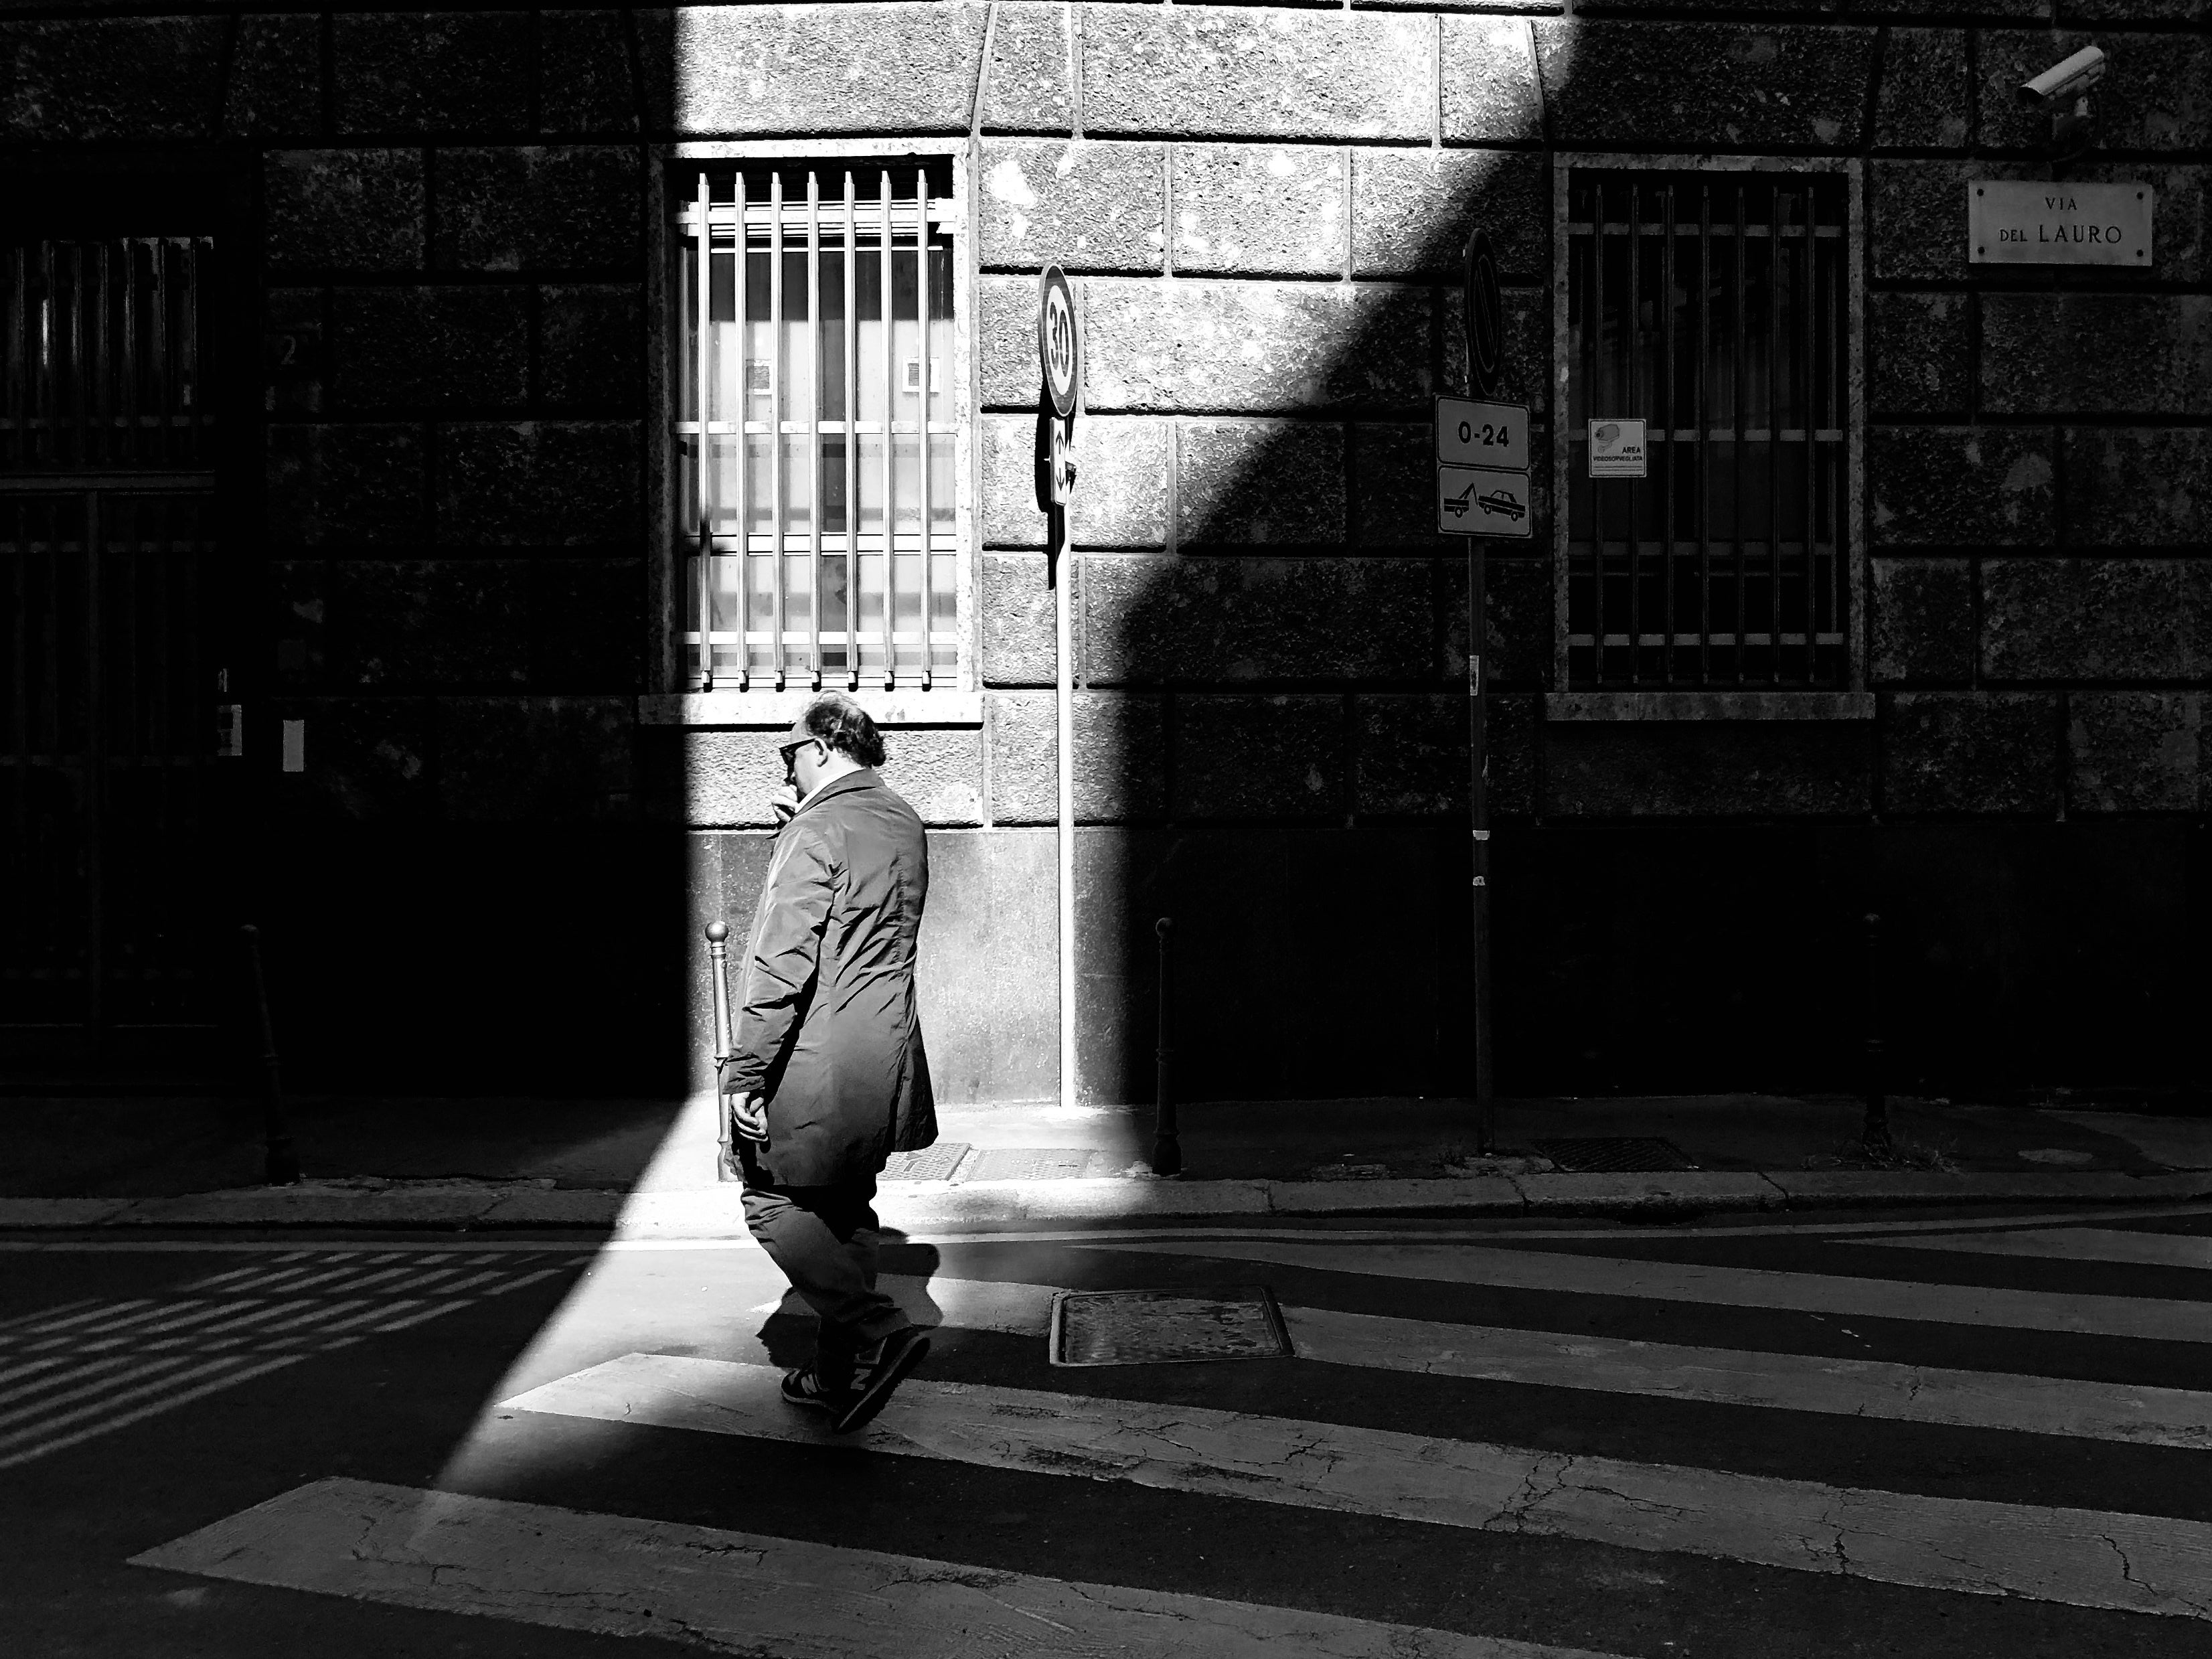
Shot on iPhone by Omar Cruz, Puerto Rico, @omarcruzphoto
A beautiful black-and-white essay on the secret life of decadent streets, this picture beautifully uses light and shadows to impact.
“Walking around cities looking for textures, shapes and interesting compositions... helps me to improve my photography. The photograph was shot in Milan, Mexico City, as part of a personal project around the world that I have been working for some time now... I call it ‘Strangers.’” Cruz says.
“Walking around cities looking for textures, shapes and interesting compositions... helps me to improve my photography. The photograph was shot in Milan, Mexico City, as part of a personal project around the world that I have been working for some time now... I call it ‘Strangers.’” Cruz says.
You can achieve a similar look yourself. There are a bunch of very good B&W effects in the default camera app on the iPhone X, just tap on the image, select edit and go to the Black & White section where you can tweak things around.
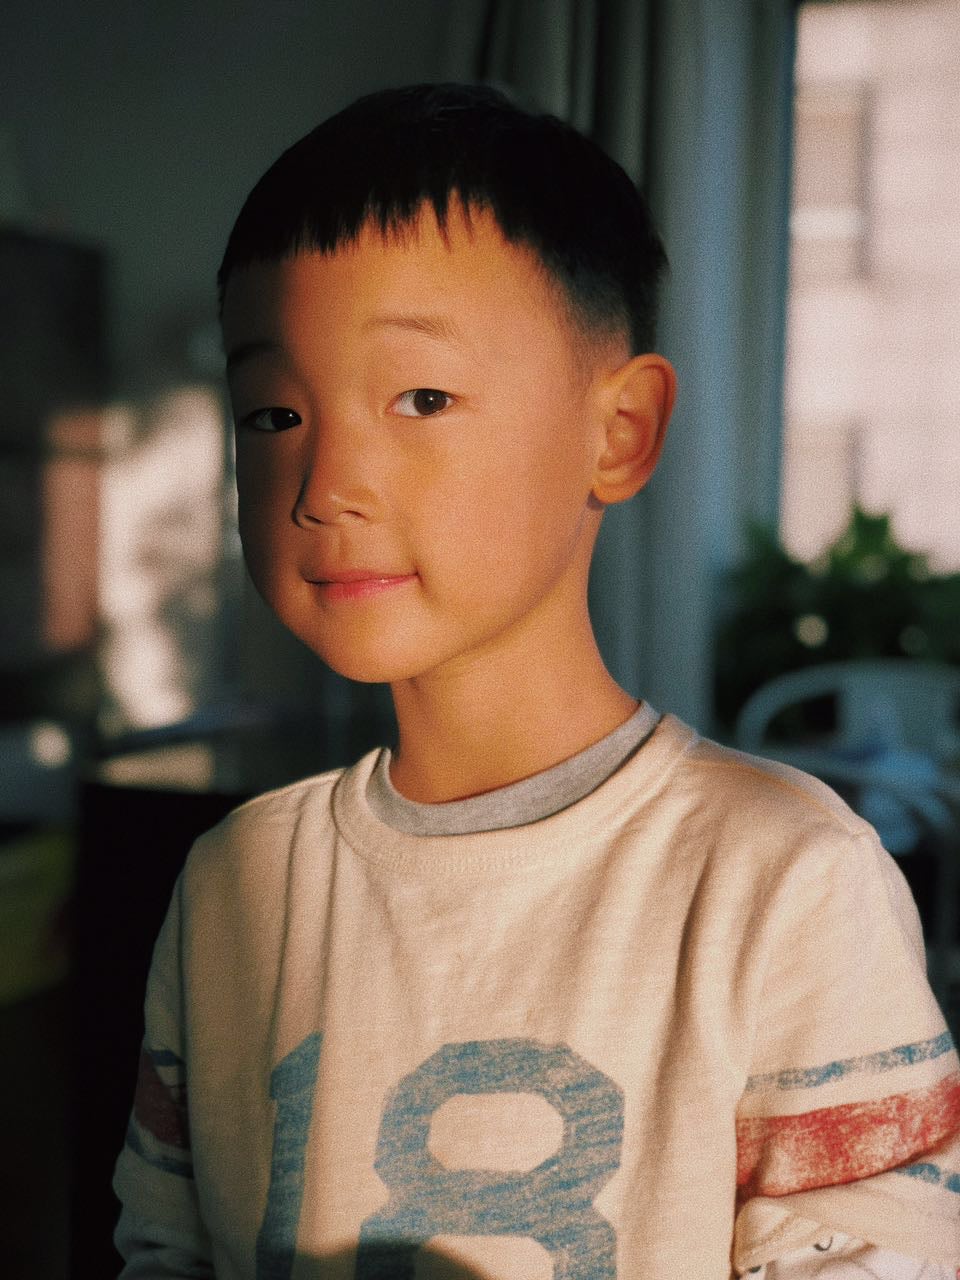
Shot on iPhone by Zack Zhang (張悅), China, www.zackimage.com
Another thing that you can try is the last option in the black & white option in the menu: add grain. It's hard to explain why many professional photographers produce images with a bit of artificial grain to them even in our age of super-sharp, modern cameras. Some say that a grainy image tends to convey depth better, but whatever the science behind it, we also like to experiment with this.
Take a look at the image above where the grain gives the image a special mood and feel. And below, you can find how Zhang describes his creative process:
“The light is the best when the sun is setting. I called my son who was playing through the window and snapped a shot of him with Portrait mode. It looks like he was playing hide and seek with me with half of his face hiding in the shadow. He ran off after I snapped the shot, and the shadow was gone. Sometimes the perfect moment only exits in that one second ... I like to take photos directly from my iPhone when I’m just strolling on the road so I rarely use external equipment. Apps I use include VSCO, NOMO, Onetake and Enlight.”
And this wraps up our tips and tricks on how to take great, professional quality portraits on the iPhone X.
Take a look at some of our shots and feel free to share yours in the comments section!
*If you want to take great looking portrait shots like the ones above, make sure to get the iPhones that have a dual rear camera setup that includes a telephoto secondary camera. At the time of this writing, those would be the iPhone X, iPhone 8 Plus, and iPhone 7 Plus.
Award-winning Shots Captured with iPhone
Adding to this article, we should also mention the immense popularity of the iPhone as a camera: each day, more photos are taken with an iPhone than with any other camera.
Right below, you can find some incredible portrait photographs captured on an iPhone and proving that you can really do shoot some great images with it. The shots come fresh off World Photography Day, an annual photography celebration that falls on August 19th.
In the selection below, amongst all the great images you will also find a photo by Omar Cruz, one of the most sought-after photogs in the United States. Here is what he has to say about his experience shooting with the iPhone:
"I try to keep my tools to minimum. That is the beauty of shooting with iPhone. A powerful tool in my back pocket. I do not use many apps to edit my photos, I have learned to keep it simple and to have the results I like. The iPhone camera default controls and color pre sets are perfect for me. When shooting ‘RAW’ format, I use the app Pro Cam and Lightroom to select and edit the photos. I used this combination when shooting the cover for People En Español Magazine 50 most Beautiful Issue.”


Things that are NOT allowed: